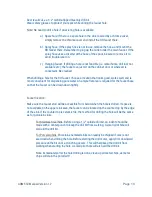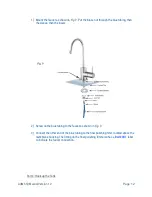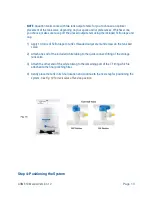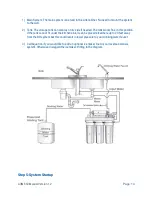
AQM-550 Manual Version 1.2
Page 4
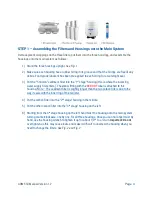
STEP 1 – Assembling the Filters and Housings onto the Main System
Remove plastic wrappings on the three filters, put them into the three housings, and assemble the
housings onto the main system as follows:
1)
Stand the three housings upright.
See Fig. 1
2)
Make sure each housing has a rubber O-ring in its groove and that the O-rings are free of any
debris. Food grade lubricant has been pre-applied to each O-ring for a watertight seal.
3)
Put the “5 micron” sediment filter into the “1
st
stage” housing (this is where the incoming
water supply first enters). The elbow fitting with the
RED
DOT
label is attached to this
housing. Note – The sediment filter is slightly longer than the two carbon filters due to the
way it seals with the inner ring of the canister.
4)
Put the carbon filter into the “2
nd
stage” housing in the middle.
5)
Put the other carbon filter into the “3
rd
stage” housing on the left.
6)
Starting from the 3
rd
stage housing on the left, hand twist the housing onto the main system,
turning counterclockwise, one by one, for all three housings. Once you can no longer twist by
hand, use the housing wrench to tighten it up for about 1/4
th
to a ½ turn.
Important: Do not
over tighten as this may cause leaks and make it difficult to unscrew the housing when you
need to change the filters.
See Fig. 2 and Fig. 3
Содержание AQM-550
Страница 1: ...AQM 550 Manual Version 1 2 Page 1 ...
Страница 11: ...AQM 550 Manual Version 1 2 Page 11 Mounting the Faucet ...


