Inspiring Excellence in Fish Care!
15
R
EDUCED
W
ATER
F
LOW
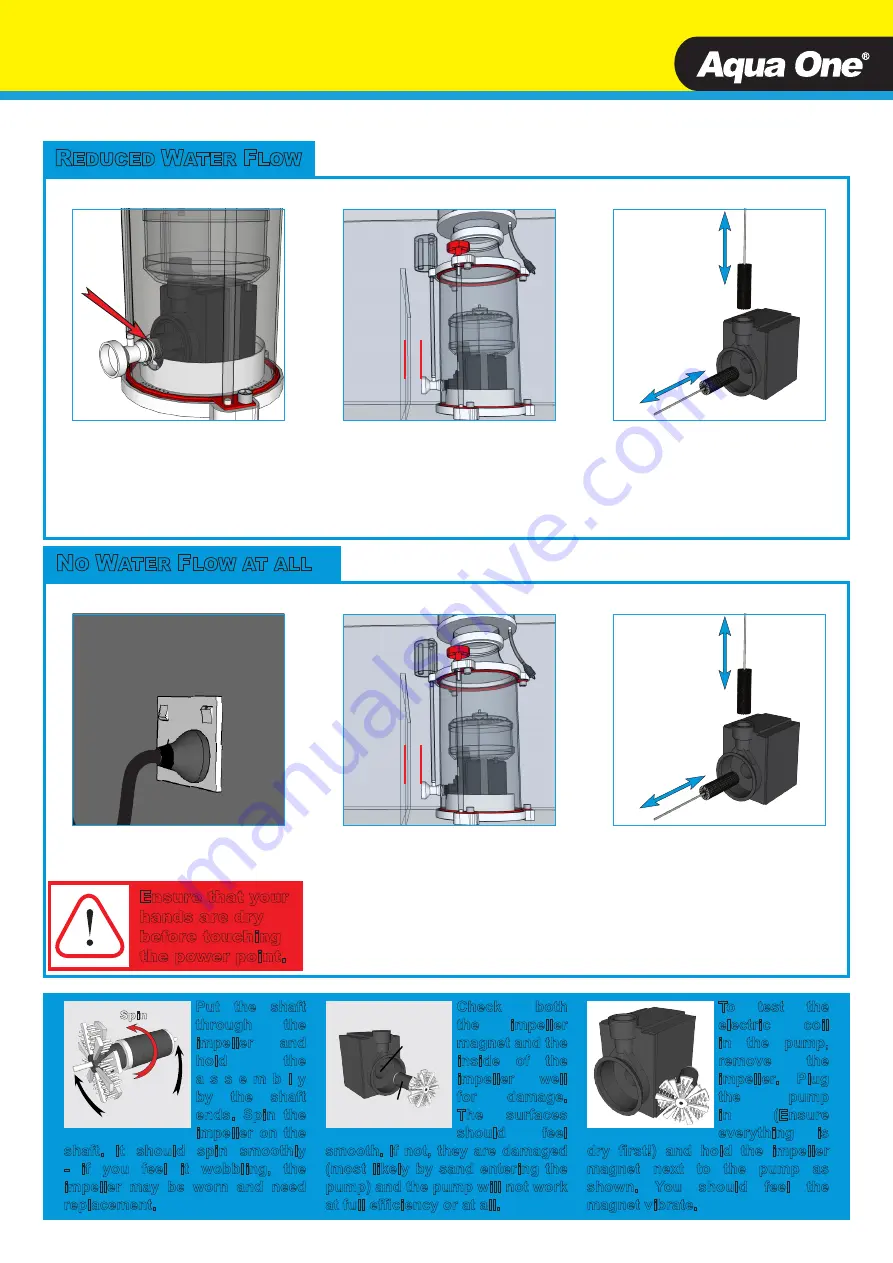
Ensure that the Venturi
Intake is firmly connected to
the Pump and is not blocked
by any objects over or inside
it.
Disassemble and clean
pump as described in
“Pump Maintenance” on
page 10
>1cm
Ensure that the venturi
intake is positioned more
than 1cm away from any
walls or obstructions in the
sump.
N
O
W
ATER
F
LOW AT ALL
Check that power is
connected and switched on.
Disassemble and clean
pump as described in
“Pump Maintenance” on
page 10.
>1cm
Ensure that the venturi
intake is positioned more
than 1cm away from any
walls or obstructions in the
sump and is not clogged.
Ensure that your
hands are dry
before touching
the power point.
Put the shaft
through the
impeller and
hold the
a s s e m b l y
by the shaft
ends. Spin the
impeller on the
shaft. It should spin smoothly
- if you feel it wobbling, the
impeller may be worn and need
replacement.
Hold Here
Spin
Check both
the impeller
magnet and the
inside of the
impeller well
for damage.
The surfaces
should feel
smooth. If not, they are damaged
(most likely by sand entering the
pump) and the pump will not work
at full efficiency or at all.
Impeller
Well
Magnet
To test the
electric coil
in the pump,
remove the
impeller. Plug
the pump
in (Ensure
everything is
dry first!) and hold the impeller
magnet next to the pump as
shown. You should feel the
magnet vibrate.


