12
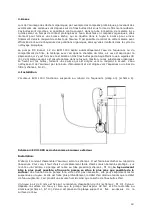
Now, the skimmer can be aligned with the aquarium. The two spacer bolts at the bottom of the
skimmer are adjusted in such a way that the skimmer is hanging safely on the aquarium. It is
advantageous if the skimmer is not 100% upright but leaning slightly (2°) to the aquarium (Fig. 4).
The skimmer is not only hanging more safely then but also back-flow of water from the outflow box
over the aquarium frame is prevented.
Both spacer bolts at the bottom are supplied with silicone suckers for increased safety. The
skimmer is now ready for use and can be started.
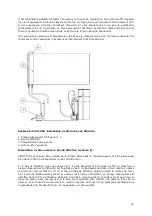
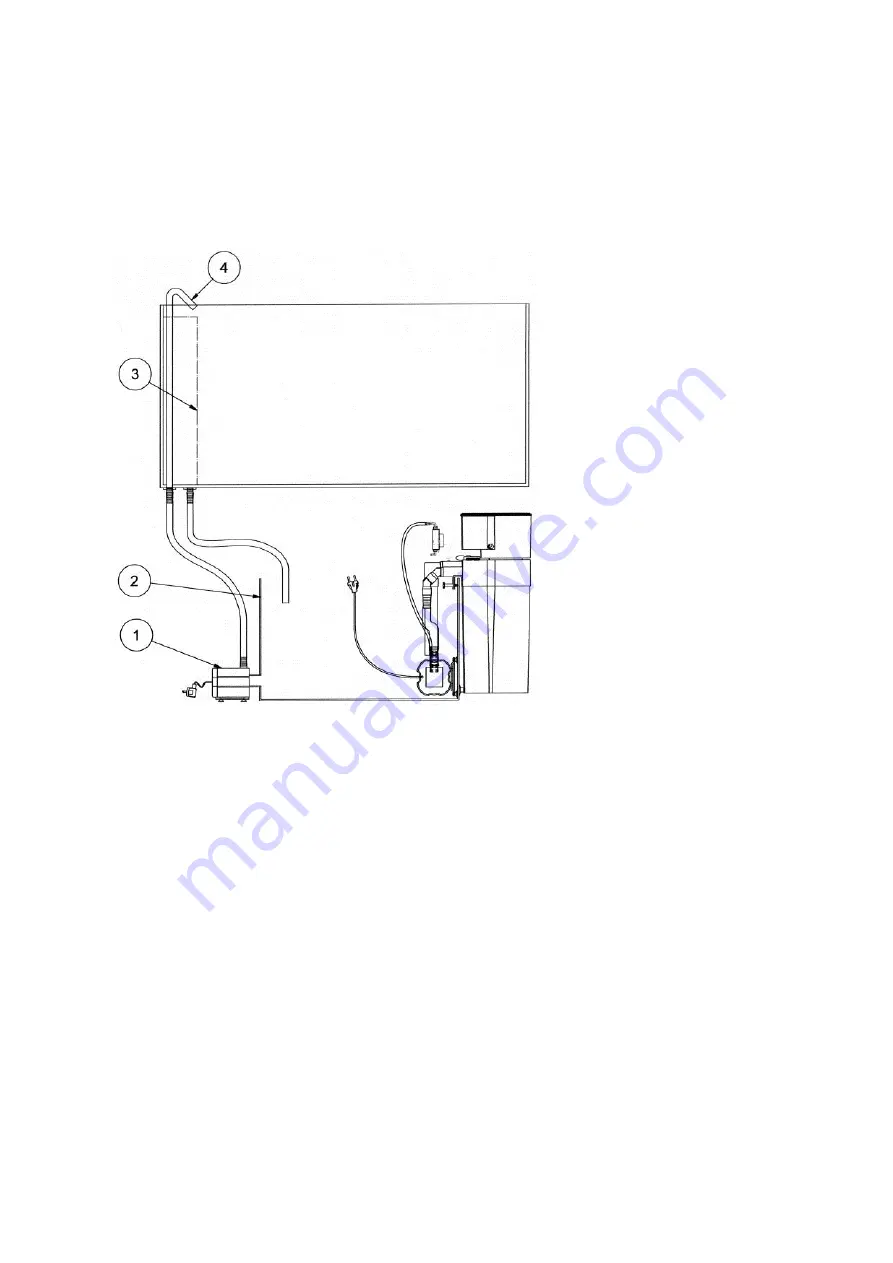
Fig. 5: EVO 1000 set-up next to the filter tank
1. Venturi pump DC Runner 1.2
2. Filter sump
3. Overflow
4. Return-pipe to aquarium
Set-up beside or inside the filter tank (Fig. 5):
The EVO 1000 can also be
installed in the cabinet filter.
It can be placed either in or outside the
filter tank.
The set-up outside the aquarium (at the side) is done as described above. It is attached to the
edge of the filter tank. If the filter tank is not high enough, the skimmer is placed beside the tank.
If the water level in the filter tank is very low or there is a shortage of space in the tank, the
outflow elbow fitting (Fig. 1, No. 8) may be connected to the outlet and then water will be directed
to the water surface in the tank. This avoids splashing and reduces noises. The venturi pump is
fixed inside the filter tank in such a way that it will not run dry and the length of the pressure tube
shall be kept as short as possible. The pump should be placed close to the water surface. To
prevent the pump running dry, we recommend to use an automatic level controller (e. g
.
aquaniveau or Niveaumat) to ensure replacement of evaporated water and to keep the water level
in the filter constant.


