


Document 4207Q258 V3.00 January 2018
Page 23 of 30
Chirascan Couette Cell LD Accessory User Manual
3.3.4 Checking the sample
At this point, the sample should be checked to ensure that it is correctly filled, free from bubbles etc. The
sample can be checked while in place using the viewing window. Power on the LED using the rocker switch
on the accessory (Figure
). The sample should cover the light inlet port, i.e. there should be no visible
surface, and should be bubble free. To check that the sample is bubble free, it can be rotated at low angular
velocity, for example 0.1 rps (revolutions per second).
3.4
Making Linear Dichroism measurements using the accessory
3.4.1 The Chirascan Pro-Data control software
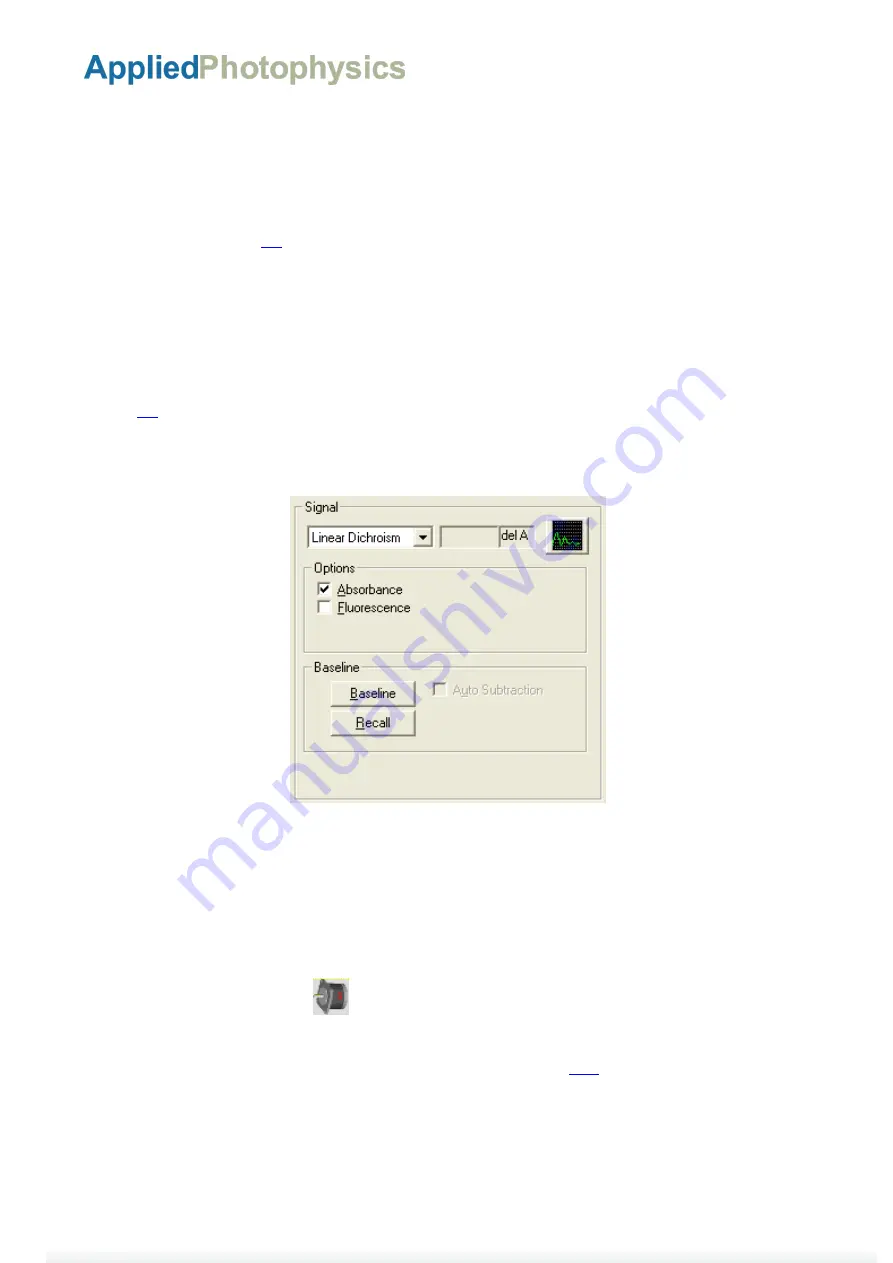
From the drop-down list on the
Signal
panel on the Pro-Data Chirascan control page, select
Linear Dichroism
). From then on, operation of the instrument is similar to that when making CD measurements, for
details of which see the main Chirascan User Manual. Remember that if you intend to measure the absorbance
simultaneously with the LD spectrum, then you need to take an air baseline with the Couette cell removed,
and then to measure the absorbance of the buffer at zero shear rate.
Figure 3.9: The Signal panel for linear dichroism
3.4.2 The SmartMotor control software
The SmartMotor used to drive the Couette cell rotor is supplied with proprietary software. To help the user,
Applied Photophysics have simplified the software interface.
Ensure that the accessory RS232 to USB cable is connected to a USB port on the computer. From its location,
right click the SmartMoor.exe icon
and click
Run as Administrator
. The software should interrogate the
system and establish the connection.
There are five areas on the SmartMotor control page, identified in Figure


