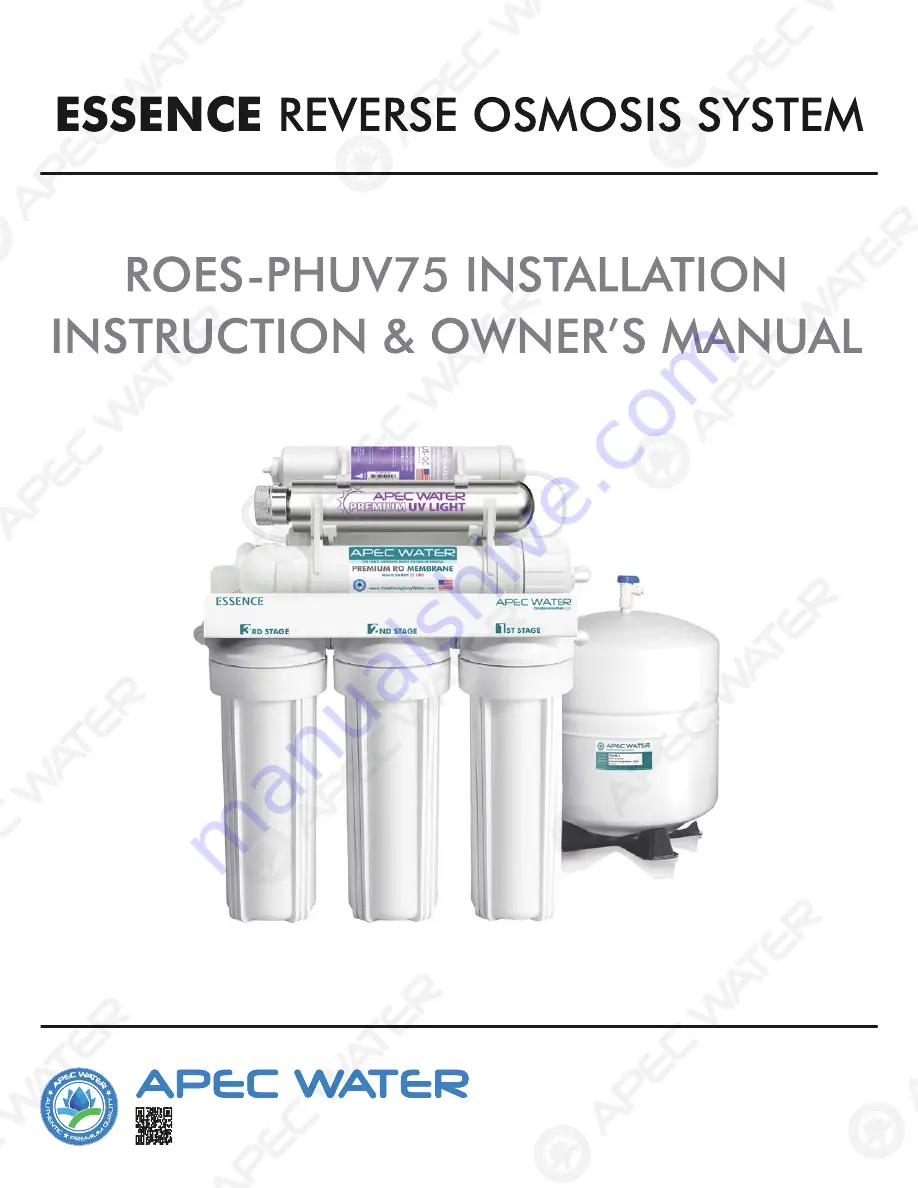
Apec Water ESSENCE ROES-PHUV75 Скачать руководство пользователя страница 1

ESSENCE 

REVERSE OSMOSIS SYSTEM

ROES-PHUV75 INSTALLATION

INSTRUCTION & OWNER’S MANUAL

All Rights Reserved ©  APEC Water Systems

www.FreeDrinkingWater.com

Ver 1.0

All Rights Reserv

rv

rv

ed

ed

ed

©

©

©

APE

A

A

C Water Systems

www.FreeD

D

D

r

r

i

i

i

n

n

n

kingWater.com

rr

Ver 1.0

Содержание ESSENCE ROES-PHUV75

Страница 1: ...OES PHUV75 INSTALLATION INSTRUCTION OWNER S MANUAL All Rights Reserved APEC Water Systems www FreeDrinkingWater com Ver 1 0 All Rights Reserv rv rved ed ed APE A A C Water Systems www FreeD D Dr ri i...

Страница 2: ......

Страница 3: ...Warranty page 38 0 Please keep this O Ow wn ner s Manual for future reference It contains useful information on how to maintain and care for your APEC Reverse Osmosis water filter system TABLE OF OF...

Страница 4: ...the fi in ne es st t water filter in America Pl Plea ease read and become familiar wi ith th i ins nstr tructions and parts needed before pr proc oce eeding with the in i stallation This manual is con...

Страница 5: ...ntenance 1 Faucet Adapter 2 Compone en nt ts s i included with the ROES P PH HU UV V7 75 system p y Ma ak ke e sure you have all these pa ar rt ts s before starting insta al ll la at ti io on n 1 RO R...

Страница 6: ...let 15 Product filtered water outlet Component Itemization 3 1 1 Bracket 2 Membrane and housing 4 4th h s sta tage g filter 3 UV Light 5th stage filter r 4 Inline carbon filter 6th h s sta tage filter...

Страница 7: ...ERE E A AR RE E TWO PARTS TO INSTALLING G T TH HE E RO SYSTEM Assemble the filters and d h hou o si sin ngs onto the main system Installing the system The RO Membrane E El le em me ent has already bee...

Страница 8: ...onnection The RO system must be co conn nnec ect ted to the COLD water supply only y pp y y 1 Locate the Cold water s sup uppl ply y valve under the kitchen sink the round or oblong handle on the righ...

Страница 9: ...ig 4A Fig 4B 1 2 Connection 3 8 Connection Fig 4C 6 Fig 4A Ne Need edle le Valve Installation At Atta tach the needle valve C to water sup uppl ply y ad adapter A Please apply 4 5 wrap ps s of of te t...

Страница 10: ...d d C Connection For Flex Line Riser S See ee Fi Fig g 5A Fig 5E Loosen nut and d se sepa para rate cold water ri rise ser r t tube from shut off valve Gently ben nd d ri rise ser r tube so that the F...

Страница 11: ...ompression nut 8 Fig 5C 5 Needle Valve tubing connecti tion on i instructions Please first slide the met tal al c com ompr ression nut then the plastic sleeve and push the plastic insert all the way i...

Страница 12: ...em system If you need to extend the drain tubing please use a union connector to connect additional length of tubing Note To avoid d p possible drainage noise mount dr drai ain n line as low as possib...

Страница 13: ...fec ectl tly y g p y Mis al lig igni nin ng these two holes will block the drai ain n wa wat ter and cause membrane damag ge e At tta tach ch t the h drain saddle to the drain pipe an and d ti tig ght...

Страница 14: ...in enameled sinks ca an n re read adily be chipped if care is not exer rci cise sed d wh w en drilling g t the he hole Before starting the drill motor or ap appl ply y firm downward pressure on the e...

Страница 15: ...t Compression nut Fig 9D Fig 9B Fig 9C 12 Option Mo Moun unti tin ng The Faucet Metal Compres ssi sion on F Fitting 1 Mak ake e su sure r the tube insert is pushed all the w way ay into the tubing y F...

Страница 16: ...eflon tape 13 P G IM MP PO OR RT TANT INSTALLATION N NO OT TICE Th The e Q Quick connect fittings come with a an n en e d plug that needs to be removed b be e fore the tubing can be connected Please d...

Страница 17: ...e 8 14 Summary of Tubing Connections There are 4 connections See Fig 11 Fig 11A Point A to A X Co onn nnec ect t RO to COLD water supply Re ed d t tub ubin ing Point G to Y Y Co Connect product water...

Страница 18: ...Stage 5 5th th Stag Stage e g 7 7th th DRAIN LINE 1st Stag age e S Sedi edim ment pre r 2nd St tag age e C Carb arbo on block pre r 3rd Stage e C Carb ar on block pre r 4th Stage Membrane 5th Stage U...

Страница 19: ...i bing ng c color Black tubing Connect the BL LAC ACK K tubing from the RO to the Drai in n Sadd ddle le Fi itt ttin i g type Simply push the Clear tubing g i int nto the Quick Connect fitting N No o...

Страница 20: ...eas a e e co connect UV bulb to transformer 2 2 C Con onn nect the UV bulb pins to the trans nsfo form rmer r Fig 13A 3 3 Insert the UV bulb all the way into the he U UV V l light securely and make s...

Страница 21: ...ear Tubing t to F Fa t ucet Red Tubing from Water Source G F 3 Wait for tank to fill Before usage allow the tank to fill Tank normally takes 2 3 hours to fill When the tank is filled the RO will shut...

Страница 22: ...6 12 months FILTER SET ES Private well water source ma may y n need to replace pre filters sooner tha han n 12 months due to heavy vy s sed edim iments and other particles Filter Hou ousi sing ng O ri...

Страница 23: ...ousi sing ng Have the RO standing upright S Sli ip p th the e plastic wrench onto the 1 hou usi sing ng L Looking down f fro rom m a top view you should open the ho ous usin ing g turning clockwise If...

Страница 24: ...Importan ant t M Make sure the double ring end of th the e me membrane goes into the housing fi irs rst t as as s sh hown in Fig 15 5B B Th T e membrane cannot filter water if it it s s i ins nserted...

Страница 25: ...Fig 15G J K H 22 How w to to R Replace Stage 6 Carbon Filter Re Repl pla ace this last filter at the same time e yo you u r replace the stage 4 membrane 1 Remove the OLD filter Se See e Fi Fig 1 15G...

Страница 26: ...Section P Fig 15H O 23 How to Rep epla lace ce Stage 7 pH Mineral Filter 1 Tur rn n OF OFF F cold water supply to RO system Tu T rn rn O OFF tank ball valve by turning th he e blue ue h handle clockwi...

Страница 27: ...age 36 24 Please read this s se ec ct ti io on n f for useful RO system an nd d m ma ainte n na an nce information TABLE OF CONTENT Part I RO Basics Ba asi sic c te terms page 25 Sy System flow diagra...

Страница 28: ...This s se ection provides basic concepts on how an an R RO OES system works how it perfo orm rms s in in r re elation to your ho ous use e s s water condition We hope this in info form rmat atio ion...

Страница 29: ...the most direc ect effe ect ct on how well y you ur r RO will perform With sufficient water er p pressure 85 psi max your RO s sys yste tem m wi ill func ti tion on w well give high output with high r...

Страница 30: ...re will dete erm rmi ine how full and how fast the storage ta ta k nk will be filled up Th The e st s ronger your input water pressure the e fa fast ster and fuller the tank can fill I If f wa wate te...

Страница 31: ...P Pum u p RO Systems The 3 3 mo most st common problems caused by low inp nput ut water pressure 1 Tank does not fill up get t l lit ittl tle e w wat ter from tank 2 Sluggish flow at the dispe pens ns...

Страница 32: ...System y y Af fte ter r in inst stal a lation if you encounter any o of f th the pr prob obl lems described below please f fol ollo low w th this guide to trouble sh shoo oot t In most cases the probl...

Страница 33: ...From om Water 2 No Water at Di Disp spensing Faucet p p g Water su upp pply ly i is s off Turn on the water supply y o or r o open Needle Valve turn needle ha and ndle le counte er r cl cloc ockwise T...

Страница 34: ...sure see RO Basics fo or r e explanation Check water p pressur ure e I If f too low for this ch chos sen e RO model either increase your wa ate ter r pr p essure or add pump to RO s sys yste tem m I I...

Страница 35: ...rench and simply give an n ad addi diti tio onal quarter inch turn q Do Not o ove ver r ti tighten the housing St Step e 4 Open the tank ball valve e a and nd f fee eed d water line Check for leaks If...

Страница 36: ...experiencing a leak from where the e ta tank ball valve attaches to the tank stem m you may not ha have ve applied enough Teflon tape to the ste em m h when you first installed the valve ve To To c co...

Страница 37: ...ow w to to T Tes est RO s Shut Off Function Th The e R RO system should shut off automa mati tical lly y when the tank is filled When th he e RO RO f fa ails to shut off after ta tank is filled drain...

Страница 38: ...room temperature 35 11 Pure re w wa ater still tastes like Tap water p If If t the he RO system is newly installed p ple leas ase e ma m ke sure the first 1 2 tanks of wat ater er h hav ave been compl...

Страница 39: ...stem Close Ta ank Va alve If the noise comes bac ck k t try ry the he above procedure again another r 2 2 3 3 t tim imes Sometimes it takes several tries to get rid of all th he e ai air r in in the s...

Страница 40: ...Fau auce cet t I Installation Optional Th Ther ere e are 3 colored tubings on your Ai Air r Ga ap p f faucet At the end of each 1 4 tu tubi bing ng the h re is a Q Quick Connect fitting The Quick k C...

Страница 41: ...r that for a period of one 1 year from the date of purchase the Product will be reasonably free of defects in materials and workmanship Within that one 1 year period from the original purchase APEC wi...

Страница 42: ...The Product is not operated in complianc nce e wi with th n normal municipal water conditions for which the particular model of this Product is intended 2 The person seeking to invoke the warranty is...

Страница 43: ......

Страница 44: ...ical support contact us at Techsupport freedrinkingwater com 1 800 880 4808 Ad dv va an nc ce ed d Purification Engineering Corp 1320 S Johnson Drive City of Industry CA 91745 For questions o or r c c...

Отзывы: