background image


5


2.


AC233 will power on and appear on your host computer system in a few seconds. 

The “found new hardware” message will appear with the icon in the system 
tray.   


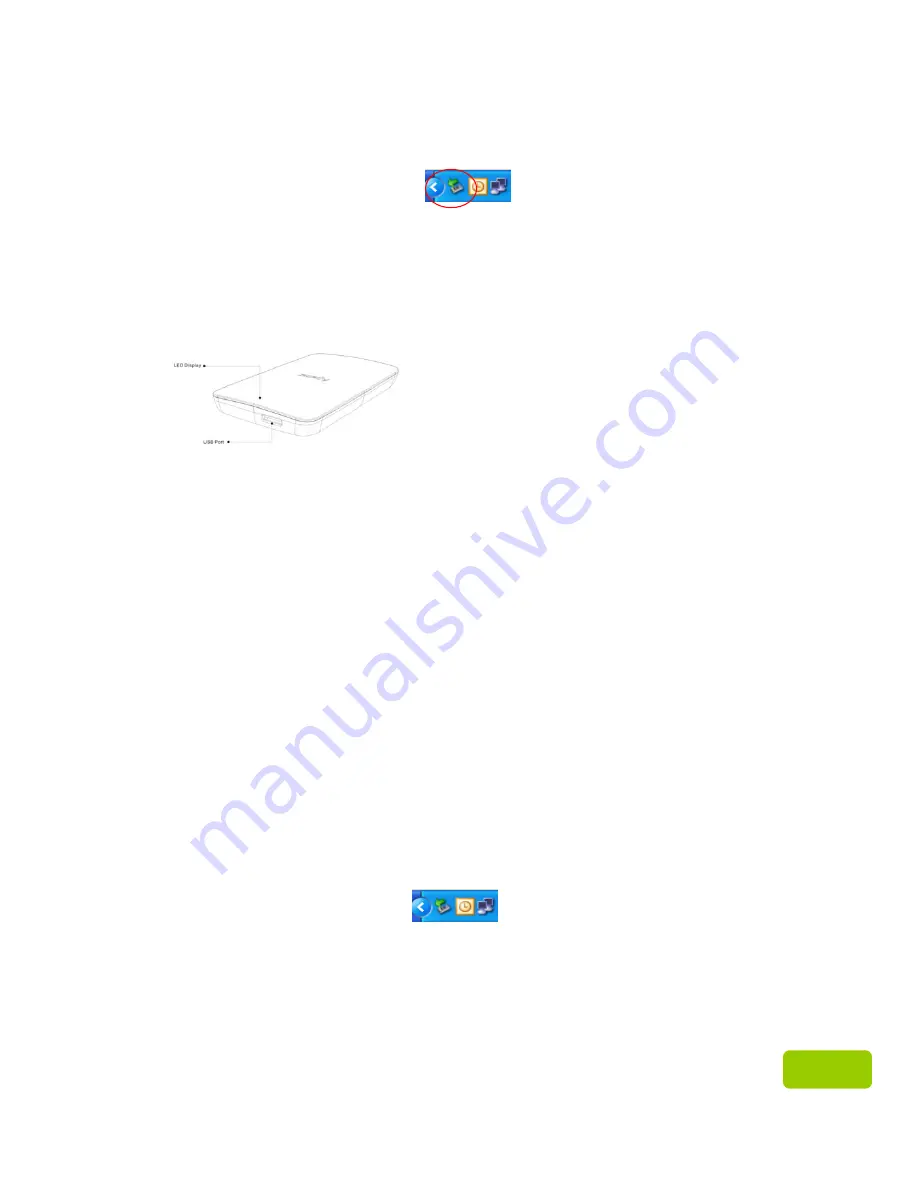
     The LED indicator on your AC233 will indicate if you have properly connected it      
to a computer. For instance, when the LED appears in red color, it means you have 
eastablished connection via USB 2.0 interface. When the LED appears in blue color, 
it indicates you have established connection via USB 3.0 interface. 


3.


Select and organize files and folders that you want to transfer to your AC233. 

 
Note: 

To run at USB 3.0 transfer rate, this Apacer drive is required to work with 
standard USB3.0 interface and relevant drivers. For questions about whether your 
computer can operate at USB 3.0 or not, please refer to the user manual or the 
provider of your computer system. 
 
Please try not to use a USB hub to establish the connection. The hub can not supply 
enough power. 
 

Disconnecting AC233 from the Host Computer 

z


Never disconnect, power off, or restart the device while jobs in progess, 

otherwise it may cause a program error. 

z


For Windows users, always use “Safely Remove Hardware” method before 

unplugging AC233 from the computer. 

1.


Right click on the attached hardware icon, the one with a green arrow. 
The message “Safely Remove Hardware” will appear. 


2.


A window displaying a list of attached devices to your computer will 
appear. Click “Stop” and you will see the message “safe to remove 
hardware”.  Sometimes, when there is only one device attached, the 
“Safe to Remove Hardware” message will appear directly. 

z


For Mac OS users, locate the attached device icon and open the Finder, and 

click the Eject. 

LED lights in blue:  
connection established via USB 3.0 
LED lights in red:  
connection established via USB 2.0 

Содержание aC 233

Страница 1: ...Apacer USB 3 0 2 5 Portable Hard Drive AC 233 User s Manual Version 1 0...

Страница 2: ...r excessive force on it z Avoid squeezing the device to prevent from damage of the internal HDD z When carrying the device always put it in proper protection to avoid physical contact Warnings z Caref...

Страница 3: ...uct Features 3 Diagram of AC233 4 Package Contents 4 System Requirements 4 Connect to Computer and Data File Transmission 4 Disconnecting AC233 from the Host Computer 5 Reformatting AC233 6 For Window...

Страница 4: ...ones In terms of transporting this slim and light weighted portable hard drive is powered by USB making it highly convenient to travel around with it This manual provides information for using many o...

Страница 5: ...dows 7 32 64bit Mac OSX 10 4 or later Linux Kernel 2 6 4 or above z For USB3 0 Windows XP SP3 Vista 32bit Windows 7 32 64bit Linux Kernel 2 6 4 or above Connect to Computer and Data File Transmission...

Страница 6: ...er manual or the provider of your computer system Please try not to use a USB hub to establish the connection The hub can not supply enough power Disconnecting AC233 from the Host Computer z Never dis...

Страница 7: ...ed USB cable See System Requirements for the list of supported operating systems 2 Go to My Computer and right click on the newly added hard drive icon Then select Format The name of the drive can be...

Страница 8: ...ive Then select Format Regarding the name of the drive and the drive letter it appears in names defined by the Windows once detected such as Local Disk Removable Storage For the drive letter it may va...

Страница 9: ...he hands of a Windows user However if there is a need for partitioning the drive again please follow the steps below 1 Please use the USB cable to connect AC233 to your computer 2 Please go to Start r...

Страница 10: ...9 9 4 Once it has become an Unallocated disk Then right click and select New Partition On the window of New Partition Wizard click Next New Partition Disk New Partition Wizard window...

Страница 11: ...10 10 5 Choose Primary Partition and then press Next Choice of partition type 6 You can choose the partition size and then press Next Assign partition capacity...

Страница 12: ...ive letter Assign disk path 8 Choose File System type For NTFS there is no limitation for allocation unit size making it a preferred choice for drives with large capacity However for FAT32 individual...

Страница 13: ...completed the disk will be ready for use Notes There is a Perform a quick format option in a previous step where you choose the file system type for configuring your format partition This format opti...

Страница 14: ...3 from the column on the left 3 Click the Partition tab to the right 4 From the Volume Scheme pop up menu choose the number of partitions you want for this drive You must choose at least one partition...

Страница 15: ...in the Disk Utility list and in the Finder Note 1 Formatting will erase everything on the drive If you have data or files that you want to protect and keep using back them up in another storage befor...

Страница 16: ...een formatted z Make sure the operating system supports the file system of the device z Actual capacity is different from what is listed on package Small discrepancies are due to different file system...

Страница 17: ...ith USB 2 0 Capacity 500GB 750GB 1TB Device Interface Transfer Rate USB 2 0 interface up to 480 Mbps USB 3 0 interface up to 5 Gbps Rotation Speed 5400 RPM Cache 8M LED Indicator Light s on solid for...

Отзывы: