ACROBAT HD MINI SETUP
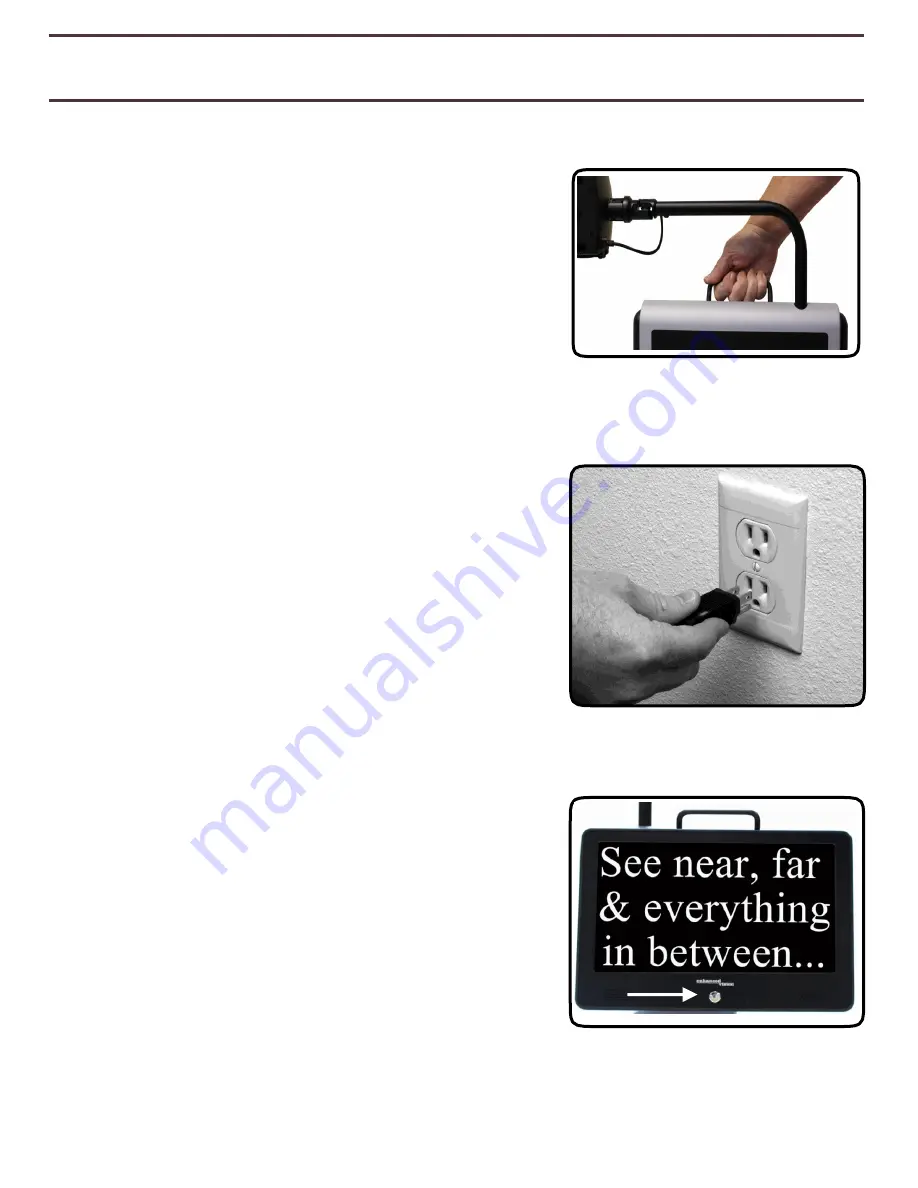
1. Unpacking and transporting the Acrobat HD Mini
During unpacking and transporting, be sure to lift the
Acrobat HD Mini by the built-in carrying handle.
Do not attempt to lift or carry the LCD by the base.
(See Figure 1)
2. Setup the Acrobat HD Mini
Place the Acrobat HD Mini on a flat level surface such
as a table or desk.
3. Connect the AC power
Connect the power cord to an available wall outlet (See
Figure 2). Connect the other end of the power cord to the
back of the Acrobat HD Mini. To offer additional
protection during an electrical storm, a surge
protector may also be used and is recommended.
4. Turn the power on
On the front, center, of the Acrobat HD Mini LCD
press the power button (See Figure 3). The LCD
screen will turn ON in a few seconds.
Turn the power OFF by pressing the same button.
However, leave the power ON
for
this
training
section.
Once the Acrobat HD Mini has been powered on you
can then use the green
“Power” button located in the
upper right corner of the Acrobat HD Mini Remote to
power the Acrobat HD Mini camera on/off. The LCD
will go into standby (Amber).
**Note: When the LCD is in standby and the unit
is not plugged into the wall power the battery
will drain over time.
Figure 1
Figure 2
Figure 3
Acrobat HD Mini Setup
11
Содержание acrobat-mini
Страница 1: ...Users Manual...
Страница 10: ...2 1 4 6 7 3 5 9 10 10 Acrobat HD Mini Package 8...
Страница 38: ...NOTES Notes...
Страница 39: ...Notes NOTES...


