WebConsole - Switching Options
72
NX-Series Controllers - WebConsole & Programming Guide
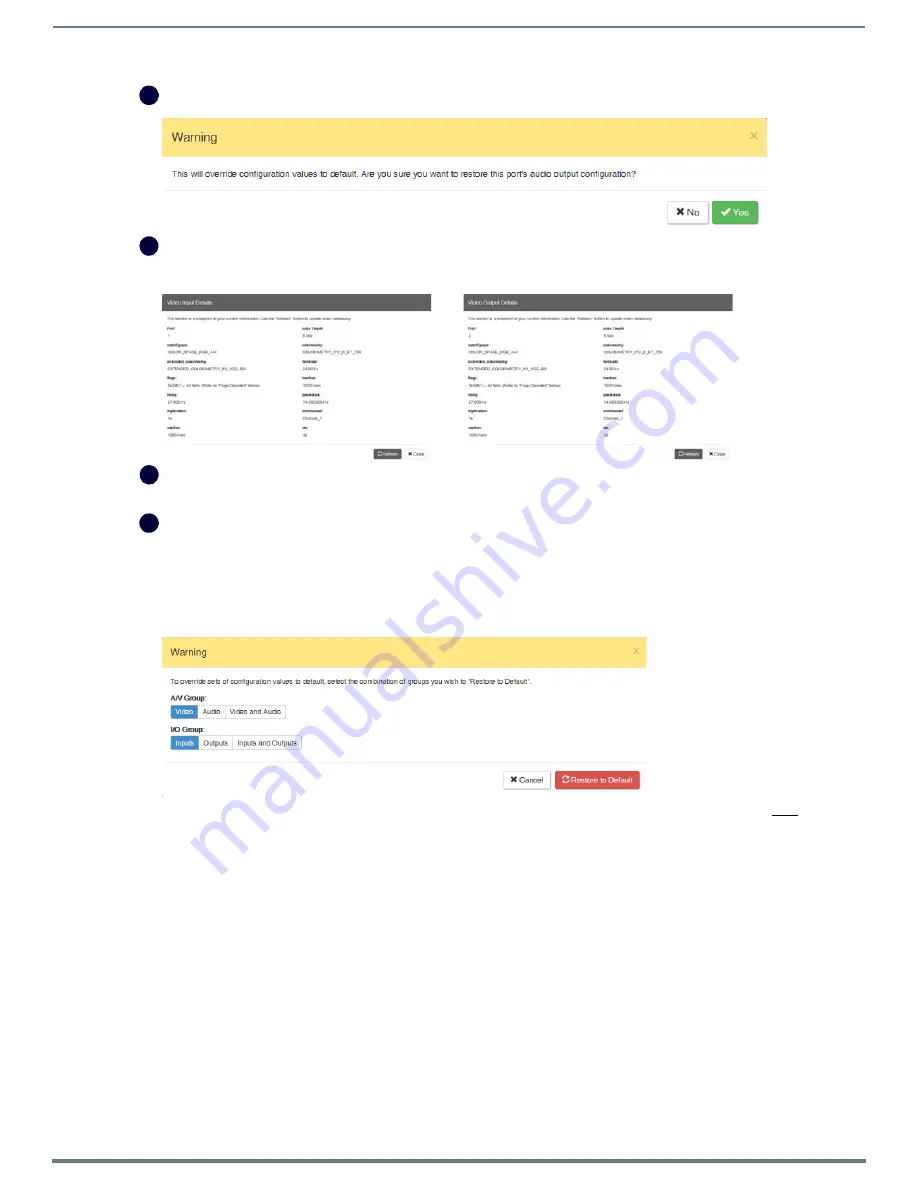
Restore to Default
(red) button – click to open the Warning dialog box below, which requires you to select the Yes button to restore
the currently selected input or output to its factory default settings.
Video
Details
or
Audio Details
button – click to display additional video or audio details for inputs or outputs, depending on current
selection (video: colorSpace, flags, pixelclock, etc.; audio: CTS Value, N Value, Audio Mute State, etc.). Examples of both Video Input
and Output Details are shown below. Audio details are similar.
Video
,
DXLink
, and
Audio
settings – the settings section of the Configuration page changes depending on the type of signal,
whether it is an input or an output, and whether a DXLink unit is attached. A variety of interface controls are used to change the
settings (e.g., buttons, sliders, drop-down lists) depending on the values involved. Details for these settings follow this section.
Switcher Setup
button options are available on both the Switching and the Configuration pages.
Save
and
Load
buttons
– after a system has been set up per the installation’s requirements, the configuration values for the entire
switcher’s state (i.e., currently routed switches, video settings, and audio settings) can be saved and reloaded onto another
system(s) or backup system(s) for reuse. The file type is .xdg with XML content. When the Save button is clicked, the file is saved as
a non-editable text file.
Group Restore to Default
button – click to open the Warning dialog box below, which requires you to select an A/V Group and an
I/O Group to restore to their factory default settings.
IMPORTANT:
When selecting a signal to configure, the Config Viewer button selection, Inputs Only or Outputs Only, must correspond
to the input or output button selected.
D
E
F
G


