ACTIV-PRO
INSTALLATION GUIDE | 6
amqsolutions.com
PHASE 1
| Preparing for Assembly
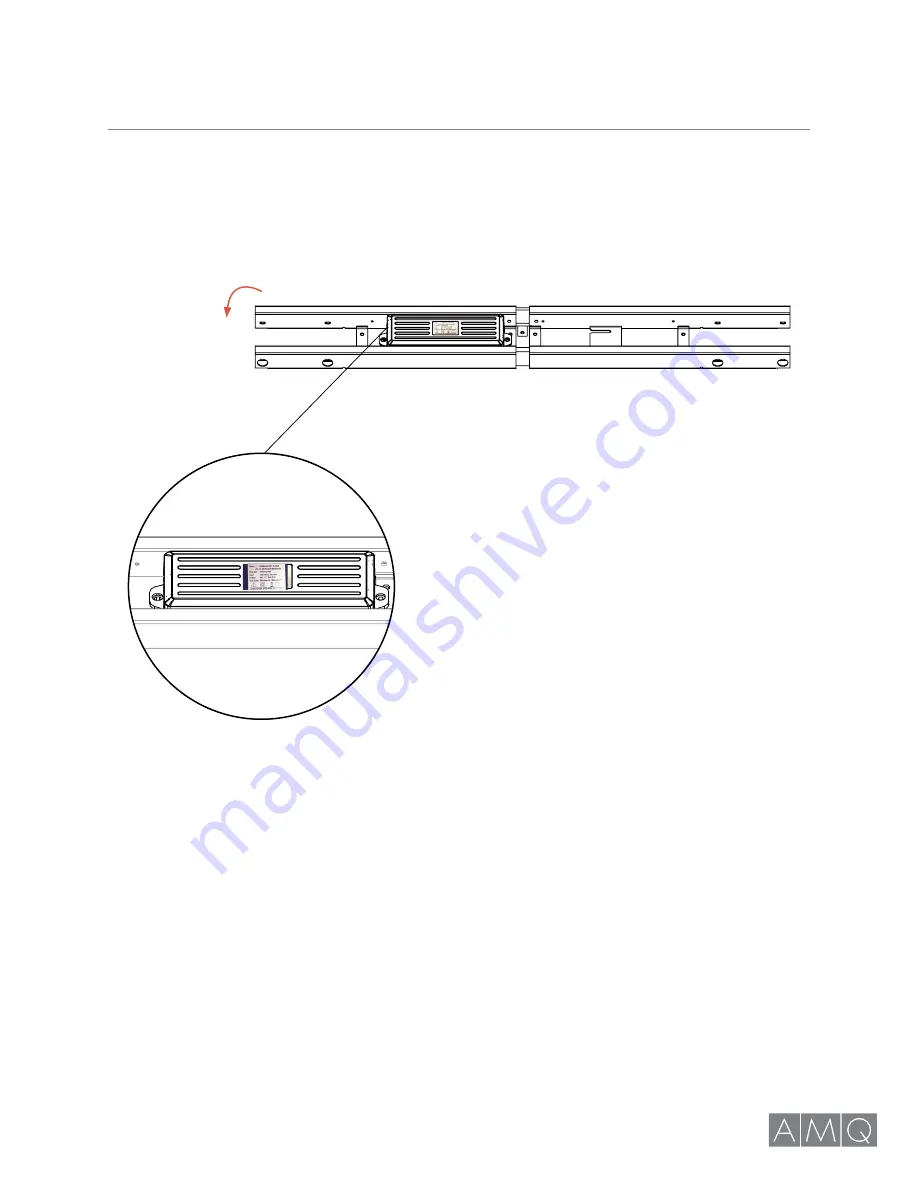
Step 1
Place Stretcher Bar unit upside down on work area.
Turn Stretcher Bar upside down
The label will face up when
Stretcher Bar is upside down
and ready to begin assembly.


