www.amico.com 25
Section 4: Adjustments
Counterbalance
WARNING:
DO NOT OVER ROTATE THE COUNTER BALANCE BOLT. ONCE YOU FEEL A RESISTANCE, STOP COUNTER
BALANCING. FORCING THE BOLT WILL DAMAGE THE INTERNALS OF THE AHM ARM AND VOID THE WARRANTY.
WARNING:
KICK BACK MOTION: WHEN THE ARM IS LOCKED AND NOT IN THE HIGHEST POSITION, IT IS CAPABLE
OF RAPIDLY LIFTING TO THE HIGHEST POSITION ONCE THE LOCKING LEVER IS RELEASED. THIS CAN CAUSE INJURY
TO PERSON(S) IF THEY DON’T SUPPORT THE ARM WITH THEIR HANDS ONCE THE LEVER IS RELEASED
(FIGURE 1
ON THE NEXT PAGE)
.
NOTE:
Height locking lever restricts the motion of the AHM arm when it is in locked position. Therefore, before
counter balancing with the monitor already installed, please ensure the height locking lever is released and the
arm is mobile.
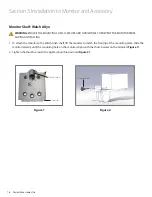
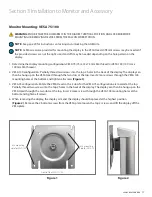
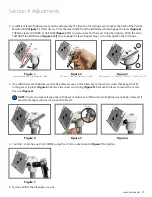
1. Once the monitor is securely installed, release the height lock and position the AHM arm to align the opening in the
cover with the counter balance bolt. Tighten the locking lever again to lock the AHM arm
(Figure 1)
.
2. To adjust for heavier loads, tighten the counter balance bolt clockwise. To adjust for lighter loads, tighten the
counter balance bolt counter-clockwise
(Figure 1)
.
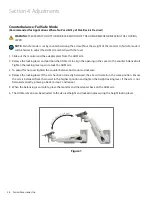
3. Release the locking lever. If the arm has been correctly balanced then the arm will not drop or lift and it will remain
in the same position. Ensure the arm is balanced from the lowest to the highest position by checking in various
positions and tighten the height locking lever with the arm at the desired position.
4. If the arm is not balanced correctly, please go back to step 2 and repeat. To avoid the kick back motion, the counter
balance can be set to a “fail safe mode” (See next page).
Figure 1
Figure 2
Counterbalance Bolt
(1/2") (3.8 cm)
Height Locking
Lever
Opening of the cover
Counterbalance Bolt (1/2") (3.8 cm)
Содержание AHM
Страница 1: ...Installation Instructions Manual Adjustable Height Monitor AHM Arm...
Страница 35: ......

