Installation
AngelShark
Internal M.2 PCIe SSD Expansion Carrier Board for Apple Mac Pro (Late 2013)
Hardware Manual, Revision 1.0
Page 8
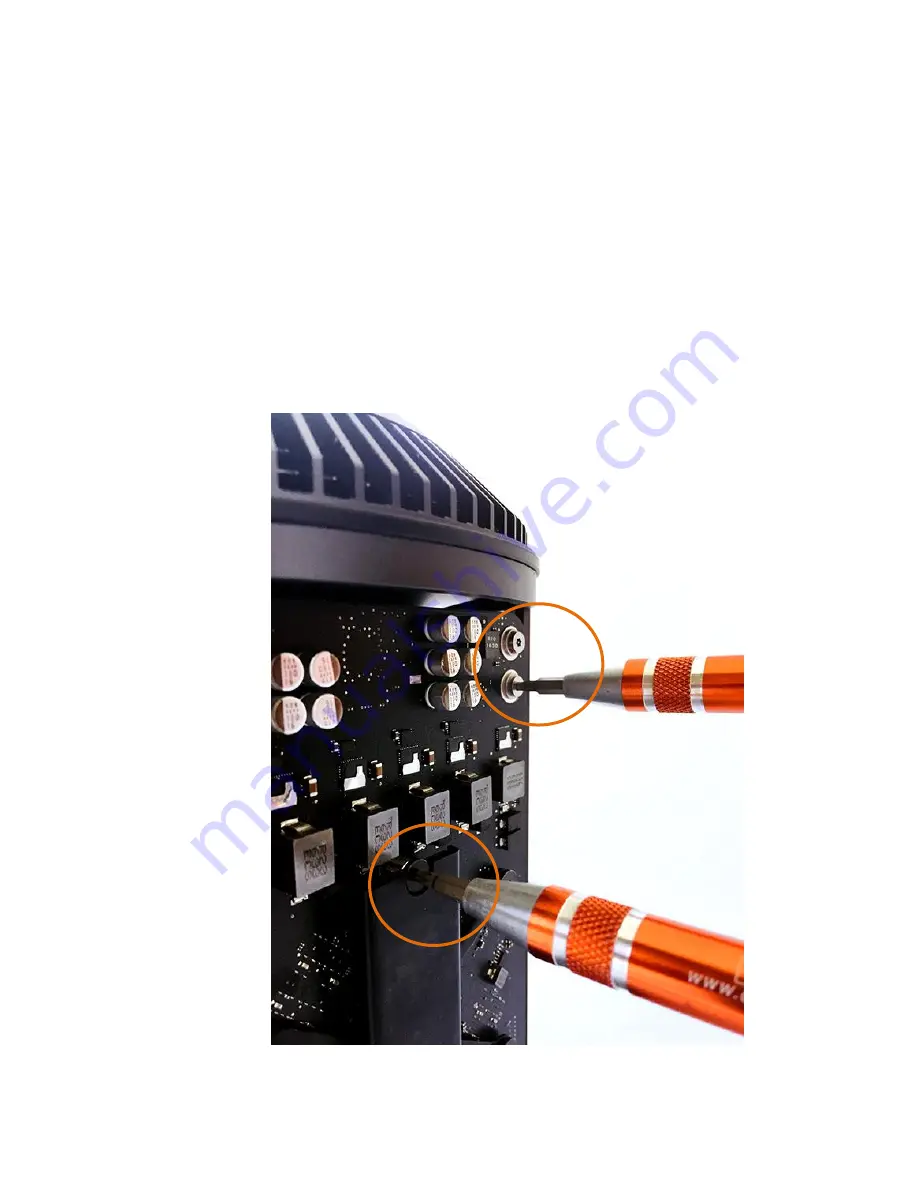
Removing the SSD module and power screws:
3) Use the screwdriver with Torx T8s bit (item #2) to remove the black
screw that secures the Mac SSD module in place (original). Set the
black screw aside.
4) Lift the black (original) Mac SSD module up, until it pops out. Set it aside.
5) Use the screwdriver with Torx T8s bit (item #2) to remove the two power
screws (top-right corner). These screws are no longer required, because
they will be replaced (with power standoffs items #3 & #4).


