MEGAPOWER CPU ETHERNET FIRMWARE UPGRADE PROCEDURE
8200-0813-01, REV. B0
INSTALLATION GUIDE
10 of 12
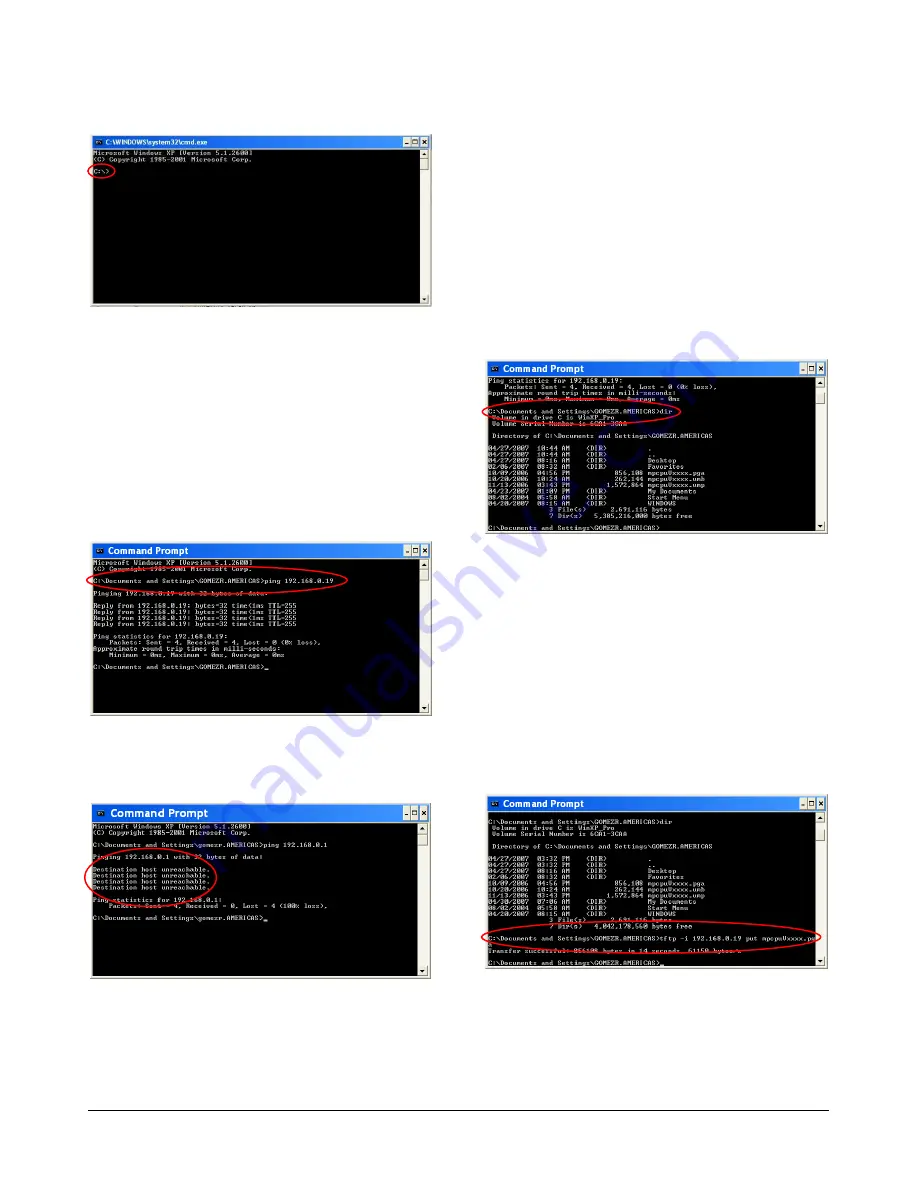
Figure 23. Command Prompt screen
3. At the Command Prompt, enter
CD
to change
to your desired directory. For example:
CD
MPCPU_Upgrade
4. At the Command Prompt, type the
ping
command, the MPCPU IP address, and press
Enter
to verify that the unit is responding. For
example:
C:\Documents and Settings\MPCPU_ Upgrade
>
ping 192.168.0.19
Figure 24. Ping command
5. If there is no response or failure, verify that the
address was typed correctly and try again.
Figure 25. Connection failure screen
6. If still no response, stop this procedure and
troubleshoot the connection problem before
proceeding.
7. At the Command Prompt, type
dir
and press
Enter
to see a listing of the files for this path.
8. Verify that the ADMPCPU FLASH upgrade
files are present. This listing will be used as a
reference when typing the file names later in
this procedure.
9. If the files are not present, navigate to the
proper location or use Windows Explorer to
move the files to this location, and then type
dir
again in the Command Prompt window to
refresh the display. For example:
C:\Documents and Settings\
MPCPU_Upgrade>
dir
Figure 26. Directory screen
10. At the Command Prompt, type
tftp –i
, the
MPCPU IP address,
put
, and the previously
displayed filename to send the FPGA file
(
mpcpuV
xxxx
.pga
) to the MPCPU.
Be sure to include the “
–i
” (minus, lowercase
letter “I”) format identifier. After each file is
transmitted, a “transfer successful”
confirmation line is displayed. Example of the
tftp command:
C:\Documents and Settings\MPCPU_Upgrade
>
tftp –i 192.168.0.19 put mpcpuVxxxx.pga
Figure 27. Updating the FPGA file
11. At the Command Prompt, type
tftp –i
, the
MPCPU IP address,
put
, and the previously
displayed filename to send the boot file
(
mpcpuV
xxxx
.umb
) to the MPCPU (see
Figure 28).


