©American Audio® www.americanaudio.us DCD-PRO310 MKII™ User Manual Page 21
S
ELECTING
T
RACKS
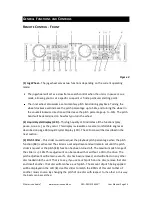
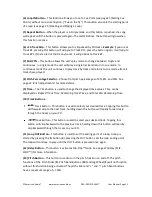
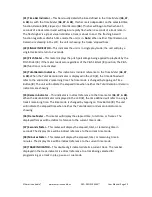
Select a desired track by using either of the two
Track Buttons
(
10
). Tapping the
Track
Buttons
(
10
) once will select either a higher or lower track. You may hold down the
Track
Buttons
(
10
) to change tracks continuously at a higher speed. If you are using the
Track
Buttons
(
10
) to select a new track during playback (a track already playing) the new track you
selected will immediately begin playback as soon as the search operation is completed.
S
TARTING
P
LAYBACK
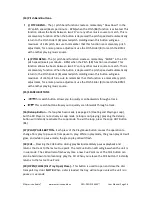
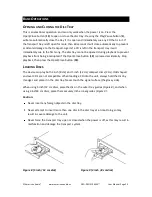
Insert an audio CD as described on page 20 (Loading Discs). Pressing the Play/Pause Button
(
17
) with an audio CD inserted will immediately start playback. The point at which playback
starts (Cue Point) will automatically be stored in the memory as Cue Point. The unit will
return to this Cue Point (the point at which playback started) when the CUE Button (
18
) is
pressed.
S
TOPPING
P
LAYBACK
Stopping playback will not stop the drive mechanism, but merely pause or cue the track.
There are two ways to stop playback:
1.
Press the Play/Pause button (
17
) during playback to pause at that point.
2.
Press the CUE button (
18
) during playback to return the track to its last cue point.
P
AUSING
Pausing temporarily stops playback. Pressing the Play/Pause Button (
17
) changes the
operating mode between play and pause.
S
ETTING
C
UE
P
OINTS
”Cueing” is the action of preparing for playback. The unit is designed to automatically cue at
the first audible signal on the first track of a disc when a disc is inserted. If a track is selected
before a disc is inserted, the unit will automatically cue to the first audible signal for the
selected track.
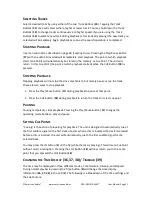
You may press the IN button (
4
) on the fly (while the disc is playing). This will set a Cue Point
without music interruption. Pressing the CUE Button (
18
) will now return you to the same
point that you pressed the CUE Button (
18
).
C
HANGING THE
T
IME
D
ISPLAY
(36,
37,
38)
/
T
IMEBAR
(39)
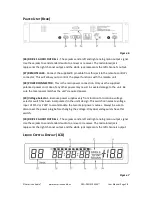
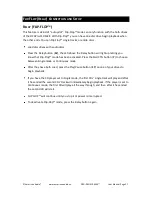
The time may be displayed in three different modes;
Total Remain
,
Remain
, and
Elapsed
.
During normal playback, pressing the Time button (
9
) will change the time display
information (
36, 37, 38
) in the LCD (
2
). The following is a breakdown of the time settings and
their definitions:

