


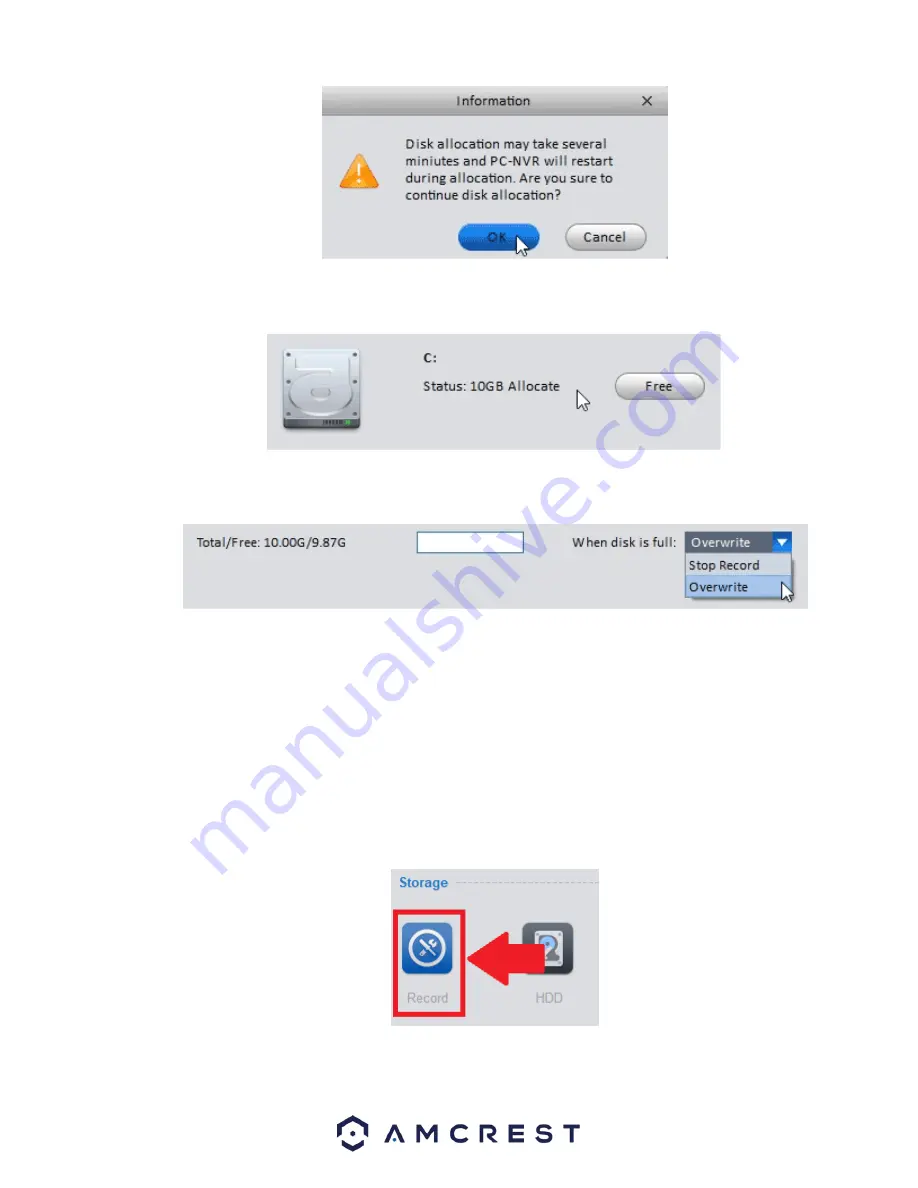
30
You will notice the disk you selected will now have the allocated space you selected, and at any point in time you can
select
Free
to free up the space by wiping that allocation.
At the top of the
Disk Manager
window you can select what happens when the disk you’ve allocated gets full. Two options,
Stop
Record
to end all recordings after the disk is full or
Overwrite
to continue to save over the oldest recorded data.
You’ve successful
ly added your camera to Amcrest Surveillance Pro, turned your computer into a PC-NVR and have the camera
recording any or all the motion events you have set up internally on the cameras main interface.
How to Setup Recording
The Amcrest Surveillance Pro software allows you the opportunity to set your added device to record on motion or on continuous
(general) recording. You can also set recording schedules for your device.
Storage
To begin setting up recording settings for your device, a microSD card or PC-NVR must be established to storage the recordings.
When a storage device has been established in your device, navigate to the
Home Page
and click on the
Device CFG
icon in the
settings menu. Select the device you wish to configure and in the
Storage
field, click on the
Record
icon.


