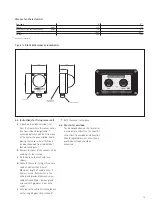
3.1 Method of jointing aluminium tube
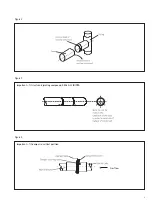
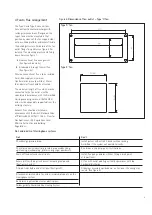
Using the applicator gun exude 4mm
diameter bead of high temperature
silicon jointing compound externally
round the end of the fitting and
internally round the end of the tube.
(See figure 2)
Enter the fitting into the tube using
a slight rotating movement to spread
the jointing compound uniformly
until a penetration of 75mm (3in)
is achieved.
Note
The silicon jointing compound
remains workable after application
for only 5 minutes.
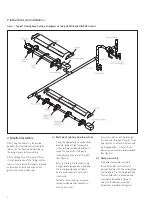
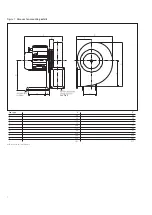
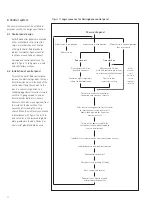
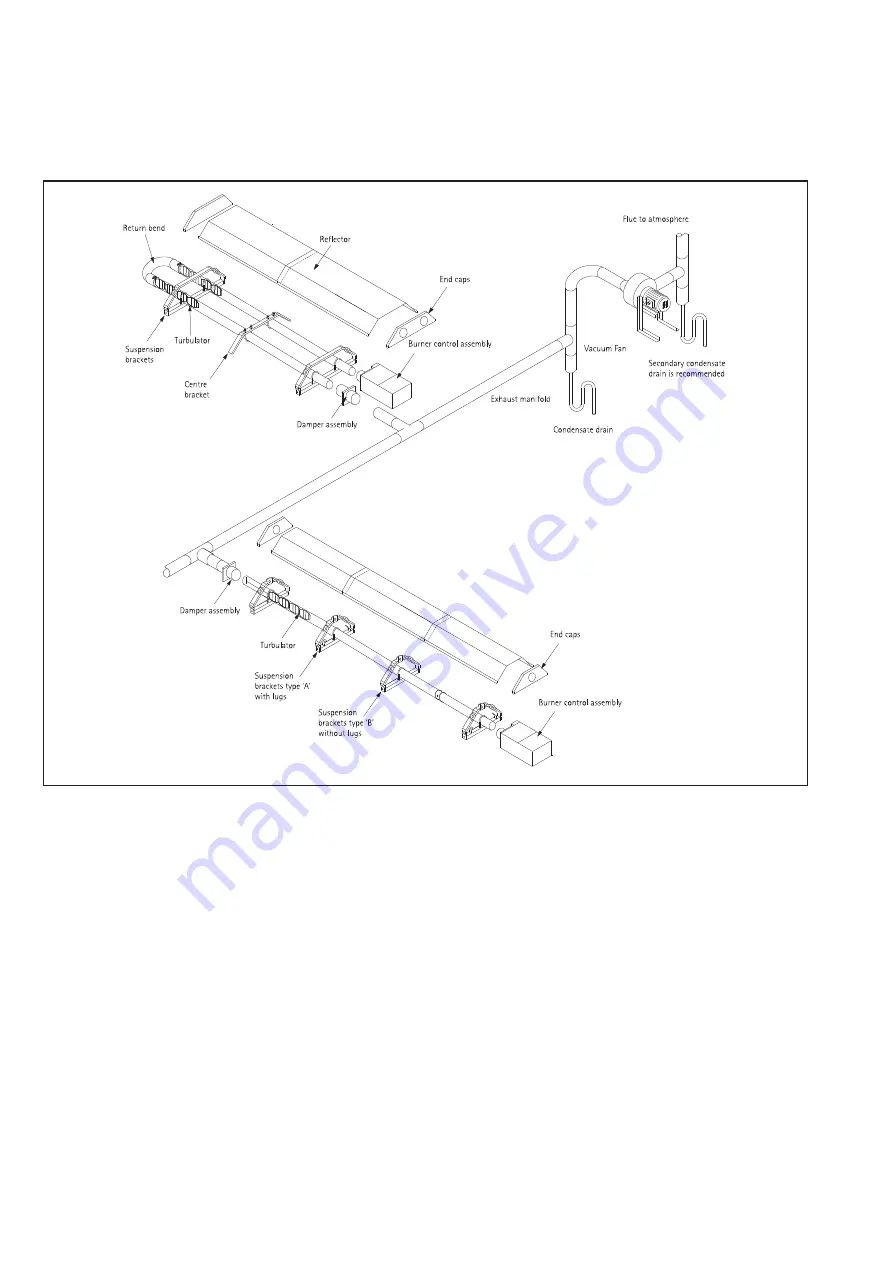
Figure 1 Typical Herringbone heating arrangement using
AR
22
HB
and
HB
22
AR
heaters
3 Manifold assembly
2 Instructions and installation
After fixing the heaters in the desired
position, the manifold system should be
laid out on the floor, where possible, to
the design layout before erecting.
After allowing for a minimum of 75mm
(3in) of penetration of the fitting into the
tube, cut the tubes to the lengths required
and remove all burrs and wipe off any
grease or oil with a clean rag.
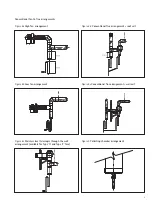
Secure the joint by drilling through
the tube and fitting and fix with three
pop rivets at 12 o’clock, 4 o’clock and
8 o’clock positions. 3-5mm (
3
/
16
in)
diameter pop rivets are recommended.
(See figure 3)
3.2 Damper assembly
The damper assembly secured to
the outlet end of the heater unit
must be located with its damper blade
vertical and left in the closed position.
The manifold tube to be sealed and
secured (as described in figures 2
and 3) to the damper assembly.
For damper assembly see figure 4.
3
Содержание Herringbone HB
Страница 1: ...HERRINGBONE HB COMBINED FLUE SYSTEM...
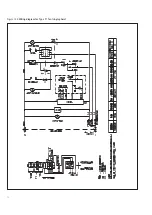
Страница 14: ...Figure 12b Wiring diagram for Type 0 fan single phase 13...


