Airfield Lighting Systems UK Limited
Aviation House, Russell Gardens, Wickford
Essex SS11 8BF Tel +44 1702 547866
www.alsukltd.co.uk
4.2.5 Waterproof test
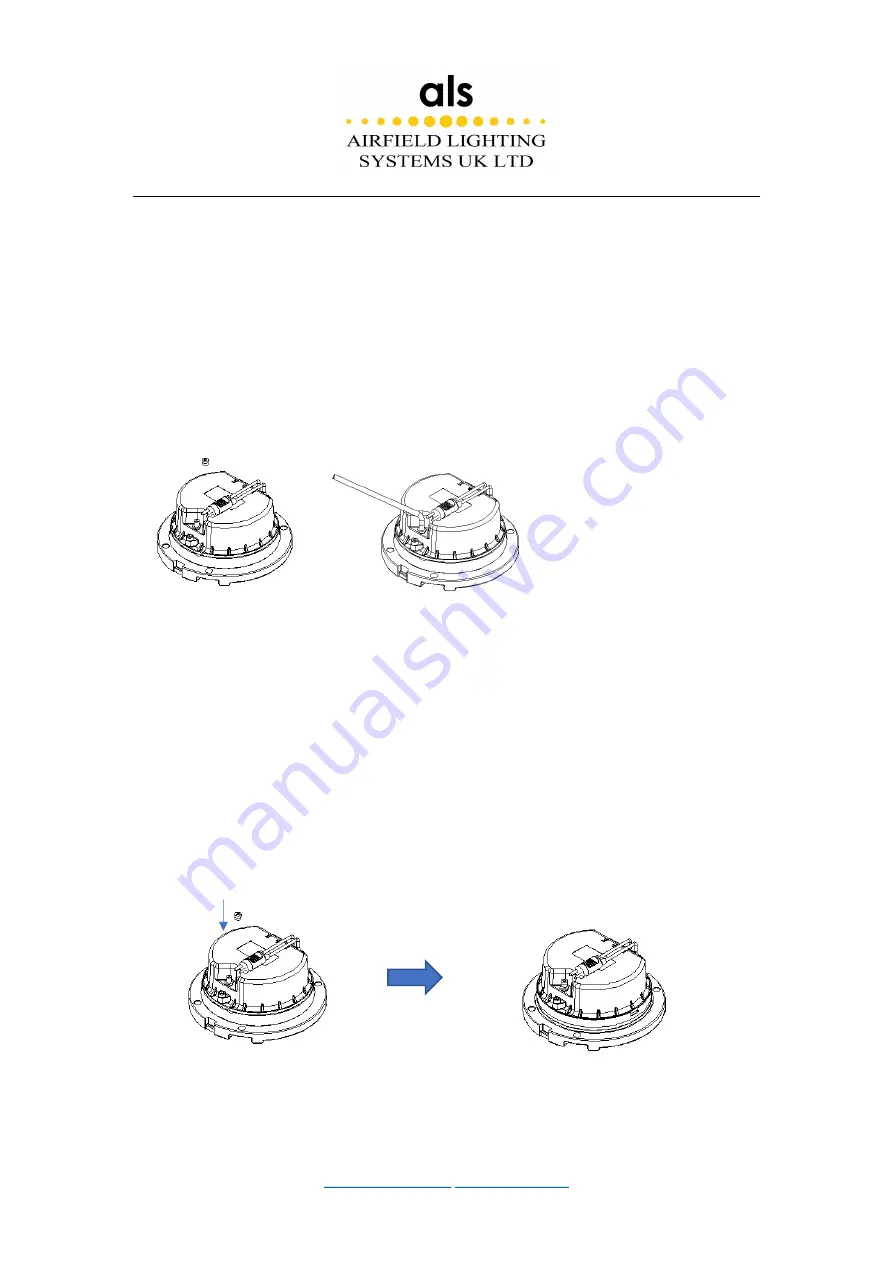
Prepare
1. Remove the gas valve cap at the bottom of the light.
2. Use air compressor to inject air into the lamp (the test air pressure shall not be less than
130kpa).
Test
1. Put the light fixture in water, keep the water level above the lamp, wait 3 minutes and
observe if air leaks out of the light fixture.
1) If air leaks out continuously (between bottom cover and upper cover or between prism
and upper plate or between gas valve and bottom cover), the light fixture is not watertight
and must be repaired. Release the air from the light. Disassemble the light fixture and re-
check the mating surfaces, prism, prism gasket and O-ring. Replace the damaged parts.
Assemble the light fixture and perform the water-tightness test again.
2) If no air leaks out continuously, the light fixture is water-tight. Release the compressed
air from the light fixture and assemble the cap on the valve.
The light fixture that passes the water-tight test is ready to be installed and used in the field.


