Chapter 3: Installing the Router and Powering on the Router
26
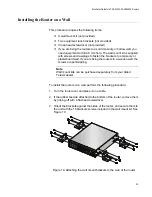
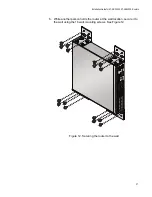
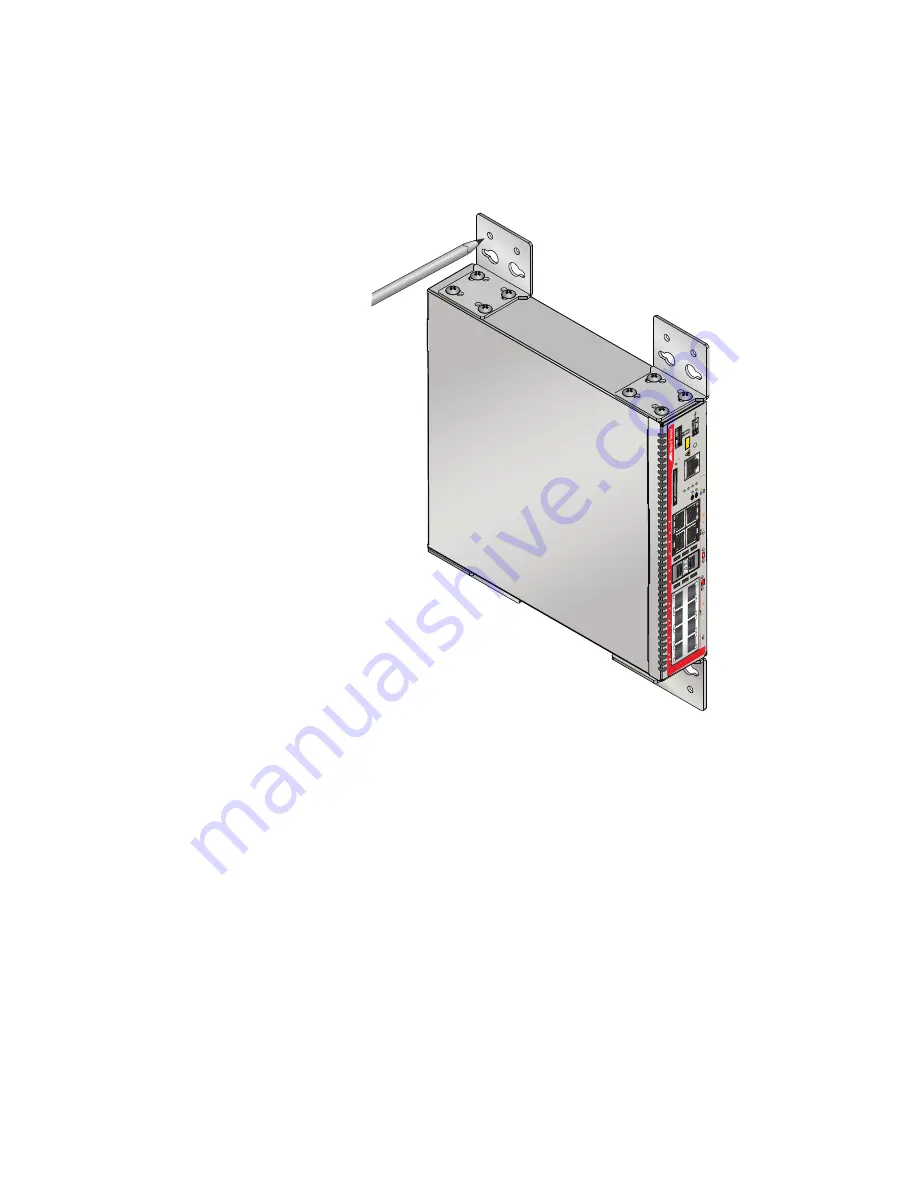
4. Have another person hold the router at the wall location where the
router is to be installed, while you use a pencil or pen to mark the wall
with the locations of the holes in the brackets. The router should be
oriented such that its front faceplate is facing to the left or right, and is
vertically level. See Figure 11.
Figure 11. Making the anchor hole locations
5.
C
L
A
S
S
1
L
A
S
E
R
P
R
O
D
U
C
T
CONS
OLE
S
D
S
D
FA
UL
T
P
WR
F
NC1
F
NC2
RE
S
E
T
1
2
3
4
5
6
7
81
2
B
Y
PA
S
S
12
12
US
B
HA
F
D
X
H
D
X
C
O
L
R
E
AD
Y
F
AU
LT
R
E
AD
Y
F
AU
LT
MAST
E
R
ST
AN
D
BY
ET
H
ET
H
1
0
0
0
L
IN
K
AC
T
1
0
0
L
IN
K
AC
T
AR305
0S
Содержание AT-AR3050S
Страница 8: ...Figures 8 ...
Страница 10: ...Tables 10 ...
Страница 14: ...Preface 12 ...
Страница 50: ...Chapter 2 Beginning the Installation 16 ...
Страница 76: ...Chapter 5 Troubleshooting 40 ...


