background image


10


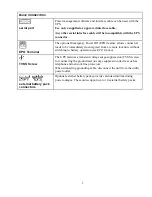
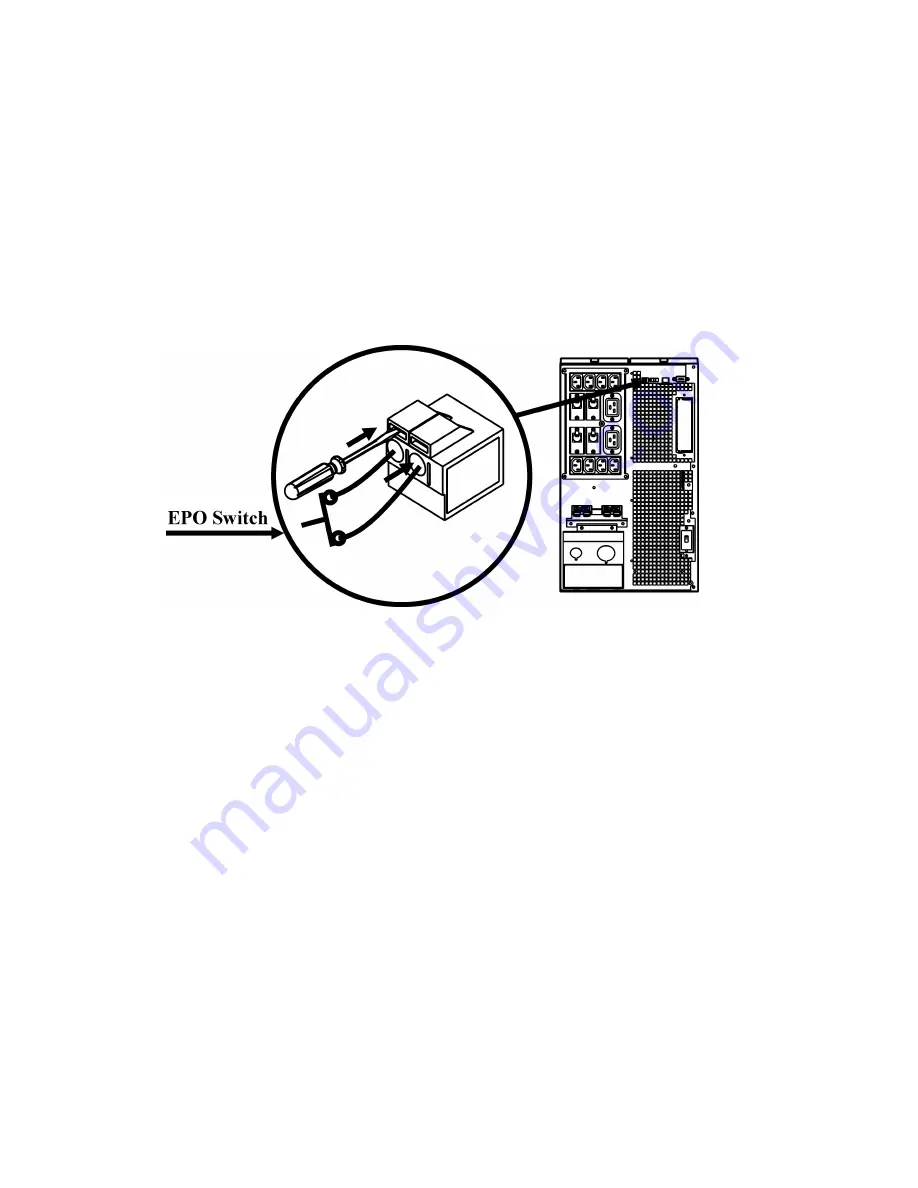
EPO (Emergency Power Off) Option 

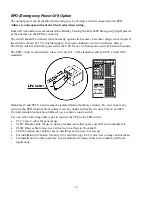
The output power can be disabled in an emergency by closing a switch connected to the EPO. 

Adhere to national and local electrical codes when wiring. 

Rockwell Automation recommends Allen-Bradley Catalog Number 800F Emergency Stop Operator 
as the interface to the EPO to connector. 

The switch should be connected in a normally open switch contact. External voltage is not required; 
the switch is driven by 12 V internal supply. In closed condition, 2m A of current are drawn. 
The EPO switch is internally powered by the UPS for use with non-powered switch circuit breakers. 


The EPO circuit is considered a Class 2 circuit, (UL, CSA standards) and an SELV circuit (IEC 
standard). 


Both Class 2 and SELV circuits must be isolated from all primary circuitry. Do not connect any 
circuit to the EPO terminal block unless it can be confirmed that the circuit is Class 2 or SELV. 
If circuit standard cannot be confirmed, use a contact closure switch. 


Use one of the following cable types to connect the UPS to the EPO switch: 


CL2: Class 2 cable for general use 


CL2P: Plenum cable for use in ducts, plenums, and other spaces used for environmental air. 


CL2R: Riser cable for use in a vertical run in a floor-to-floor shaft. 


CLEX: Limited use cable for use in dwellings and for use in raceways. 


For installation in Canada: Use only CSA certified, type ELC (extra-low voltage control cable). 


For installation in other countries: Use standard low-voltage cable in accordance with local 
regulations. 

Содержание 1609-P10000E

Страница 1: ...41063 261 01 1 990 2672 09 2005 Allen Bradley User Manual for 8000 10000 VA UPS 1609 P8000E 8000 VA 200 240 VAC 1609 P10000E 10000 VA 200240 VAC Tower Rack Mount 6U Uninterruptible Power Supply...

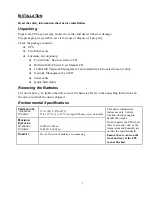
Страница 2: ...rt Guide Removing the Batteries The unit is heavy To lighten the unit remove the batteries Refer to the unpacking instructions on the carton in which the unit is shipped Environmental Specifications T...

Страница 3: ...6 Use appropriate glands to achieve strain relief on the hardwired input and output power cables Input Connection Output Connection optional Wire to L1 L2 Wire to L1A L2A System Wiring Voltage Current...

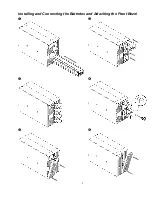
Страница 4: ...3 Installing and Connecting the Batteries and Attaching the Front Bezel...

Страница 5: ...up the UPS The battery charges to 90 capacity during the first three hours of normal operation Do not expect full battery run capability during this initial charge period OPTIONS q External Battery Pa...

Страница 6: ...ely de energized from a remote location without switching to battery operation see EPO Option TVSS Screw The UPS features a transient voltage surge suppression TVSS screw for connecting the ground lea...

Страница 7: ...ch Battery operation is not available while the UPS is in bypass mode see Troubleshooting Fault The UPS detects an internal fault see Troubleshooting Overload The connected loads are drawing more powe...

Страница 8: ...ltage display Press and hold the button to view the utility voltage bar graph display After a few seconds the five LED Battery Charge display on the right of the front panel shows the utility input vo...

Страница 9: ...nt Alarm Delay After Line Failure 5 second delay 5 second delay 30 second delay At Low Battery Never Mute ongoing alarms or disable all alarms permanently Shutdown Delay 20 seconds 0 20 60 120 240 480...

Страница 10: ...bypass operation Output Voltage 208 230 V models 230 VAC 208 230 V models 200 208 220 230 240 VAC Allows the user to select the UPS output voltage while online Output Frequency Automatic 50 3 Hz or 6...

Страница 11: ...uit UL CSA standards and an SELV circuit IEC standard Both Class 2 and SELV circuits must be isolated from all primary circuitry Do not connect any circuit to the EPO terminal block unless it can be c...

Страница 12: ...nal battery packs Once the blank terminal window is open follow these steps to enter the number of battery packs Press ENTER to initiate terminal mode Press ENTER multiple times until the prompt User...

Страница 13: ...outages Use caution when handling heavy battery modules Refer to Installing and Connecting the Batteries and Attaching the Front Bezel for battery replacement procedure reverse instructions for batte...

Страница 14: ...or are near the end of service life Charge the battery module s Modules require recharging after extended outages and wear faster when put into service often or when operated at elevated temperatures...

Страница 15: ...he battery connectors are fully engaged Weak battery Allow the battery to recharge for 24 hours Then perform a self test If the problem persists after recharging replace the battery Failure of a batte...

Страница 16: ...Support Refer to Contact Information below 3 Pack the UPS in its original packaging Pack the UPS properly to avoid damage in transit Never use Styrofoam beads for packaging Damage sustained in transi...

Страница 17: ...N Deenergizing Safety If the UPS has an internal energy source battery the output may be energized when the unit is not connected to a utility power outlet To deenergize a pluggable UPS press the OFF...

Отзывы: