■
chapter 4 upgrading your computer
4-11
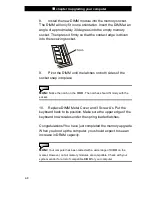
the latches on both sides of the socket snap into place.
Note:
If you want to remove a mini PCI card from the socket, press out on the
latches located on both edges of the socket at the same time. The card should
pop up to an angle of 30 degree.
3.
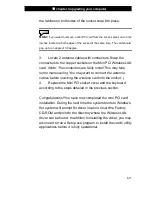
Locate 2 antenna cables with connectors. Snap the
connectors to the copper sockets on the Mini PCI Wireless LAN
card.
(Note: The connectors are fairly small! This may take
some maneuvering. You may want to connect the antenna
cables before inserting the wireless card into the socket. )
4.
Replace the Mini PCI socket cover and the keyboard
according to the steps detailed in the previous section.
Congratulations! You have now completed the mini PCI card
installation. During the next time the system boots to Windows,
the system will prompt for driver location. Insert the Factory
CD-ROM and point to the directory where the Wireless LAN
driver can be found. In addition to installing the driver, you may
also need to run a Setup.exe program to install the card’s utility
applications before it is fully operational.
Содержание Area-51m 766
Страница 1: ...i 1...
Страница 13: ...chapter 1 getting to know the basics 1 4 System At A Glance Front View...
Страница 89: ...appendix A product specification A 1 A P P E N D I X A PRODUCT SPECIFICATION...
Страница 95: ...appendix B agency regulatory notices B 1 A P P E N D I X B AGENCY REGULATORY NOTICES...

