52
1.
Select the
Advanced
tab.
2.
Select the camera to be configured with video loss detection.
3.
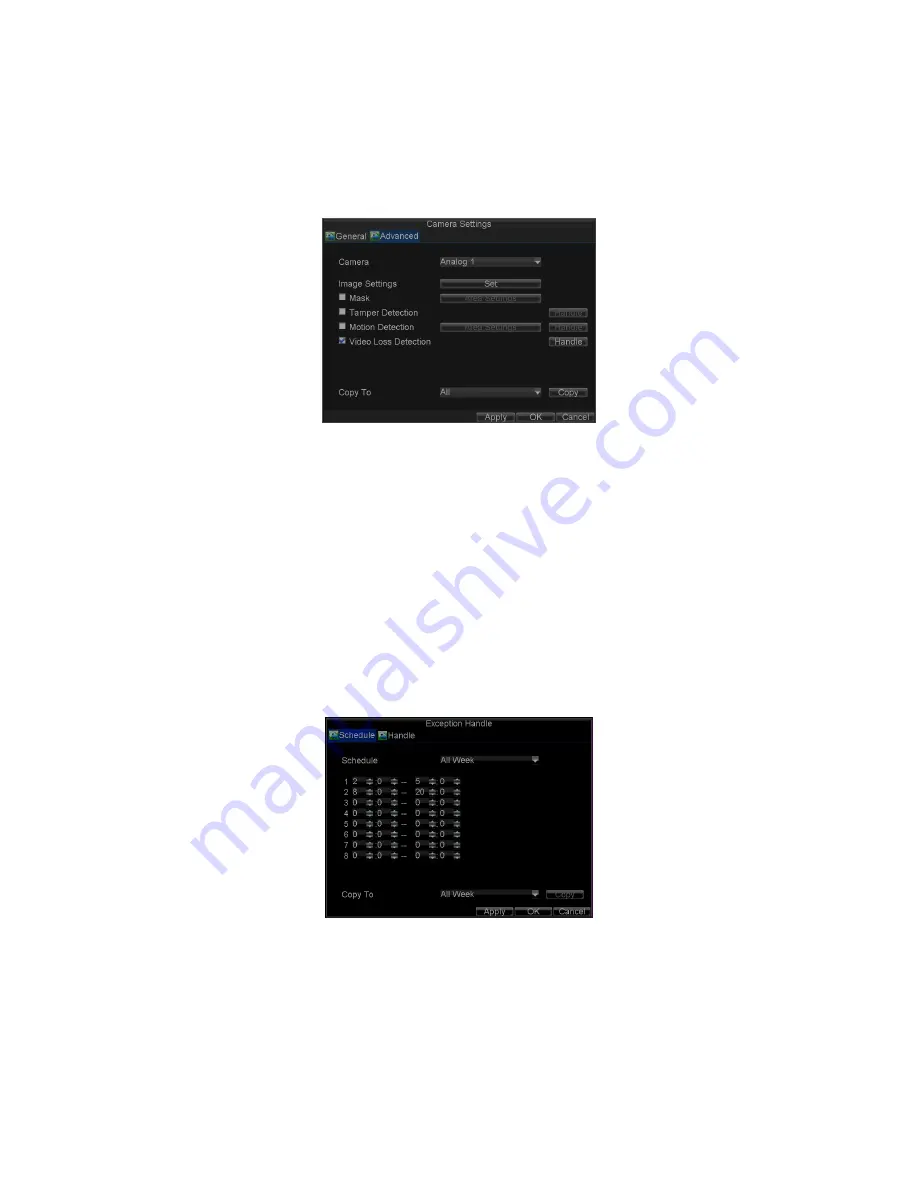
Check the
Video Loss Detection
checkbox to enable this feature, as
shown in Figure 15.
Figure 15. Camera Settings Menu
5.
Click the
Handle
button to enter the Exception Handle menu,
shown in Figure 16.
6.
Select the
Schedule
tab. Set the schedule you want video loss
detection to be enabled. Schedule can be set for all week or
any day of the week with up to 8 time periods per day.
Note:
After having configured the schedule, the DVR must be restarted
for the new settings to take effect.
Figure 16.
Schedule Settings for Video Loss Detection
7.
Select the
Handle
tab to configure exceptions handling. Exception
trigger options will be described in the next section (See
Understanding Exception Trigger Options
).


