background image


Creating a Patient 

1)


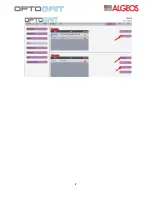
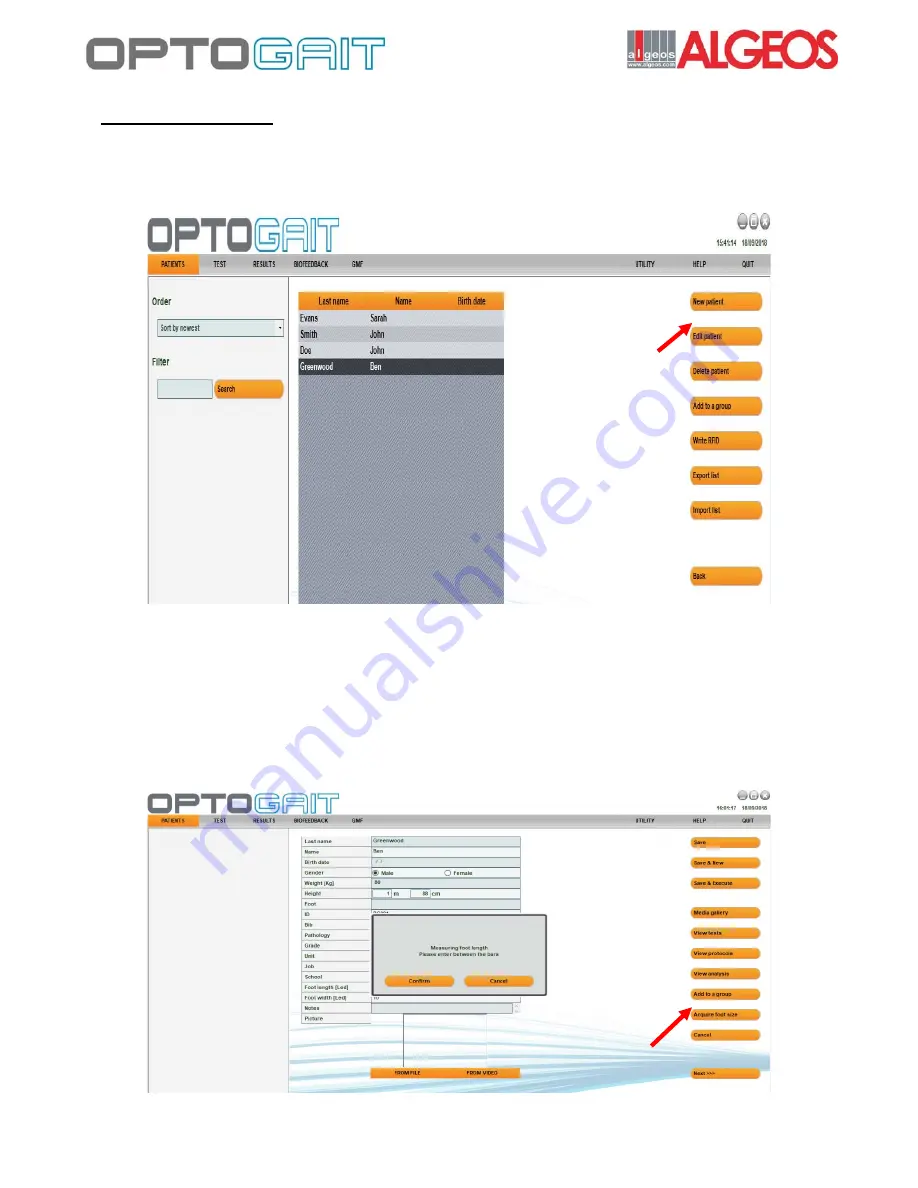
To create a patient, click on ‘Patients’ tab in the top left-hand corner.  


2)


Click on ‘Insert/Modify Patient’.  


3)


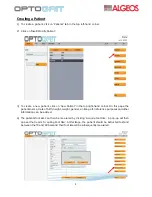
To create a new patient, click on ‘New Patient’ in the top right-hand corner. On this page the 
patients name, date of birth, height, weight, gender, an image for reference purposes and other 
information can be added.  


4)


The patients foot size can then be measured by clicking ‘Acquire Foot Size’. A pop-up will then 
appear that reads ‘Acquiring Foot Size’. At this stage, the patient should be instructed to stand 
between the TX and RX bars and their foot size will be subsequently measured.  


Содержание OptoGait

Страница 1: ...OptoGait User Guide Installation and Use...

Страница 2: ...ptoGait Software 3 28 Camera Setup 3 4 Hardware Test 5 6 Additional Devices 7 8 Creating a Patient 9 10 Setting Up a Test 11 14 Running a Test 15 18 Managing Data 19 22 Using Biofeedback Mode 23 25 Su...

Страница 3: ...ptoGait system Lemo cable small silver cable with red dot x1 Optional used In combination with EMG Power cables for charging the TX and RX bars x2 USB cable Laptop charging cable for extensive data co...

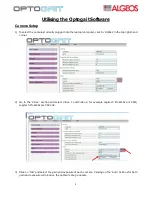
Страница 4: ...ct the RX bar cables and Logitech Cameras 3 The Cameras should be placed on a side and rear view see Necessary Equipment for reference When using the OptoGait system for research purposes a frontal vi...

Страница 5: ...n Utilities in the top right hand corner 2 Go to the Video section and select Video 1 and Video 2 for example Logitech Pro Webcam C920 Logitech Pro Webcam C920 2 3 Click on Test and select the gain an...

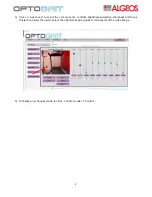
Страница 6: ...the camera zoom contrast brightness saturation sharpness and focus This section allows the user to select the optimum image quality for all aspects of the video image 5 To finalise any changes made to...

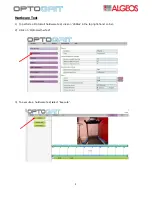
Страница 7: ...5 Hardware Test 1 To perform a OptoGait hardware test click on Utilities in the top right hand corner 2 Click on OptoGait hw Test 3 To execute a hardware test select Execute...

Страница 8: ...standard hardware test Any interferences between the LED s will appear in red on the diagram below the video image If there are no interferences between the LED s then testing can begin 5 If there ar...

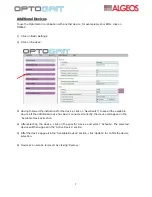
Страница 9: ...see all the available devices If the additional device has been connected correctly the device will appear in the Available Devices section 4 After selecting the device click on the specific device an...

Страница 10: ...8...

Страница 11: ...r On this page the patients name date of birth height weight gender an image for reference purposes and other information can be added 4 The patients foot size can then be measured by clicking Acquire...

Страница 12: ...the three ways to save the patient s profile all located in the top right hand corner includes Save Save and go back to the OptoGait home screen Save and New Save and create a further new patient Save...

Страница 13: ...he clinician to select the patient as well as the type of exercise and protocol they wish to run 3 To create a test click on Define Modify Tests 4 Click on New Test 5 Input the test details including...

Страница 14: ...Duplicate Test or transferred by clicking on Export Test or Import Test 8 An existing test for example Treadmill Walking 3MPH or 5KP H can be selected from the scroll down list labelled Test 9 To cre...

Страница 15: ...fter clicking New Protocol Select the protocol s and click on the sideward arrow to move them to the section labelled Protocol 12 Click Save 13 Protocols can be modified or deleted by clicking on Edit...

Страница 16: ...14 14 An existing protocol Body Sway Protocol Single Leg 3 Hops 2D Protocol etc can be selected from the scroll down list labelled Protocol...

Страница 17: ...the patient test and protocol 2 If the software visuals need to be altered click on Configuration and choose to either show or hide charts display video and quantitative data and alter the overall exe...

Страница 18: ...pop up will appear highlighting the direction of the treadmill belt and selected speed After selecting the speed on the OptoGait software set the same speed on the treadmill 5 To start the test click...

Страница 19: ...foot After clicking on the left or right foot icon data collection will begin 7 If the test is being stopped by a Software Command manually click Stop to finish the test Otherwise if the test is bein...

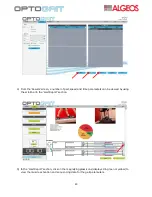
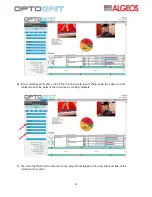
Страница 20: ...splay video footage from both cameras and a pie chart demonstrating the time that the patient spent within pre selected thresholds for the variable of choice for example the figure below shows that th...

Страница 21: ...d click on the sideward arrow to move the data from the Test List left to the Test Analysis right 3 Click View to look at the results screen On this screen two pieces of data e g returning visits foll...

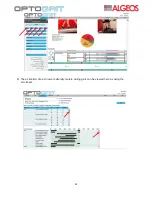
Страница 22: ...and time parameters can be viewed by using the scroll bar in the Gait Report section 5 In the Gait Report section click on the magnifying glass icons displayed in green or yellow to view the muscle ac...

Страница 23: ...rint to print a data report There is also the option to add markers to specific parts of the video file by clicking Markers 7 The video files from both cameras can be played and skipped in the top lef...

Страница 24: ...22 8 The activation of each lower extremity muscle during gait can be viewed here by using the scroll bars...

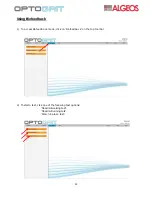
Страница 25: ...g Biofeedback 1 To access Biofeedback mode click on Biofeedback on the top tool bar 2 To start a test click one of the following test options Treadmill walking test Treadmill running test March in pla...

Страница 26: ...s by clicking on the three horizontal line icon in the top right hand corner 4 The Opto for Kids can be selected as a more engaging method of gait analysis for children For this option the child must...

Страница 27: ...feedback test a pie chart will be displayed showing the time and percentage that the customer spent with the good green fair orange and red bad thresholds for the selected gait parameter The threshold...

Страница 28: ...tandard phases of gait click on GMF Gait Muscles and Functions on the top tool bar 2 Click on the drop down arrow to view a particular phase of the gait 3 To alter the speed play or skip the video use...

Страница 29: ...27...
Страница 30: ...rther Technical Support 1 To be redirected to the full OptoGait manual click on Help on the top tool bar For further technical support from Algeos contact Ben on 44 0 151 448 1228 or on support algeos...

Отзывы: