Alemite RFC-Plus Скачать руководство пользователя страница 16

radio (rAd) Menu

the 

RAD

 menu screens are:

• 

Address (AdR) – toggles the display between the Radio Address and the Radio Prefix screens.

• 

network (nWK) – allows you to select the Radio network.

• 

Power (PWR) – displays the radio’s transmit (tx) output power.

• 

Status (StA) – displays the Radio network Status.

• 

Change Channel (CHA) – allows you to select a different RF channel.
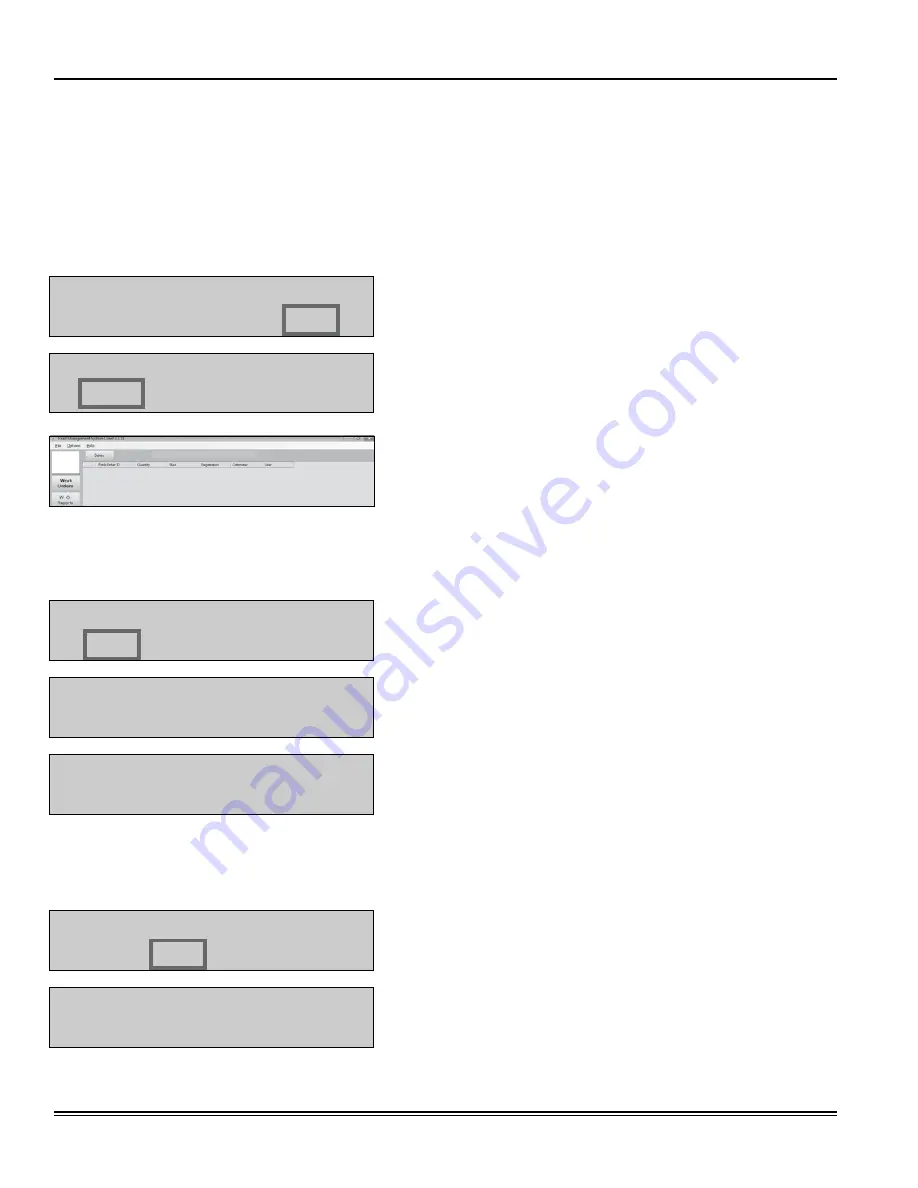
Select

      INI CNF MET REP      

1.  Use the 

Scroll

 key to move the cursor to 

rEP

.

Select

RAD ... ... ...

2.  Press 

Scroll

 two more times to move the cursor to the 

rAd

 selection.

3.  Press 

Enter

 to display the 

RAD

 screen.

4.  Use the 

Scroll

 key to move the cursor to the information you want 

to display. 

5.  Press 

Home

 to go back to the default screens.

radio Address/radio Prefix

once you select 

Adr

, you can use the 

Scroll

 key to toggle between the 

Radio Address

 and the 

Radio Prefix

 screens.

Select

ADR NWK PWR STA

1.  Use the 

Scroll

 key to move the cursor to 

Adr

.

RADIO PREFIX

00:0D:6F:00

2.  Press 

Scroll 

again to display the 

Radio Preix

 screen.

RADIO ADDRESS

01:80:A5:63

3.  Press 

Enter

 to display the 

Radio Address

 screen. 

4.  Press 

Enter

 to return to the selection screen.

radio Network

the 

Radio Network

 default is zero. you need to change this setting only if you have multiple RF FMS systems. All  

RF Meter/Hose 

Radio Network

 settings must match the Master Keypad and dispense Keypad settings.

Select

ADR NWK PWR STA

1.  Use the 

Scroll

 key to move the cursor to 

NWK

.

2.  Press 

Enter

 to display the 

Radio Network

 screen.

RADIO NETWORK

0--

3.  Press 

Enter

 to return to the selection screen.

Fluid Management System

Page 16 

Alemite LLC

Revision  (09-13)

SER RFC-PLUS

Содержание RFC-Plus

Страница 1: ...emite LLC 167 Rowand Drive Johnson City Tennessee 37601 www alemite com Copyright 2013 by Alemite LLC This document contains conidential information that is the property of Alemite LLC and is not to b...

Страница 2: ...Fluid Management System Page ii Alemite LLC Revision 09 13 SER RFC PLUS...

Страница 3: ...Menu 14 Reports REP Menu 15 Radio RAd Menu 16 dISPEnSE KEyPAd 18 System Version Screen 18 Settings overview Supervisor Menus 18 Coniguration CnF Menu 19 delete Prepared Wos MEt Menu 21 Reports REP Men...

Страница 4: ...Launching the FMS Software 41 FMS System Coniguration 41 USInG tHE FMS SoFtWARE 42 Setting Up new Users 42 Setting Up tanks and Fluids 43 Setting Up Keypads and Hoses 45 System Settings 47 InItIALIzE...

Страница 5: ...structed line of sight A remote antenna is available for situations where multiple buildings are involved in the installation the PC is used to configure the system maintain system data and enter work...

Страница 6: ...System Overview Figure 1 System Overview Fluid Management System Page 6 Alemite LLC Revision 09 13 SER RFC PLUS...

Страница 7: ...ration data into the SQL database 2 By using the Initialize System menu of the FMS software the coniguration data is processed to the Master Keypad and inally via radio to all dispense Keypads 3 the F...

Страница 8: ...n WArNING To satisfy FCC rF exposure requirements for mobile transmitting devices a separation distance of 20 cm or more should be maintained between the antenna of this device and persons during oper...

Страница 9: ...ime it is pressed the Enter key completes the current action then displays the next screen the Space key adds a blank space to the right of the data just entered to the Alphanumeric keys enter numbers...

Страница 10: ...Host Operation Mode In this mode the PC is used to configure the system entities and install the network the host will be used to enter work orders for processing and provide the queuing for future pr...

Страница 11: ...Radio network error See Radio Status on page 17 to check the source of the error Settings Overview Supervisor Menus the following changes can only be made at the Master Keypad in the setup mode All o...

Страница 12: ...elect yES the keypad asks you to Confirm Reset b If you select NO the keypad advances 3 Press Enter Keypad Timeout timeout parameter corresponds to the time it takes to validate after all dispense ord...

Страница 13: ...NO 1 Use the Scroll key to move the cursor to either yES or NO 2 Press Enter WO Archive Printout or Storing of the Work Order dispense results WO archived None Mem Print 1 Use the Scroll key to move...

Страница 14: ...ample Each dash stands for a dispense Keypad Start DKpd Test Press Enter Press Enter to begin the test Results 1 16 OOK Keypad 3 No Connection Keypad 2 Detected Keypad 3 Detected NOT N n network Error...

Страница 15: ...al Printer option in the CNF menu the REP menu is used to print reports to an external printer Select Report INI CNF COM WO Use the Scroll key to move the cursor to the report you want to print and pr...

Страница 16: ...adio Prefix once you select Adr you can use the Scroll key to toggle between the Radio Address and the Radio Prefix screens Select ADR NWK PWR STA 1 Use the Scroll key to move the cursor to Adr RADIO...

Страница 17: ...R NWK PWR STA 1 Use the Scroll key to move the cursor to STA 2 Press Enter to display the Radio Status screen RADIO STATUS NWK CONNECTED 3 Press Enter to return to the selection screen Change Channel...

Страница 18: ...displayed in the lower left hand corner of the system version screen indicates a Radio network error See Radio Status on page 25 to check the source of the error V3 00 2 4 GHz M NOT N An M displayed...

Страница 19: ...disappear Barcode Scanner YES NO Select yES to enable the Barcode Scanner Scanner Lock OFF PIN ALL oFF data can be entered with Keypad Barcode Scanner PIn PIn has to entered by Barcode Scanner All All...

Страница 20: ...ride mode 1 Use the Scroll key to move the cursor to either yES or NO 2 Press Enter Batch Quantity Locked With the Batch Quantity Locked you cannot change the batch quantity that was entered on the wo...

Страница 21: ...while the meter is locked for other dispenses Select CNF MET REP 190 the MET menu is used to delete prepared work orders and release the meter for new work orders 1 Use the Scroll key to move the curs...

Страница 22: ...ser CNF Configuration PrO Sort list by product MET Sort list by meter HOS Sort list by hose meter WO Sort list by work order TNK Sort list by tank Select Report USR PRO HOS TNK 190 Internal Ticket Pri...

Страница 23: ...ispense Keypads the test performs a number of test communications and measures the quantity of lost transmissions the Link Quality 10 is the maximum you can achieve Start Link Test Press Enter Test in...

Страница 24: ...ddress radio Prefix once you select Adr you can use the Scroll key to toggle between the Radio Address and the Radio Prefix screens Select ADR NWK PWR STA 1 Use the Scroll key to move the cursor to Ad...

Страница 25: ...ional SERIAL ERRoR there is a radio communication error on the serial bus between the keypad and the radio nWK doWn there is no network within the range of the dispense Keypad nWK LoSt the network con...

Страница 26: ...pad does not automatically find the new network Select CON 1 Use the Scroll key to move the cursor to CON 2 Press Enter to display the Radio Network screen RADIO NETWORK CONNECTING 3 Press Enter to di...

Страница 27: ...used to override verification of the Master Keypad System Override YES NO 1 Use the Scroll key to move the cursor to yES 2 Press Enter System Override ON the screen verifies that System Override is on...

Страница 28: ...m Reset YES NO MET REP 190 Mileage Type KM Miles Topoff Timer 0 Internal Printer YES NO Init All Hoses YES NO Reset All Hoses Press Enter LNK Select Report INI CNF WO Select INI CNF MET WO Start Link...

Страница 29: ...the system Enter WO No 2 Enter an alphanumeric number max 16 characters and press Enter In the operation modes WO Validation HOST or WO Validation PC see Work order Validation on page 13 the entered W...

Страница 30: ...Product Quantity Quantity 7 Enter the desired quantity and press Enter optionally the quantity assigned to this Wo is shown the quantity can be chosen between 0 0 99 9 and 100 999 units of measure the...

Страница 31: ...ESEt and SHUt oFF are only active in the AUto mode or Manual mode 10 1 0 1 Used to enter the dispense quantity to be used In operational mode it shows the five latest dispensed amounts TOTAL Used to d...

Страница 32: ...osed position the low will automatically shut of when the programmed amount has been dispensed 3 to top of pull the trigger to dispense luid and release when the desired amount has been reached 4 Pres...

Страница 33: ...ode on page 32 If the communication was successful no F02 error code the meter will lockout and fall back in the preselection mode the total quantity which has been dispensed during the AUto mode will...

Страница 34: ...of the trigger guard 1 Position the unit face down 2 Unscrew the two screws Remove the battery door to expose the batteries 3 Replace the old batteries with 4 AA alkaline batteries NOT N Battery polar...

Страница 35: ...scription Before beginning the installation please be sure your Windows user profile has the appropriate rights to install the software properly particularly Windows XP Insert the setup Cd RoM into yo...

Страница 36: ...ot installed the installer will appear 2 Click Accept If the SQL server 2008 express is not installed the installer will appear 3 Click Accept the Framework and or SQL server installation will take se...

Страница 37: ...Wizard appears 1 Click Next 1 Select the installation folder you want the Server installed to the default folder is HIGHLY recommended 2 Click Next 3 Click Next to conirm the installation SER RFC PLUS...

Страница 38: ...he installation progress When the installation is complete a screen similar to this one displays 4 Click Close to exit the installer IMNOOTNO I After Server installation you must reboot the computer F...

Страница 39: ...ere if the Client is being installed on a machine without it the Client will also install the SQL Compact Edition 2 Click Accept After the prerequisites are installed the FMS Client Setup Wizard scree...

Страница 40: ...ded 3 Click Next 4 Click Next to conirm the installation When the installation is complete a screen similar to this one displays 5 Click Close to exit the installer IMNOOTNO I After Client installatio...

Страница 41: ...nt application the IP address where the server resides 1 Enter the IP address of the FMS server For the Client installed on the server the IP address should be 127 0 0 1 For the Client not installed o...

Страница 42: ...rts dept and dispense these choices will allow the user to do the following System Admin Make changes to all levels of the software from the PC only Supervisor Make changes at the keypad only Parts de...

Страница 43: ...se this feature click the check box and enter either a nominal value or percentage the other value with self propagate after you enter the first value Auto Email Check the Auto Email checkbox to bring...

Страница 44: ...tion that was entered in the previous step to change the information click on Edit to add a new tank click on Add Tank and repeat the process explained in Setting Up tanks and Fluids on page 43 to tra...

Страница 45: ...e screen after the barcode scanner input is entered A value of 100 will equal 1000 ms or 1s of display time this timeout is only used when the barcode scanner feature is selected on the keypad Int Pri...

Страница 46: ...eter 2 Enter the hose Address 3 Enter the Tank the luid will be dispensed from 4 Enter the dispenser Units of measure of the meter 5 Click Save After the hose is added it will appear under the Unused...

Страница 47: ...emain idle before being logged off Email Completed WO Work orders may be emailed or printed upon completion to set this up check the box next to the corresponding text there are two buttons in the Fun...

Страница 48: ...bmit 4 At this point you can click the Export button to save the ile Printer Settings 1 From the System Settings screen select Printer Settings 2 Click Select Printer and chose a printer 3 Click Page...

Страница 49: ...subject and any header or footer text you would like 5 Enter the work order message you would like to have in the email 6 Click Save to save your settings System Settings Save to File Options the FMS...

Страница 50: ...pleted screen displays After the system is configured you will need to initialize the system before using the first time you select the Initialize System option you will see a screen similar to the on...

Страница 51: ...Completed screen displays After the system is initialized if changes are made to the system configuration it will be necessary to initialize those changes before the system can be used you will not be...

Страница 52: ...dispensed in the respective ields 4 Click Save optionally a zero quantity can be entered in the quantity and the dispense user can select the quantity at the keypad Work orders are stored on the PC u...

Страница 53: ...mark a work order as reviewed check the box below reviewed and press Enter Locating a Work Order to locate a work order you may search by user work order Id hose Id fluid type or date range to search...

Страница 54: ...click OK 3 When asked to conirm the deletion click yes A Request Completed screen displays Exporting Work Orders to a CSV File to export work orders to a comma separated value CSV file 1 Click the Ex...

Страница 55: ...delivered 4 Click Save to save your changes or click Cancel to discard your changes 5 Click OK on the verification screen to proceed or click Cancel to edit If you enter an amount that brings the tank...

Страница 56: ...lease wait 10 sec Meter Error Codes the meter has several Error Codes that may display these provide indication at the meter that there is an error in communication between the meter and keypad Messag...

Страница 57: ...10 11 12 13 14 15 16 Maximum 16 tanks tank volume format 00000 000 Keypad Id Address xx xx xx xx 1 2 3 4 5 6 7 8 9 10 11 12 Maximum 36 dispense Keypads RF Keypad address is an 8 digit number SER RFC...

Страница 58: ...xxx xxx Tank unit Keypad 1 2 3 4 5 6 7 8 9 10 11 12 13 14 15 16 17 18 19 20 21 22 23 24 Maximum 250 Meters Hose Meter Hose address is a 10 digit number Fluid Management System Page 58 Alemite LLC Revi...

Страница 59: ...30 31 32 33 34 35 36 37 38 39 40 41 42 43 44 45 the user field is alphanumeric with a maximum of 16 characters the user PIn Id is a 4 digit number number of Users Allowed Supervisor 1 dispense Users...

Страница 60: ...Fluid Management System Page 60 Alemite LLC Revision 09 13 SER RFC PLUS...

Отзывы: