


20
21
Attach options:
•
Camera
Access Camera to capture a new picture for
attaching.
•
Capture video
Access Camcorder to record a new video for
attaching.
•
Record audio
Enter voice message recorder to record a voice
message for attaching.
•
Contact
Enter Contacts to select a contact as attachment.
•
Photo
Access Gallery application or File manager to select
a picture as attachment.
•
Videos
Access Gallery application or File manager to select
a video as attachment.
•
Audio
Access to select an audio file as attachment.
•
Calendar
Access Calendar application to select one or more
event(s) to attach.
•
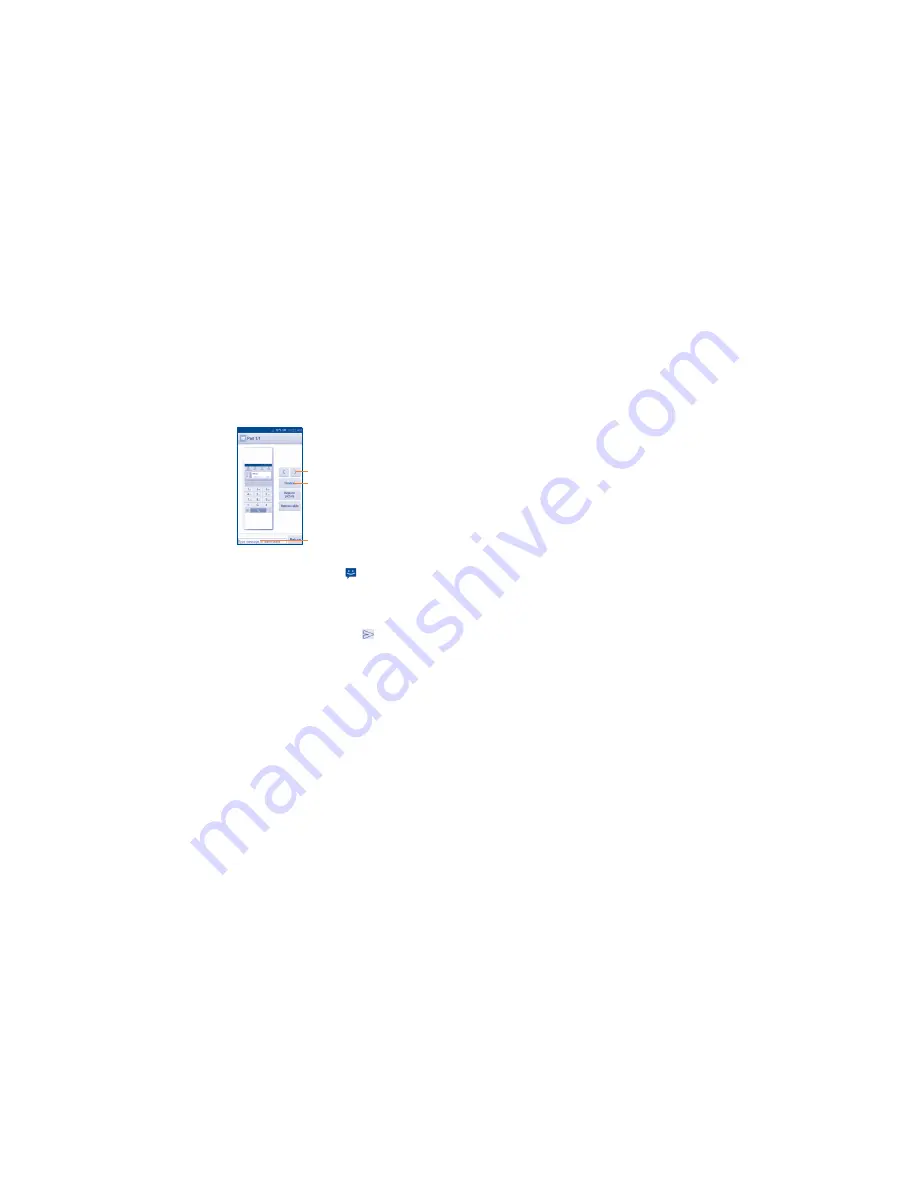
Slideshow
Enter Edit slide show screen, touch
Add slide
to
create a new slide, and touch currently existing slide
to edit it (see following picture). Touch the
Menu
key
to get more actions, like setting the slide duration,
adding music, etc.
Touch to preview the current slide.
Touch to go to previous or next slide.
Touch to edit the title of this slide.
4�1�2
Manage messages
When receiving a message, an icon
will appear on status bar as
notification. Drag down the status bar to open the Notification panel, touch
the new message to open and read it. You can also access the Messaging
application and touch the message to open.
Messages are displayed in conversational order.
To reply to a message, touch the current message to enter message
composing screen, enter the text, then touch
.
Touch and hold an SMS in message details screen. The following message
options are available for selection:
•
Select text
Touch to select the message text to copy, cut,
paste, etc.
•
Copy text
This option displays when the message is an SMS.
Copy the current message content. You can paste it
to the enter bar of the new message you are going
to compose.
•
Forward
Touch to forward the message to another recipient.
•
Lock/Unlock
Touch to lock/unlock the message so it can't/can
be deleted if you reach maximum number of stored
messages.
•
View details
Touch to view details of the message.
•
Save messages
to SIM card
Touch to save the message to SIM card.
•
Delete
Delete the current message.
4�1�3
Adjust message settings
You can adjust a set of message settings. From Messaging application
screen, touch the
Menu
key and touch
Settings
.
•
SMS Enabled
Touch to change your default SMS app.
STORAGE
•
Delete old
messages
Select to delete old messages when the maximum
number of stored messages is reached.
•
Text message
limit
Touch to set the number of text messages to be
saved per conversation.
•
Multimedia
message limit
Touch to set the number of multimedia messages to
be saved per conversation.
TEXT MESSAGE (SMS) SETTINGS
•
Delivery
reports
Mark the checkbox to request a delivery report for
each message you send.
•
Message
template
Touch to add or edit message templates.
•
Manage SIM
messages
Touch to manage text messages stored on your
SIM card.
•
SMS storage
Select SMS storage location.
SMS SIGNATURE
•
SMS signature
Mark the checkbox to enable signature.
•
Edit SMS
signature
Touch to edit SMS signature.
MULTIMEDIA MESSAGE (MMS) SETTINGS
•
Group
messaging
Touch to send a single message by MMS when there
are multiple recipients.
•
Delivery
reports
Mark the checkbox to request a delivery report for
each message you send.
•
Read reports
Mark the checkbox to request a read report for each
message you send.
•
Auto-retrieve
Mark the checkbox to retrieve messages
automatically.
Roaming auto-retrieve:
Mark the checkbox to
retrieve messages automatically while roaming.
•
Maximum
message size
Select to input the maximum message size.
•
Creation mode
Select to change creation mode.
Содержание ONETOUCH Pop NOVA LTE
Страница 1: ...CJA1AY001AAA...


