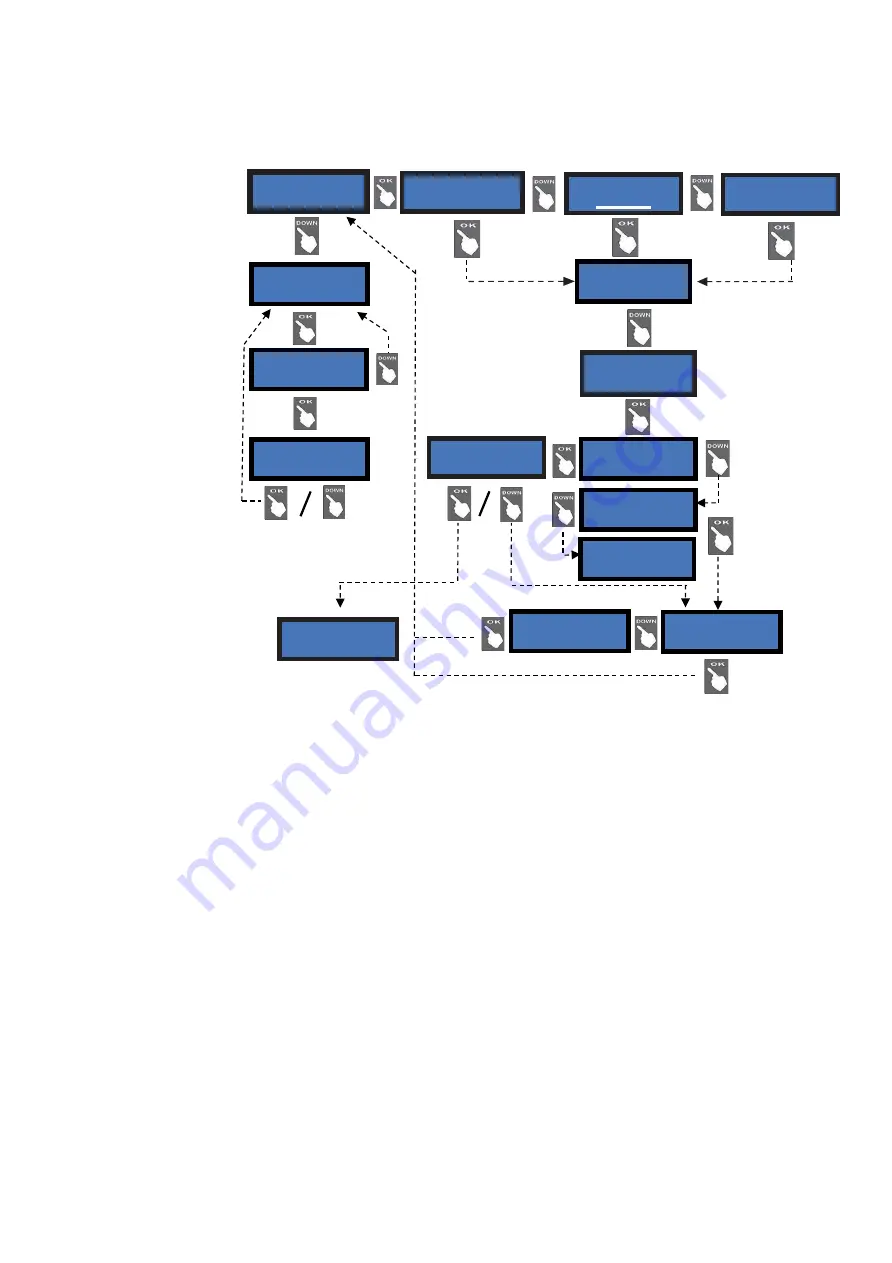
Set up Hopper 1 :
2,00 €
5.2.4.3
D
ISPENSING
M
ODE
S
ETUP
Allows to choose among dispensing COINS or TOKENS or CHANGE, and among MANUAL DISPENSING MODE.
The value in the hoppers are set by this sub-menu. Level of the coins in the hopper(s) can be se as monitored or not.
(*)
NOTICE:
monitoring of level sensors is disabled by default. This means that the board does not know when the
hopper is empty, so it will send the pay-out command even if there are no coins available. When the hopper runs out
of coins during dispensing or at the end of payment, no warning will be displayed. If the empty state is detected when
powering the unit, this one shall not accept any money.
If instead the monitoring has been enabled, and there are not enough coins in the hopper, the display will warn that
the hopper is empty. There will usually remain 20 coins approximately, so as to complete the change payout.
PLEASE PAY ATTENTION: if the CPU must be re-configured from token (or token + return change)
dispenser to coin changer, always do reset to DEFAULT CONFIGURATION and RESET ACCOUNTS. Else, the
bonus setting could produce inconsistency in the Accounts records.
S
ETTING THE
P
AY
-
OUT
TABLE
When the Pay-out Table is enabled, the Operator can configure
8 different combinations of change
, each of them
related to the amount introduced by the User.
Once set the LEVEL box to a determined amount (typically, coin and note denominations), HP1 and HP2 can be set to:
-
number of pieces so that their calculation sums up to the amount set in the LEVEL box,
if change in cash is handled
;
-
any desired value,
if Tokens only will be handled -this will allow for awarding bonus as well;
-
any consistent combination
, if Tokens and return change will be handled.
When choosing to enable the Pay-Out Table, the display will prompt you to set the payout combination for the first level
available (LEV1). To set it up, highlight LEV1 by “OK” and set its value by the “
+
”button, then confirm by “OK”. The
cursor will shift to the HP1 box: confirm by “OK”, and set its value by the “
+
” button (modify by “
-
“), then confirm by
“OK”, and do the s
ame for HP2. When confirming the value in HP2, the chosen combination for LEV1 will be shown.
Ste
p from LEV1 up to LEV2 by “
+
”, highlight LEV2 by “OK”, and repeat above process.
Set up Hopper 2 :
1,00 €
Dispensing mode
MANUAL 1P
(*)
Press OK, then Down
or Up to modify amounts
by steps of
0,05€ each,
then again OK to confirm
and move to Hopper 2.
Max. value for tokens =
12,70 €.
Level sensors
enabled
Enable / Disable
POS
>>>>>> No POS when set
to COINS!
(**) Press
Down/Up to
choose POS type (Nayax,
Payter, Valina), then press
OK to confirm.
(**)
Payout Settings
Enabled / Disabled
(***) Press
Down/Up to
select Pay-out Table or to
discard it, then press OK to
confirm.
(***)
(*)
Dispensing mode
AUTOMATIC
Enable ?
Yes
Select POS
Nayax / Valina / Payter
Level sensors
disabled
<LEV1 HP1 HP2>
0,00€
0
0
(*****)
Setting of the
Pay-out Table: see next page
(*****)
Dispensing mode
MANUAL 2P
(****) MANUAL 1P: choose the
paying hopper by SEL, and confirm
by OK.
2P MANUAL: press the button of
the paying hopper desired
(****)
Set up
Dispense mode
Set up
TOKEN + CHANGE
Set up
TOKENS
Set up
COINS


