24
6 - MAINTENANCE AND OPERATING INSTRUCTIONS
6.1 - General
The smooth inside and outside finish of the panels makes
maintenance very simple.
For dry sections: twice a year thoroughly check the inside
and outside of the AHU casing. For maintenance of wet
sections (coolers) please refer to the air handling section
concerned.
All work must be carried out by sufficiently trained
personnel.
All applicable personal safety devices must be used to
ensure safe working conditions. Safety gloves,glasses and
shoes must be worn for all maintenance operations. A
respiratory protection mask must be worn when changing
the filters.
No holes must be drilled into the AHU, to prevent leakage
from the AHU, cooling coils and heating coils and damage
to the wiring.
6.2 - Casing panels
6.2.1 - Inside installation
a) Internal inspection of the casing of double-skin panels
and of all dry parts.
Remove contamination with water and a mild
household soap solution. Where damage of the paint
finish has occurred, if necessary remove rust and
touch up with good quality anti-corrosive primer and
paint. The outside air intake sections can show signs
of corrosion as they contain wet parts and are affected
by mist, rain and air pollutants.
b) Outside inspection of the coating.
If damage to the paint treatment has occurred, remove
the rust (if necessary), and touch up with good quality
anti-corrosive primer and paint.
6.2.2 - Outside installation
Check the sealed joints of AHUs installed outside and if
required seal again with a UV-resistant and paintable kit.
Repair damage as described for inside installation. Check
the roof for leaks and if necessary, repair them.
6.3 - Doors and access covers
Check locks and hinges of all doors and access covers.
Check that the bolt of the internal roller is still correctly
tightened.
6.4 - Flexible connections
Check the flexible connections for damage.
6.5 - Earthing
Ensure that the unit is earthed and installed in the correct
manner.
6.6 - Dampers
Lubrication of the dampers is not required. Remove excess
contamination by cleaning with compressed air and
possible cleaning with water and a mild household soap
solution. Ensure that the damper blades run free in the
casing.
6.7 - Outside air intake
The outdoor air intake is contaminated by pollution taken in
with the air. The maintenance interval must be observed, as
irreparable damage of the panels might otherwise occur.
Clean the outdoor air intake well and repair damage as
described in point 6.2.1. Ensure that no moisture (droplets)
is taken in. If there is still moisture, ensure that this is
corrected by changing the outdoor air intake duct.
6.8 - Filters
The filters must be inspected once a month for excess
pollution, pressure loss, damage and seating of the slide-in
filters or built-in frames. With slide-in filters ensure that the
filters have been correctly positioned and have been
pushed well against each other from below. When replacing
built-in filters you must ensure that the filter has been pushed
well against the sealant and that the clips have been
correctly installed. Filters must be replaced at the required
intervals. The timing of the replacement depends on the
type of filter, quality and the degree of contamination of the
air. The pressure loss across the contaminated filter can be
measured with a pressure differential gauge.
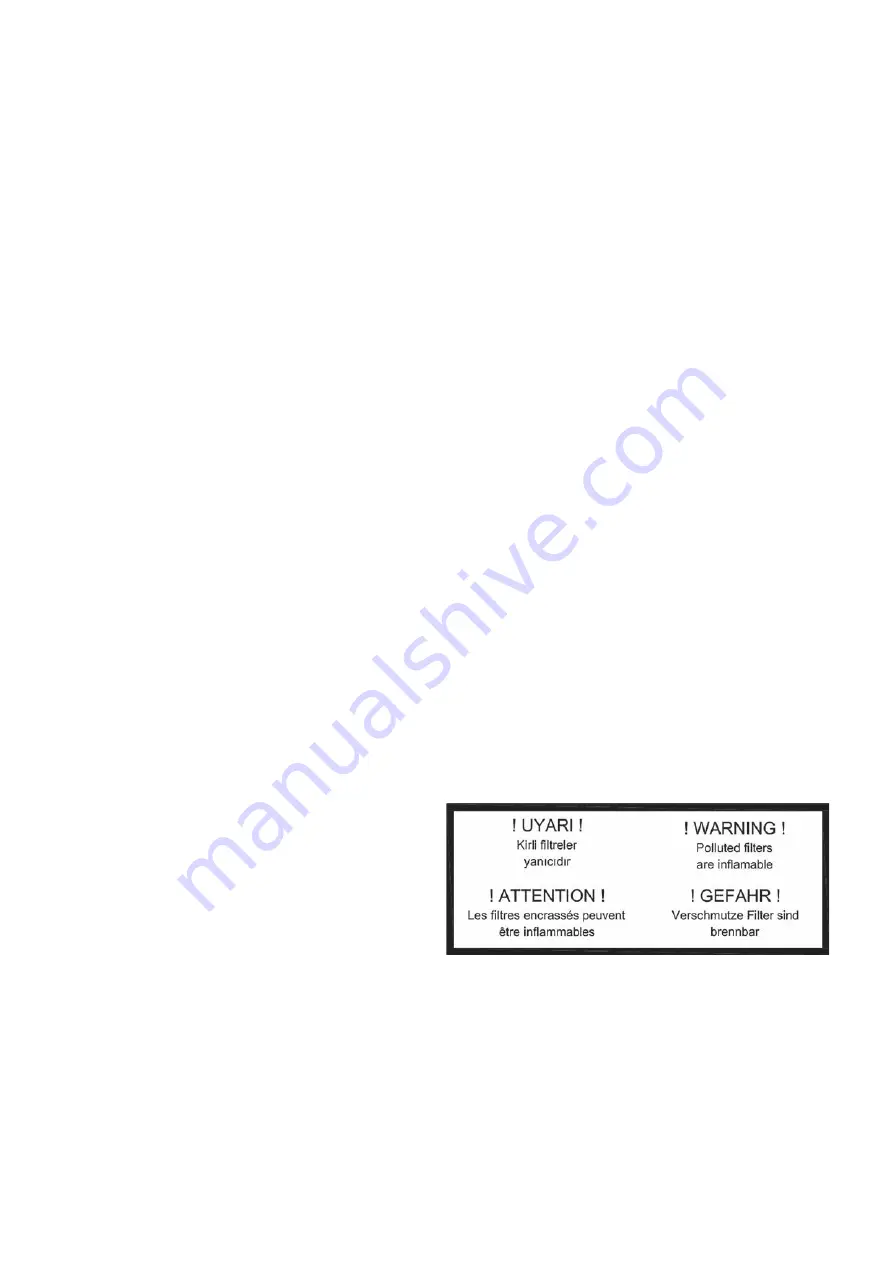
A respiratory protection mask, type P2 and safety gloves
must be worn when changing the filters. Open flames are
forbidden while changing the filters to prevent setting fire to
the filter medium. This is indicated by a sticker on the door
or hatch.
6.9 - Heaters
6.9.1 - Hot-water coil
Check the air intake once a year for contamination, and if
necessary clean with compressed air against the direction
of the air flow or clean the air intake with a vacuum cleaner.
Checking the heaters: Check the operation of the frost
protection thermostat and check the correct control
sequence when the themostat trips.
For coils filled with glycol please check if the mixture has
the correct glycol concentration (by weight).


