7. Menu Operation.
LCD Menu.
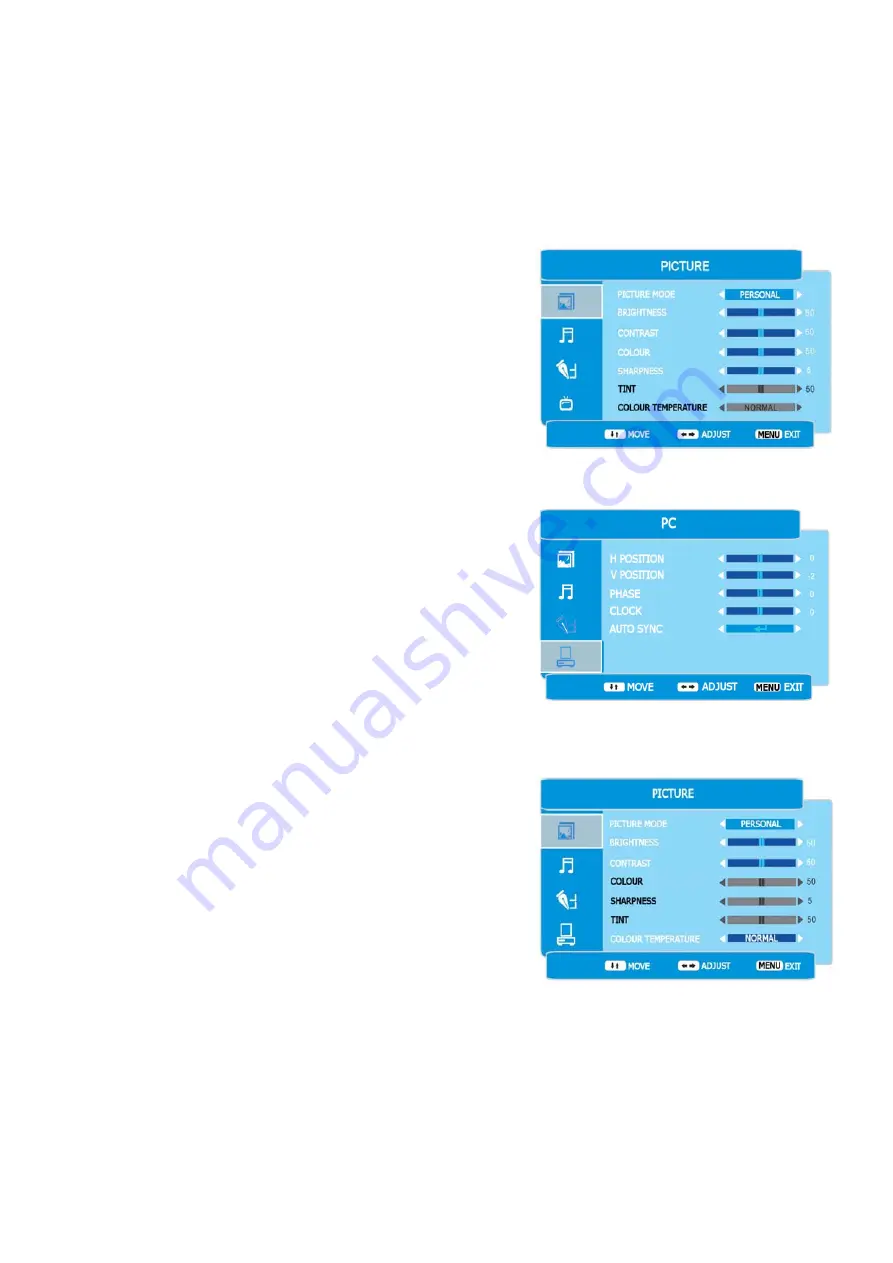
Press the LCD MENU button to display the PICTURE menu, Fig 4 will
be displayed.
To select the other menu’s press the
▲
/
▼
button and the Highlight bar
at the left of the menu will move Upwards or Downwards To enter each
menu press the
►
button. To exit any sub menu press the LCD MENU
button. To exit the menu’s totally press the EXIT button.
Picture Menu. (Fig 4).
To change the picture settings use the
▲
/
▼
buttons to select the
feature and then use the
◄
/
►
buttons to change the levels.
Picture Mode
. Select from Personal, Dynamic, Standard and Soft
modes.
Personal is an adjustable location to set the picture settings to your
choice.
Dynamic is set as a vibrant picture.
Standard is set as the average picture setting.
Soft is set as a easy viewing setting.
Brightness.
Adjusts the overall picture brightness.
Contrast.
Adjusts the ratio of dark to light.
Colour.
Adjusts the colour saturation (colour depth).
Sharpness
. Adjusts the clarity of the picture. If the signal is noisy
(analog) then this setting should be reduced to mask the noise.
Tint.
Only available when using NTSC sourced material from the AV
inputs
PC Mode. (Fig 5).
The picture settings are different for PC Mode.
H Position
. Adjusts the picture position horizontally.
V Position
. Adjusts the picture position vertically.
Phase.
Adjusts the clock phase to minimise picture jitter.
Clock.
Adjusts the monitor to the PC.
Auto Sync
. Adjusts the PC to the TV automatically. When selected
the picture may “jitter” and jump for a few seconds until the adjust-
ments are optimised.
PC Picture Mode (Fig 6).
The picture setting selection is different for PC operation.
Picture Mode
(as Fig 5)
Brightness.
Adjusts the overall picture brightness.
Contrast.
Adjusts the ratio of dark to light.
Colour Temperature
. Adjusts the colour hardness, select between
Normal, Warm, Cold.
Fig 4
Fig 6
Fig 5
12


