7. Menu Operation.
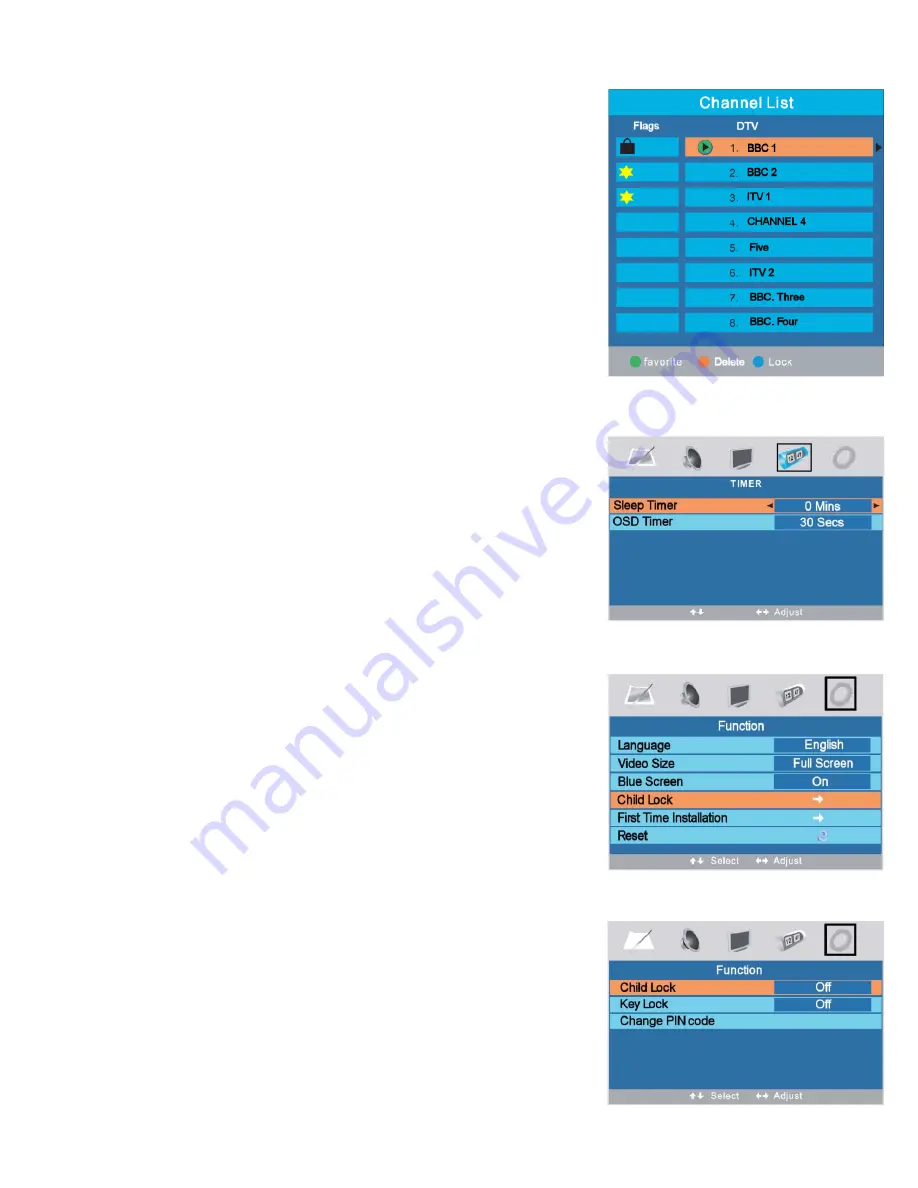
Programme Edit. (Digital) (Fig 14).
Favourite “Green”.
To add channels to your Favourite library, use the
cursor buttons to select the channel you wish to add. Press the GREEN
button. A Yellow Star will be displayed in the Flags Column adjacent to
the station name. To remove the channel from the Favourite library,
simply press the GREEN button again.
Delete “Yellow”.
Should it be necessary to Delete a station, use the
cursors to select the station to be deleted. Press the Yellow button, this
will delete the station immediately. Note :- Any deleted station is
removed from the memory and must be retuned if required.
Lock. “Blue”.
To stop use of any stations you may wish to “Lock” that
station. Use the cursor buttons to select the channel you wish to Lock.
Press Blue and a Lock symbol will be shown next to the channel
selected. To remove the Lock function, press the Blue button again.
This function will only be operational if the “Child Lock” is activated ,
“See page 14”
Common Interface.
See page 16
Timer Menu (Fig 15).
Sleep Timer.
Select Sleep Timer using the
▲
/
▼
buttons and set the
required time using the
◄
/
►
buttons. The selections are :-0, 15, 30, 45,
60 75, 90, 105 and120 minutes. When the set time has been reached
the TV will switch to Standby.
OSD Timer.
This sets the time the “On Screen Display” is displayed and
is selected from 5 – 30 seconds.
Function Menu (Fig 167).
Language.
You may set the OSD language to English, French or
Spanish. “English is default”.
Video Size.
You may set the screen size to your preferred setting. You
may chose from :-Full screen, Auto, 4 : 3, 14 : 9, 16 : 9.
Blue Screen. This may be turned On or Off. When set to ON, under “No
signal” conditions a Blue screen is displayed.
Child Lock. (Fig 17).
Child Lock prevents un authorised selection of any channels that have
been selected in the (LOCK) mode. If any channel has been locked, the
user will be requested to insert the PIN code, failure to do so will not
allow that channel to be viewed.
Select Child lock using the
▲
/
▼
buttons and turn On and Off using the
◄
/
►
buttons.
Fig 14
Fig 15
14
Fig 16
Fig 17


