MONITOR OPERATION
The VistaCam Monitor is factory pre-set and color-coordinated with the VistaCam Image Printer to
produce true to life color images with matching printouts.
The image on the monitor may be temporarily adjusted for clinical purposes. These adjustments are not
reflected in the printout. Re-set the monitor to the factory settings to color-coordinate the image on the
monitor with the printout (see below: TO ADJUST THE PICTURE - Step 8).
n
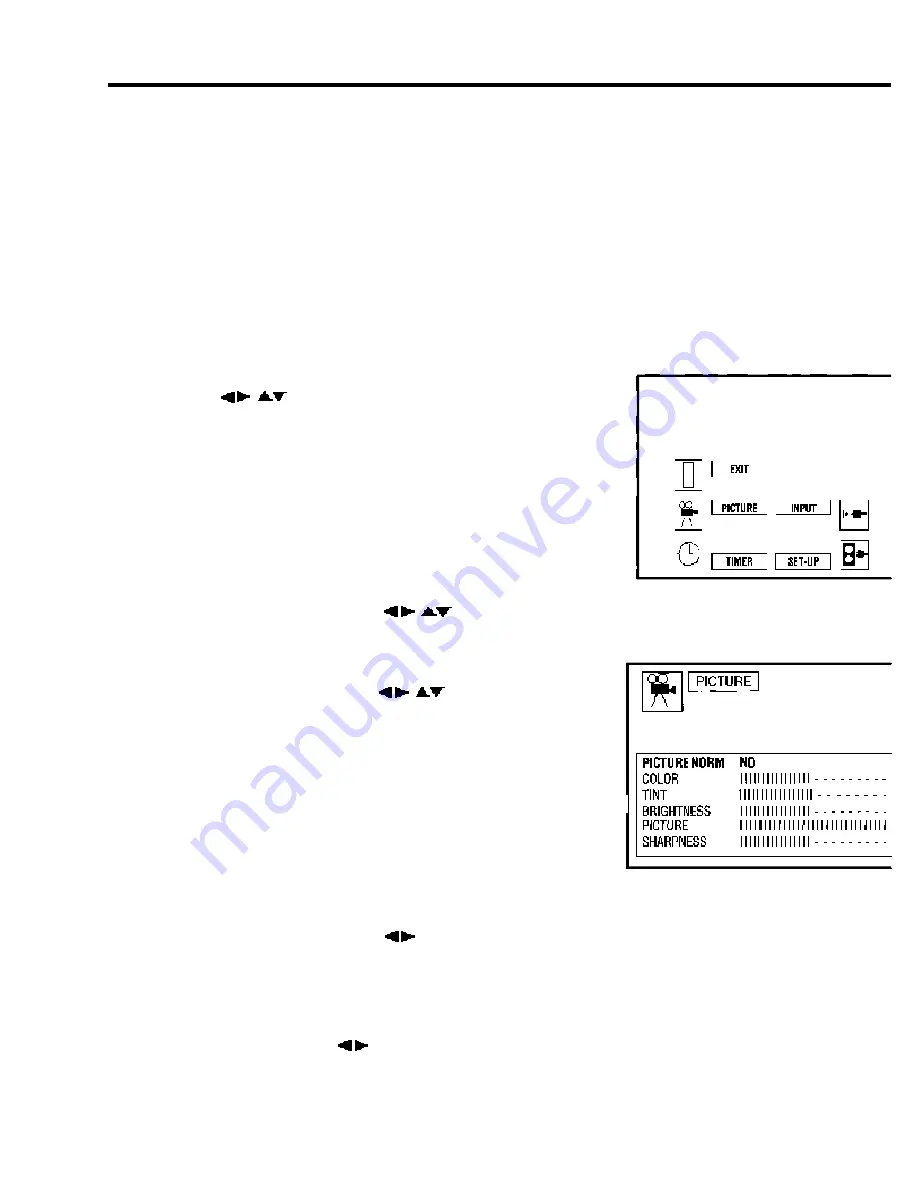
TO ACCESS MAIN MENU
(See Fig. 28)
1. Press ACTION to display the Main Menu.
2. Press ( ) to select the desired function.
Selected Icon and text are highlighted in red.
3. To exit the Main Menu, select EXIT, then press the
ACTION button.
n
TO ADJUST THE PICTURE
(See Fig. 29)
1. Press ACTION button to display the Main Menu.
2. Press the directional arrows ( ) to select PICTURE.
3. Press the ACTION button to display the Picture Adjustment
Menu.
4. Press the directional arrows ( ) to select the desired
Picture Adjustment:
PICTURE NORM: re-set back to a factory pre-set level.
COLOR: adjust color intensity.
TINT: adjust natural flesh tones.
BRIGHTNESS: adjust for crisp detail in dark areas.
PICTURE: adjust for white areas of the picture to
appear normal.
SHARPNESS: adjust clarity of outline detail.
5. Press the directional arrows ( ) to adjust your selection.
6. View a live image on the monitor using the handpiece to check Picture Adjustment.
7. For additional Picture Adjustments, repeat Steps 4 - 6.
8. To reset Picture Adjustments to factory pre-settings, select PICTURE NORM and press right or
left directional arrows ( ). The display will read PICTURE NORM SET.
9. Press the ACTION button twice to exit the Picture Adjustment menu.
MAJOR COMPONENTS
MAJOR COMPONENTS
27
FIG. 28 - MAIN MENU
FIG. 29 -
PICTURE ADJUSTMENT MENU


