8
3.
Connect the monitor to the video source (DVD, VCD, VCR, etc.) (If you are using a
computer, please skip this step.)
(Optional)
This monitor can support both S-Video and CVBS jack. Depending on the signal output
port of your video source, you may need to use different signal cable and to connect
into different port of the monitor. (If both the ports are available in your video source,
the S-Video connection is recommended for better performance.)
Connecting to a video source with the S-Video cable
With the video source being switched off, connect the S-Video cable to
the “S-VIDEO” port at rear of the monitor and video source.
Connecting to a video source with the CVBS cable
With the video source being switched off, connect the CVBS cable to the
“VIDEO” port at rear of the monitor and video source.
4.
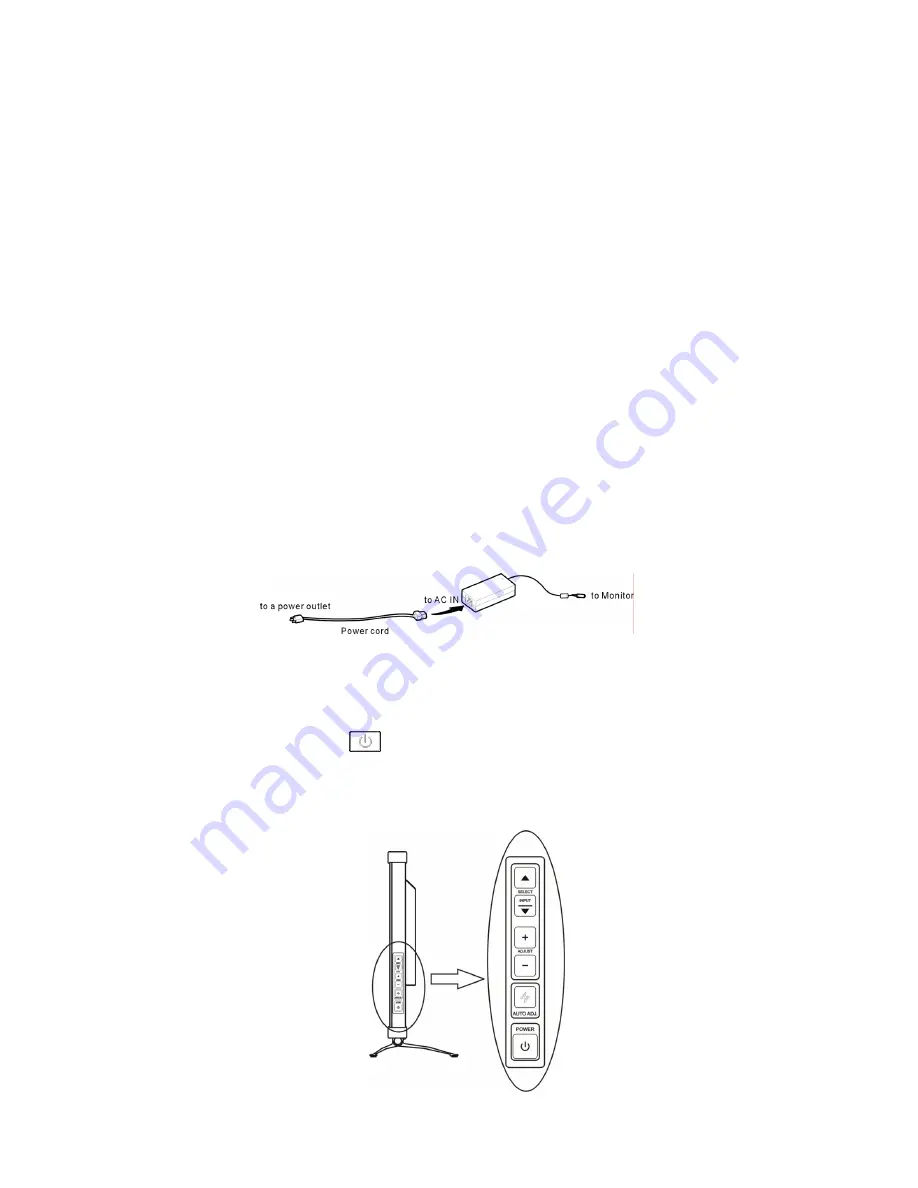
Connect the power adapter and power cord
With the monitor switched off, connect the cable of power adapter to the
monitor. Then connect the power cord to the adapter, and the other end
of the power cord to a power outlet.
5.
Turn on the monitor and computer
Turn on your computer.
Press the
(Power) switch to turn on your monitor. You should see
the picture on your monitor now. If not, please check the “Warning
Signal and Troubleshooting” section of this user manual for details.
Содержание X-Series
Страница 1: ......
Страница 13: ...12 Sharpness Adjustment OSD Transparency Adjustment Phase Adjustment Clock Adjustment ...
Страница 18: ...17 Input Select Selection Exit Selection CVBS Input S VIDEO Input Brightness Adjustment Contrast Adjustment ...
Страница 19: ...18 Color Adjustment Hue Adjustment Sharpness Adjustment OSD Transparency Adjustment ...
Страница 21: ...20 Language Selection Input Select Selection Exit Selection ...


