NA version 2.1
Revised: Feb. 17, 2014
AER.MIU.HWNEC.GB.01.04/14
AERTESI srl
Via della tecnica 6 35020 Conselve- PD ITALY www.aertesi.com
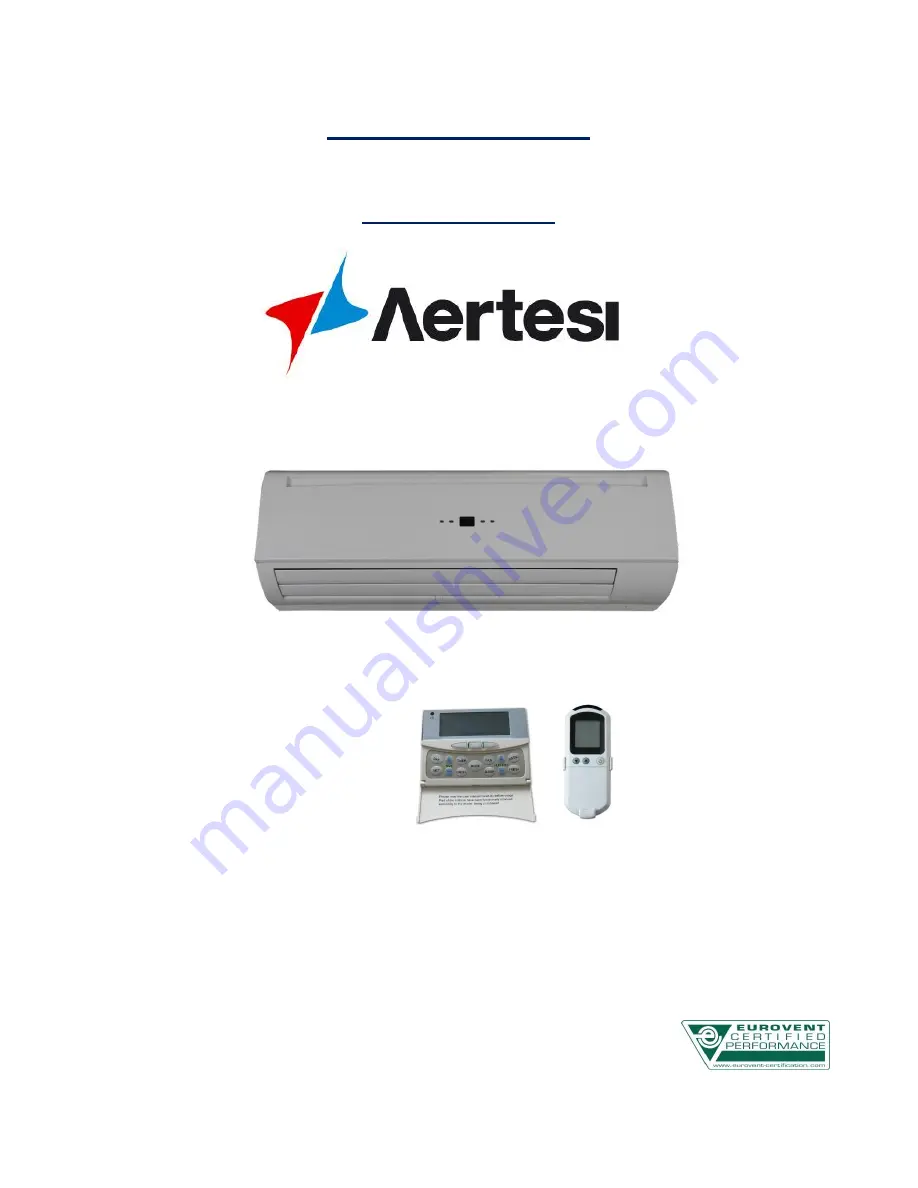
ECOELEGANT SERIES
INSTALLATION AND OPERATION MANUAL
HWN-EC SERIES
Страница 1: ...NA version 2 1 Revised Feb 17 2014 AER MIU HWNEC GB 01 04 14 AERTESI srl Via della tecnica 6 35020 Conselve PD ITALY www aertesi com ECOELEGANT SERIES INSTALLATION AND OPERATION MANUAL HWN EC SERIES...
Страница 2: ...stage in the manufacturing of our products Throughout the production process we maintain strict control starting with our extensive resources in research and development through to the design and manu...
Страница 3: ...1 C 1 2 Definition of Input Output 11 C 1 3 Wiring Diagram EBWPCGH EC 13 C 1 4 Configuration Settings 14 C 1 5 Control Logics for 2 Pipe System 15 C 1 6 Control Logics for 4 Pipe System 17 C 1 7 Auto...
Страница 4: ...models Tabs located on the front of the unit can be unsnapped allowing the filter to be easily slid downward and removed No tools are required nor any dismantling of the equipment Air Grille Distribu...
Страница 5: ...ectric Heater Capacity 1 FCCOP e Rating 176 216 248 230 Class B B B B Sound Sound PressureLevel Outlet dB A 27 24 23 37 30 26 37 30 26 43 34 29 Sound Power Level Outlet e 38 35 33 48 40 35 48 40 35 53...
Страница 6: ...PressureLevel Outlet dB A 46 40 34 40 35 30 45 35 30 Sound Power Level Outlet e 57 52 45 52 46 41 56 46 41 Electrical Fan Motor Power e H W 30 41 60 M 20 24 24 L 13 18 18 Fan Motor Apparent Power H 8...
Страница 7: ...obstructions The air should flow freely 2 The wall where the unit is to be mounted should be solid firm enough not to resonate and produce noise 3 The location should allow easy access to install the...
Страница 8: ...t use shielded sensor cables 11 Install a noise filter if the power supply creates any disruptive noises B 1 2 Mounting Plate Dimensions HWN 25 30 40 EC B 1 3 Installing the Mounting Plate 1 Select th...
Страница 9: ...if it is securely fixed 3 While pushing the unit toward the wall lift it slightly from beneath to hook it up on the mounting plate by the lower hooks 4 Make sure the unit firmly rests on the hooks of...
Страница 10: ...B 2 2 Removing Front Cover Assembly 1 Set the horizontal louver to the horizontal position 2 Remove the screw caps below the louver and then remove the mounting screws 3 Open the lift up grille cover...
Страница 11: ...water outlet valve B 2 4 Wiring Connections Unit components are wired to the terminal block of the indoor unit Wiring can be accessed from the terminal block inside the control box B 3 Pipe Connectio...
Страница 12: ...wer supply to the PCB and all the loads connected to the voltage outputs Max length 5 m Earth PE1 Power supply to the PCB and all the loads connected to the voltage outputs Max length 5 m Voltage outp...
Страница 13: ...Page 13 of 36 SK2014 SON 002 TechMnl SWC 003 C 1 3 Wiring Diagram EBWPCGH EC...
Страница 14: ...ault DIP Switch Settings DIPA S1 DIPB S2 2 Thermoelectric Valve Configuration On board DIP switch SW3 of DIPB is used for this configuration 3 Unit Configuration On board DIP Switches of DIPB are used...
Страница 15: ...mer ON OFF weekly program will be the same as the wall pad setting before the last power off C 1 5 Control Logics for 2 Pipe System C 1 5 1 With Thermoelectric Valve Configuration COOL MODE a MTV2 AUX...
Страница 16: ...E a MTV2 AUX1 and heater are always off b If Tr 25 C then MTV1 and AUX2 will be ON for 3 minutes and then OFF for 4 minutes c If 16 C Tr 25 C then MTV1 and AUX2 will be ON for 3 minutes and then OFF f...
Страница 17: ...the indoor fan runs at set speed POST HEAT a AUX1 is turned off Electrical heater is turned off b Indoor fan will shut down after the unit has been turned off for 20 seconds LOW TEMPERATURE PROTECTIO...
Страница 18: ...or 28 C depending on DIP setting then MTV2 and AUX1 are turned on Indoor fan runs at 200RPM b If Ti1 38 C or 30 C depending on DIP setting then MTV2 and AUX1 are turned on Indoor fan runs at set spee...
Страница 19: ...ODE a SLEEP mode can only be set when the unit is in COOL or HEAT mode b In COOL mode after SLEEP mode is set the indoor fan will run at low speed and Ts will increase by 2 C over 2 hours c In HEAT mo...
Страница 20: ...he system is switched on again the same operations as previously set will function C 1 11 Operation Of Control Panel On High Wall Unit C 1 11 1 On Off Switch a This is a tactile switch to select Cool...
Страница 21: ...eck if sensor s resistance is correct or not Return air sensor failure Green LED blinks 3 times stops for 3 secs Room sensor unplugged or damaged 1 Check if Tr plug is connected or not 2 Check if sens...
Страница 22: ...19 failure RED LED blinks 19 times stops for 3 secs Check unit 19 communication plug and fix it Unit 20 failure RED LED blinks 20 times stops for 3 secs Check unit 20 communication plug and fix it Uni...
Страница 23: ...WC 001 2 Communication plug A B A B is printed on the main PCB When you connect the wires please ensure connection of A to A and B to B 3 Connection wire 3 1 If the total length of wire is more than 1...
Страница 24: ...the slave unit will beep once Using Wall pad to Set Master Control Unit a Connect all the units PCBs according to the wire color and type of connector b Select the master unit by setting DIPA S1 SW6...
Страница 25: ...SW1 Unit No Remark 1 0 0 0 0 0 01 Master 0 0 0 0 0 1 02 Slave 0 0 0 0 1 0 03 Slave 0 0 0 0 1 1 04 Slave 0 0 0 1 0 0 05 Slave 0 0 0 1 0 1 06 Slave 0 0 0 1 1 0 07 Slave 0 0 0 1 1 1 08 Slave 0 0 1 0 0 0...
Страница 26: ...Page 26 of 36 SK2014 SON 002 TechMnl SWC 003 C 3 4 Unit Network Wiring Scheme Wiring diagram for a master slave network connection...
Страница 27: ...is selected the unit is not receiving power R 2 Med R 3 Hi Power input Phase L Power supply to the PCB and all the loads connected to the voltage outputs Max length 5 m Neutral N Power supply to the P...
Страница 28: ...0 10VDC S2 S4 Speed selection EH CONTROL SIGNAL CN5 CN4 4 3 2 1 ON DIPs1 s4 RY 10A T CN3 GREEN RED _ BLUE Auto speed signal 230V 50HZ 0 5VDC 0 10VDC S1 closed SM2 SM1 EC MOTOR GREY P11 Unit wiring sc...
Страница 29: ...700 600 HWN EC 30 0 1 1 1150 800 700 HWN EC 40 1 0 0 1300 1100 900 Default RPM 1 1 1 Set by customer requirement C 4 4 Control Logics Specification 1 Power On Setting When any fan speed is selected th...
Страница 30: ...iption For all units Operation LED light Green Item Blink Reason Remedy Indoor coil sensor 1 failure Green LED blinks 4 times stops for 3 secs Ti1 sensor connection is unplugged or damaged 1 Check if...
Страница 31: ...D User Interface D 1 Remote Control Handset Attention When unit with handset is the master unit settings are automatically sent to the slave units Auto Cool Heat operation will be applicable in 4 pipe...
Страница 32: ...Page 32 of 36 SK2014 SON 002 TechMnl SWC 003 D 2 Wired Wall Pad D 2 1 Wall Pad Display...
Страница 33: ...ess TI M ER button again and OFF symbol blinking indicates OFF timer programming mode The setting method is the same as the ON timer setting above Press TI M ER button again to exit the ON OFF timer s...
Страница 34: ...setting The Sleep function is valid in cool or heat modes only i Temperature setting Press or to enter into temperature setting mode The temperature display area blinks indicating the current set temp...
Страница 35: ...the wall pad backlight changes to the color red Should there be multiple units having problems addresses and error codes will be shown one after another Error code definition Error Error code Electric...
Страница 36: ...ltage Check fuse on board Place in the ON position Check the room control Check fan motor Filter clogged Air flow obstructed Room control regulation Incorrect water temperature Air present Insufficien...