6
Quantix™ © AeroVironment 2017–2019
Quantix™ © AeroVironment 2017–2019
7
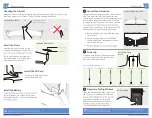
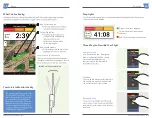
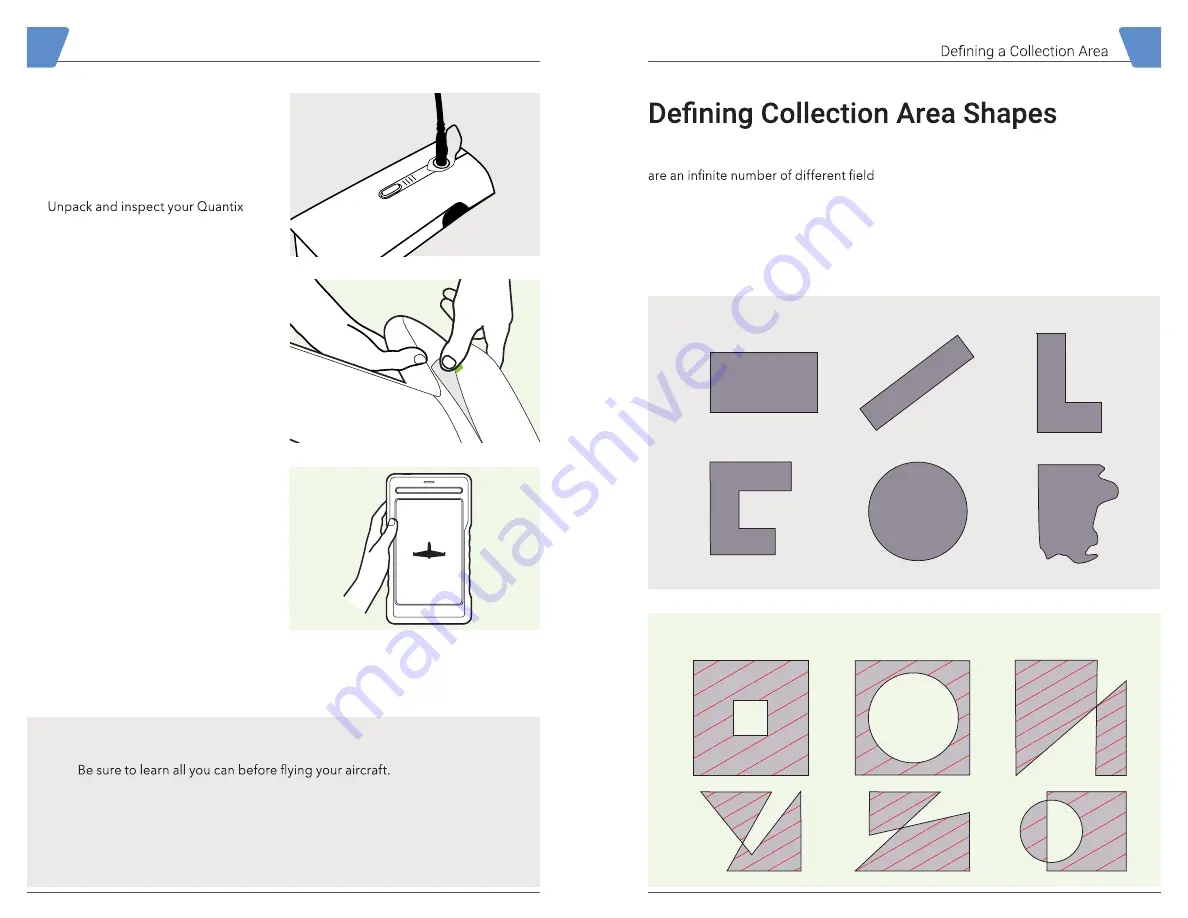
Recommended
The Quantix Mission Planner has been
tested on a variety of shapes and there
shapes that you as the user might select.
The examples below will help you select
a reliable shape for the Quantix Mission
Planner.
In general, your collection area should be:
• A closed polygon with no “holes”
• Fewer than 100 points or corners
• As simple as possible to perform
Not Recommended
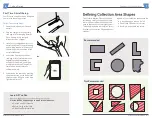
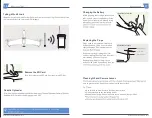
First Time Aircraft Setup
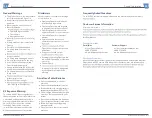
Your Quantix aircraft has been designed
to minimize the setup process.
Follow These Setup Steps:
1.
aircraft.
2. Plug the charger into the battery
(see page 14 for charging details).
Once battery is fully charged,
disconnect from charger.
3. Install a fully charged battery in the
aircraft and power it on by pressing
and holding the power button until
the main light bar on the top of the
aircraft illuminates.
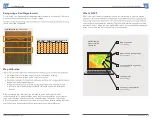
4. Launch the Quantix application.
(see page 18 for more information
regarding software updates. If
an update is required, you will be
prompted to visit the Google Play
store to download the latest
software version).
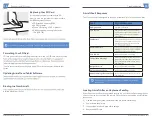
5. Power down the aircraft by pressing
the power button on the battery for
three seconds. All lights on the main
light bar will turn off.
Getting Started
Learn All You Can
Visit the AV DSS Support Page to watch tutorial videos on:
• Get to Know Your Quantix
• Before Going to the Field
• Add a New Collection Area
Содержание Quantix
Страница 1: ...User Manual...
Страница 2: ...User Manual...


