background image

4/28/2021

Nano Shutter User Guide : Aeotec Help Desk

https://aeotec.freshdesk.com/support/solutions/articles/6000198854-nano-shutter-user-guide-

5/15

Restore power at the circuit breaker or fuse.
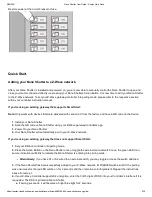
Quick Start.

Adding your Nano Shutter to a Z-Wave network.

After your Nano Shutter is installed and powered on, you are now able to manually control the Nano Shutter to open and
close your motor connected directly via pressing your Nano Shutters Action Button. It is now time to add your Nano Shutter
to the Z-Wave network. To set your Z-Wave gateway/controller into pairing mode, please refer to the respective section
within your controller instruction manual.

If you're using an existing gateway that supports Smart Start:

Note: 

Only works with devices that were delivered with version 3.0 from the factory and have a QR code on the device.

1. 

Install your Nano Shutter.

2.

 Scan the QR code on Nano Shutter using your Z-Wave gateway/controllers app.

3.

 Power On your Nano Shutter

4. 

Your Nano Shutter


will automatically pair to your Z-Wave network.

If you're using an existing gateway that does not support Smart Start: 

1. 

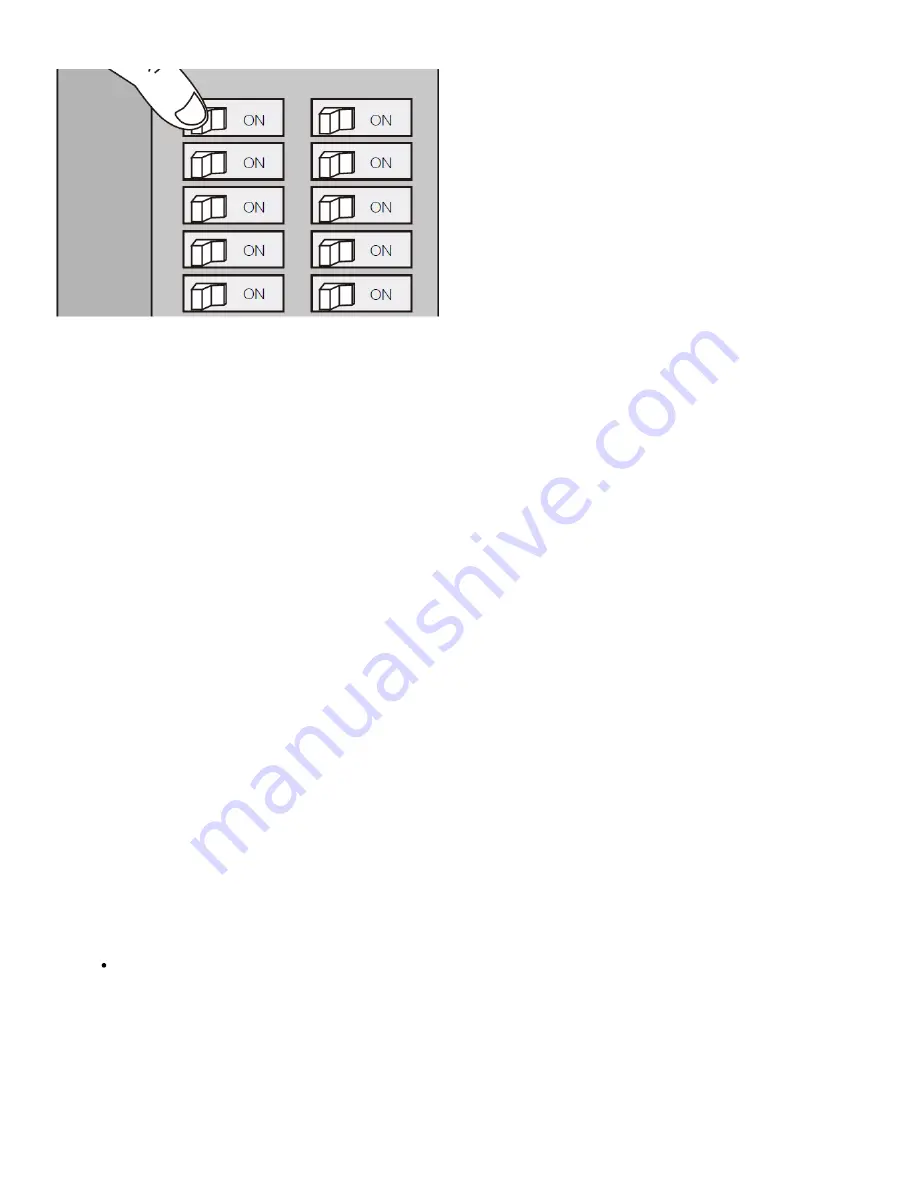
Set your Z-Wave controller into pairing mode.

2. 

Press the Action Button on the Nano Shutter once or toggle the external manual switch once, the green LED (non-

secure indication) will blink to indicate the Nano Shutter is entering into pairing mode.

Alternatively:

 if you have S1 or S2 wired to an external switch, you may toggle or press the switch attached.

3.

 If the Nano Shutter has been successfully added to your Z-Wave network, its RGB LED will be solid. If the pairing

was unsuccessful, the red LED will be on for 2 seconds and then remain a colorful gradient. Repeat the instructions
above from step 1.

4.

 If your Z-Wave Controller supports S2 encryption, enter the first 5 digits of DSK into your Controller's interface if it is

requested. The DSK is printed on Nano Shutter.

a.

 If pairing succeeds, it will become a bright blue light for 2 seconds. 

Содержание Nano Shutter

Страница 1: ...mpatible with your Z Wave system or not please reference our Z Wave gateway comparison http aeotec com z wave gateways listing The technical specifications of Nano Shutter https aeotec freshdesk com s...

Страница 2: ...r installs behind a switch or a momentary push button It works with only 3 wire with neutral lighting setups though each installation of Nano Shutter is accordingly slightly different 1 Shut off the m...

Страница 3: ...1 Down OUT2 Output for Motor direction 2 Up S1 External switch 1 control for Motor Up S2 External switch 2 control for Motor Down 24VDC Wiring diagram of Nano Shutter N Power input for 24VDC L Power i...

Страница 4: ...OUT1 and OUT2 on Nano Shutter d External manual Switch connection Connect 2 18AWG wires to the S1 and S2 on the Nano Shutter d External manual Switch connection Connect 2 18AWG wires form the 2 termi...

Страница 5: ...ode on Nano Shutter using your Z Wave gateway controllers app 3 Power On your Nano Shutter 4 Your Nano Shutter will automatically pair to your Z Wave network If you re using an existing gateway that d...

Страница 6: ...our needs Button Behavior User Behavior Outside the network Unpaired Inside the network Paired to an existing Z Wave network Power Off LED off LED off Power ON SmartStart Learn Mode LED cycle on rainb...

Страница 7: ...s done During the calibration sequence function 1 and function 2 will not work 1 Active and stop the motor The motor moves in a forward stop reverse stop forward order LED will turn on when the motor...

Страница 8: ...al switch identify Mode Toggle or press the external switch connected to S2 Solid green LED 2 seconds success in external switch S2 detection Solid red LED 2 seconds Failure in external switch S2 dete...

Страница 9: ...next step C The motor curtain will reverse to other direction reference point B Press the Action Button or S1 S2 external switches once the current is at the max close to finalizing the calibration D...

Страница 10: ...ess and hold S1 S2 external switch between 1 2 seconds to initiate calibration for rotation F Then short pressing the Action Button once to start the blind rotation calibration reference point C The b...

Страница 11: ...evel switch 99 3 Shutter mode Venetian mode Out 1 Down moving Multi level switch 0 Out 2 Up moving Multilevel switch 99 0 1 34 0x22 Blade Turn Time Venetian mode 150 1 5 s 2 35 0x23 Sets the move time...

Страница 12: ...ain controller To set your Z Wave controller gateway into removal mode please refer to the respective section within your controller instruction manual 1 Set your Z Wave controller into removal mode 2...

Страница 13: ...so using the configuration settings below Parameter Definition Default Value Byte Size 80 0x50 To set which report would be sent to the associated nodes in association group 1 when the state of outpu...

Страница 14: ...eleased Push Button Supported Only Note Only Push Button mode switch support Attribute Key Held Down Key Released Reset your Nano Shutter If at some stage your primary controller is missing or inopera...

Страница 15: ...4 28 2021 Nano Shutter User Guide Aeotec Help Desk https aeotec freshdesk com support solutions articles 6000198854 nano shutter user guide 15 15...

Отзывы: