- 29 -
ONE STEP BUTTON HOLE SEWING
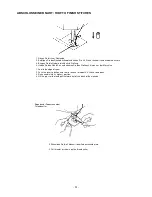
Your machine works with a buttonhole automatic. Together with the button hole foot you can sew button holes size up to 3 cm.
Please try this function with an original piece of cloth. With very thin fabric put a piece of vlies under the cloth, so you can prevent
pulling of fabric.
•
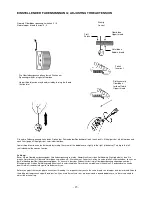
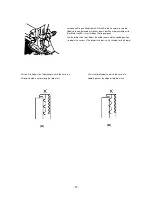
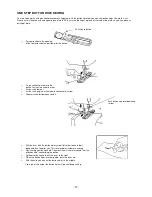
Put your button in the opening
of the foot and slide the part towards the button
•
Fix your button hole foot with the
button. Put the cloth under the foot.
•
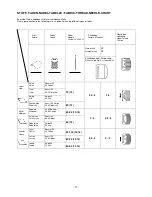
Put the stitch dial on 1.
•
Put the stitch length on the marker of button hole symbol.
•
Choose stitch width between 3 and 6.
Push button hole lever down and
to front
•
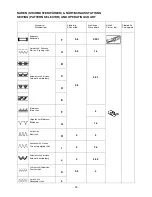
Pull the lever with the button hole symbol (left of button hole foot)
down and then towards you. This lever enables automatic sewing.
•
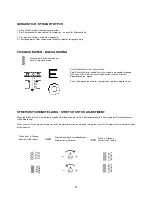
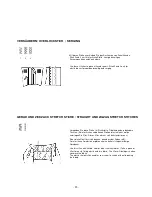
Start sewing your button hole. The machine will sew a latch and the size
of button hole is according the button.
•
For another button hole pull the lever to the front.
•
When the button holes are completed, push the lever up.
•
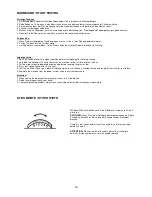
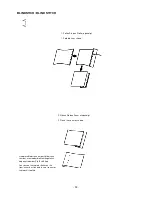
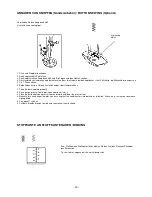
With the knife you can cut the button holes in the middle.
Tip: a pin at the end of the button hole will prevent deep cutting.
Pull slide to button

