Chapter 2 System Setup
2.1 A Quick Tour of the Panel PC
Before you start to set up the Panel PC, take a moment to become
familiar with location and purpose of the controls, driver,
connectors and ports, which are illustrated in the figures as below.
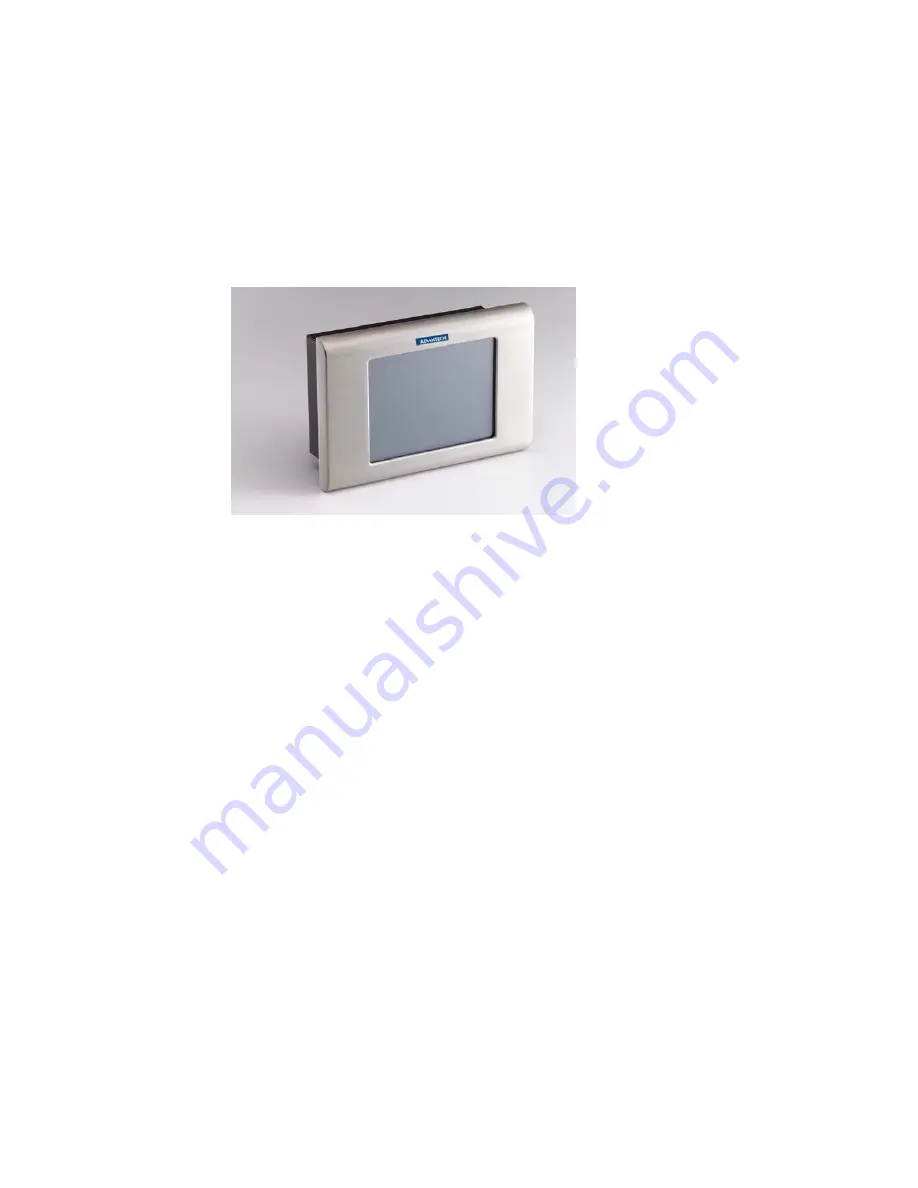
When you place the Panel PC upright on the desktop, its front
panel appears as shown
in the Figure 2-1.
When you turn the panel PC around and look at its rear cover, you
will find the I/O section as shown in Fig.2-2. (The I/O section
includes various I/O ports, including serial ports, the Ethernet port,
USB port, VGA port and so on.)
Содержание PPC-L60T
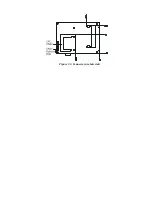
Страница 12: ...3 3 Locating jumpers Figure 3 1 Jumper locations...
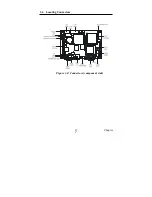
Страница 13: ...3 4 Locating Connectors Figure 3 2 Connectors component side 11 Chapter 2...
Страница 14: ...Figure 3 3 Connectors solder side...
Страница 20: ...Fig 4 1 Fig 4 2...
Страница 21: ...Fig 4 3 Fig 4 4...
Страница 24: ...Figure 5 2 Panel Mounting...
Страница 26: ...Figure 5 3 Dimension of Panel mounting holes...
Страница 27: ......


