Chapter 4 Hardware Installation and
Upgrading
4.1 Introduction
The panel PC consists a PC-based computer that is housed in a
metal rear cover and. You can install HDD, SDRAM and CF card
by removing the rear panel. Any maintenance or hardware
upgrades can be easily completed after removing the rear panel
and HDD bracket.
Warning! Don’t remove the metal rear cover until you have
verified that no power is following within the panel PC. Power
must be switched off and the powercord must be unplugged.
Every time you servie the Panel PC, you should be aware of this.
4.2 Installing the 2.5” Hard Disk Drive (HDD)
You can attach one enhanced Integrated Device Electronics (IDE)
Hard disk drive to the panel PC’S internal controller which uses a
PCI local-bus interface. The advanced IDE controller supports
faster data transfer and allows the IDE hard drive to exceed 512
MB. The following are instructions for installation:
1. Detach and remove the HDD bracket from rear cover.
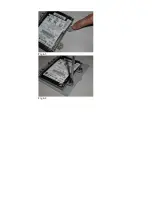
2. Place the HDD on the Metal plate, and tighten the screws. (See
the Fig 4-1)
3. The Connect the HDD cable to the HDD.
4. put the rubber (see the Fig 4-2)
5. Put the damper on TOP OF the rubber. See the Fig 4-3)
6. Tighten screws. (See the Fig 4-4)
7. Put the HDD bracket and tighten the screws.
Содержание PPC-L60T
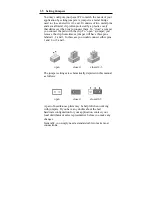
Страница 12: ...3 3 Locating jumpers Figure 3 1 Jumper locations...
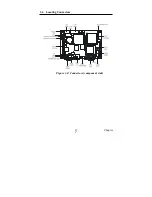
Страница 13: ...3 4 Locating Connectors Figure 3 2 Connectors component side 11 Chapter 2...
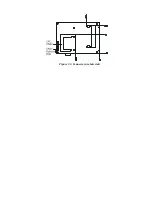
Страница 14: ...Figure 3 3 Connectors solder side...
Страница 20: ...Fig 4 1 Fig 4 2...
Страница 21: ...Fig 4 3 Fig 4 4...
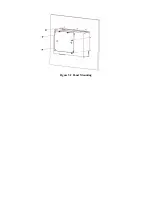
Страница 24: ...Figure 5 2 Panel Mounting...
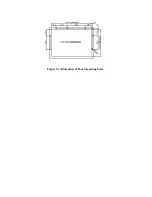
Страница 26: ...Figure 5 3 Dimension of Panel mounting holes...
Страница 27: ......

