


Chapter 2 Connecting Peripherals
25
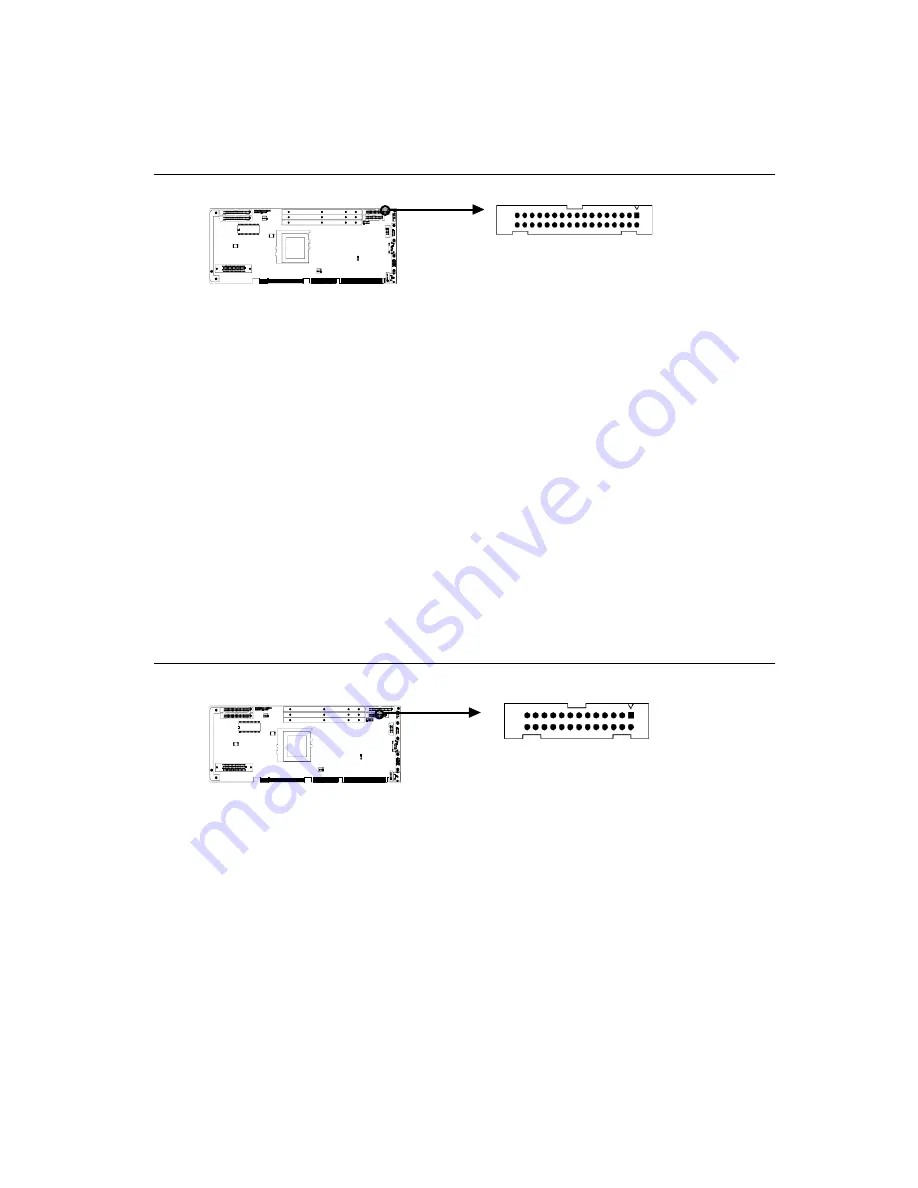
2.2
Floppy Drive Connector (CN3)
You can attach up to two floppy disk drives to the PCA-6179's
onboard controller. You can use any combination of 5.25" (360 KB /
1.2 MB) and/or 3.5" (720 KB / 1.44/2.88 MB) drives.
The card comes with a 34-pin daisy-chain drive connector cable. On
one end of the cable is a 34-pin flat-cable connector. On the other end
are two sets of floppy disk drive connectors. Each set consists of a
34-pin flat-cable connector (usually used for 3.5" drives) and a
printed circuit-board connector (usually used for 5.25" drives). You
can use only one connector in each set. The set on the end (after the
twist in the cable) connects to the A: floppy drive. The set in the
middle connects to the B: floppy drive.
2.3
Parallel Port (CN4)
The parallel port is normally used to connect the CPU card to a
printer. The PCA-6179 includes an onboard parallel port, accessed
through a 26-pin flat-cable connector, CN4. The card comes with an
adapter cable which lets you use a traditional DB-25 connector. The
cable has a 26-pin connector on one end and a DB-25 connector on
the other, mounted on a retaining bracket. The bracket installs at the
end of an empty slot in your chassis, giving you access to the connec-
tor.
The parallel port is designated as LPT1, and can be disabled or
changed to LPT2 or LPT3 in the system BIOS setup.
CN3
CN4
Содержание PCA-6179
Страница 1: ...PCA 6179 Full size socket 370 Intel Pentium III processor based PCI ISA bus CPU card ...
Страница 13: ...Figures Figure 1 1 Board layout main features 8 Figure 1 2 Board layout jumper and connecter locations 11 ...
Страница 14: ......
Страница 15: ......
Страница 36: ...22 PCA 6179 User s Manual ...
Страница 48: ...34 PCA 6179 User s Manual ...
Страница 49: ...Award BIOS Setup This chapter describes how to set the card s BIOS configuration data CHAPTER 3 ...
Страница 68: ...54 PCA 6179 User s Manual ...
Страница 81: ...Chapter 5 LAN Configuration 67 5 In the Select OEM Option window click on OK 6 In the Duplex mode click OK ...
Страница 83: ...Chapter 5 LAN Configuration 69 9 In the Network Settings Change window click on Yes ...
Страница 85: ...Chapter 5 LAN Configuration 71 2 In the System Properties window select the Device Manag er ...
Страница 87: ...Chapter 5 LAN Configuration 73 5 Click on Next 6 Following the highlighted item and click on Next ...
Страница 88: ...74 PCA 6179 User s Manual 7 Click on Have Disk 8 Key in E Pca6179 Lan WIN2000 then click on OK ...
Страница 89: ...Chapter 5 LAN Configuration 75 9 To highlight the following item and click Next 10 Click Next ...
Страница 90: ...76 PCA 6179 User s Manual 11 Click Finish to complete teh installation ...
Страница 96: ...82 PCA 6179 User s Manual ...
Страница 100: ...102 PCA 6179 User s Manual ...
Страница 118: ...120 PCA 6179 User s Manual ...


