Copyright 2019. All rights reserved. Advantech Co. Ltd.
Page 13
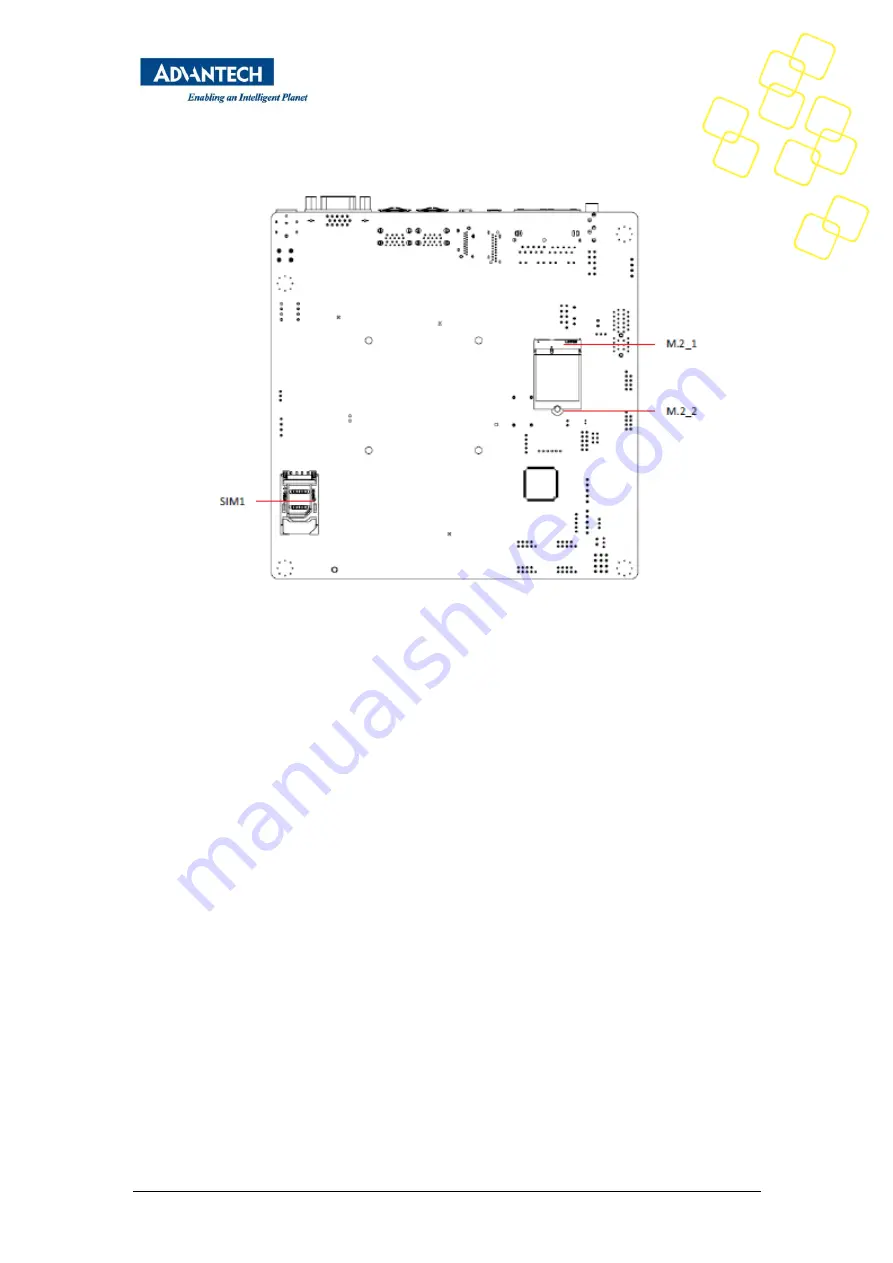
Figure 5: Schematic of bottom panel of AIMB-217
2.3
Getting Started with Pre-built Images
If you want to boot your image from USB and than follow next steps:
1.
Plug in USB drive with pre-built image in one of USB 3.0. ports.
2.
Plug in power cable to turn on the board.
3.
If you want to start image from USB just select “boot” option in EFI menu
(Figure 6).
4.
Wait until image boots and login page appears on screen (Figure 7).
5.
Choose user from user list on login page.
If you want to install your image on HDD or SSD disk than follow next steps:
1.
Plug in USB drive with pre-built image in one of USB 3.0. ports.
2.
Plug in SATA data cable and SATA power cable connected to SSD or HDD
disk.
3.
Plug in power cable to turn on the board.
4.
If you want to install system on SSD or HDD disk, select “install” option in
EFI menu (Figure 8).
5.
You will be asked to select the device on which installation will be made
(Figure 9). If only one HDD/SDD disk and only one USB stick are connected
to board, then “sda” is the name of device.
6.
Wait until “Installation successful. Remove your installation media and press
ENTER to reboot.” inscription appears in the bottom of the screen, press
ENTER and remove USB stick out of board.
7.
Wait until image boots and login page appears on screen (Figure 7).
8.
Choose user from user list on login page.
Содержание AIMB-217
Страница 10: ...Copyright 2019 All rights reserved Advantech Co Ltd Page 10 Figure 2 Top panel of AIMB 217 ...
Страница 11: ...Copyright 2019 All rights reserved Advantech Co Ltd Page 11 Figure 3 Schematic of top panel of AIMB 217 ...
Страница 12: ...Copyright 2019 All rights reserved Advantech Co Ltd Page 12 Figure 4 Bottom panel of AIMB 217 ...
Страница 14: ...Copyright 2019 All rights reserved Advantech Co Ltd Page 14 Figure 6 EFI boot menu ...


