Using the Open Toolkit plug-in for FrameMaker
13
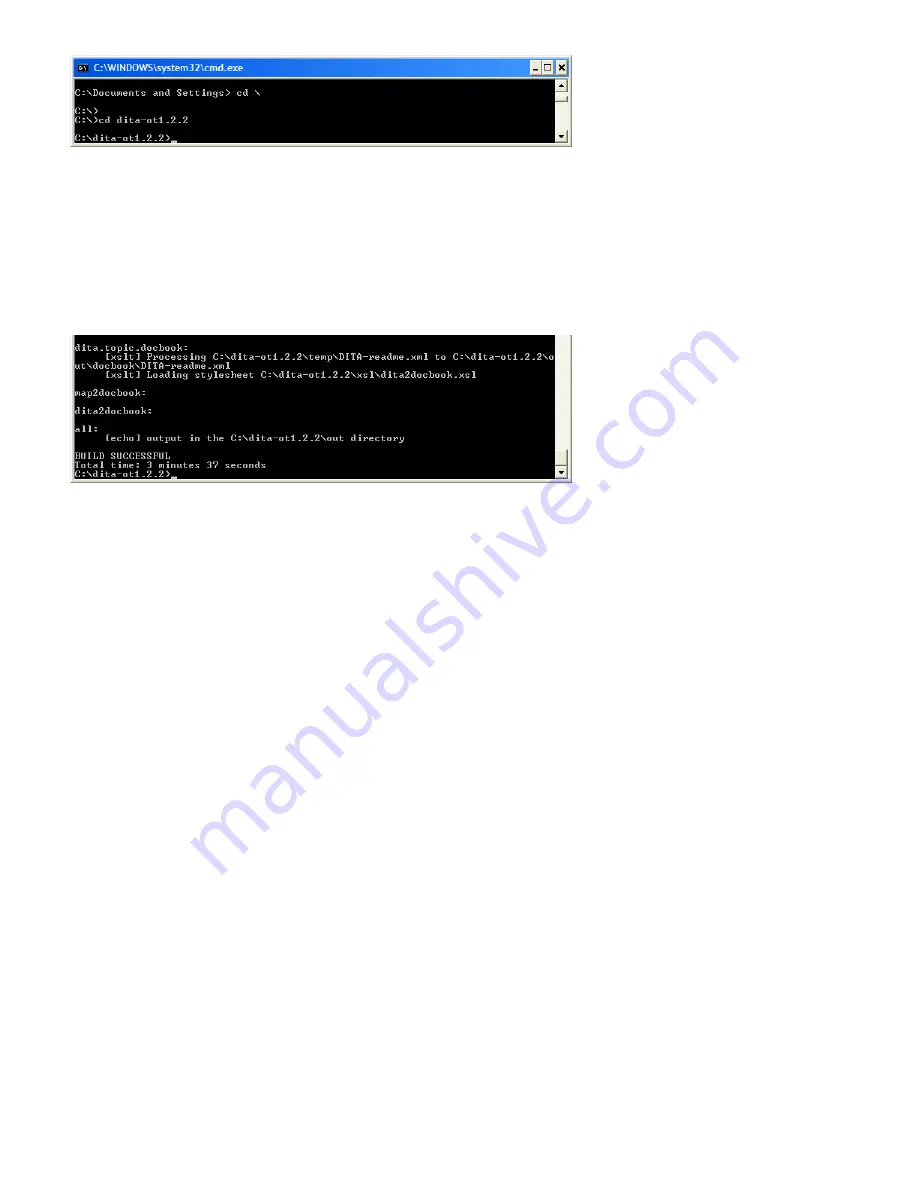
Moving to DITA Open Toolkit folder in command window
3 Navigate to the DITA Open Toolkit folder (for example, by typing
CD dicta-ot1.4.2.1
).
Note:
This folder name must exactly match the folder where you installed the DITA Open Toolkit.
4 At the command prompt, type
ant all
If your toolkit is properly installed, you should see text scrolling through the command window
for several minutes, as the DITA Open Toolkit generates test output, completing with the text
“BUILD SUCCESSFUL.”
Successful build reported in command window
If you receive an error, double-check the installation instructions above, or see the DITA Open
Toolkit documentation.
Appendix 2: Installing the Open Toolkit plug-in for FrameMaker
This section guides you through installing the Open Toolkit plug-in for FrameMaker and its associ-
ated components. The various sets of files you need are contained in the openToolkit.zip archive.
Follow the directions for expanding and extracting each set of files to their proper locations.
Installation overview
There are only two main steps to setting up the Open Toolkit plug-in for FrameMaker:
1 Extract all the files from the .zip archive to specified areas in FrameMaker installation folder (for
example, C:\Program Files\Adobe\FrameMaker9).
2 Make the corresponding entry in maker.ini.
Extracting and placing the archive files
1 Download and save the OpenToolkit .zip archive to a work area on your computer (for example, a
downloads or temporary files folder).
2 Extract the contents of the OpenToolkit .zip file.
3 Copy openToolkit.dll into fminit folder.
4 Copy the two xml files: PROJECT.xml and ditafm-ant.xml into fminit\ditafm sub folder.
5 Open maker.ini file located in the FrameMaker installation folder. Navigate to the APIClients sec-
tion. Add the following entry at the end of this section:
ditaOpenToolkit=Standard, DITA Open Toolkit, fminit\openTool-
kit.dll, structured


