Getting Started
21
USB-2401
2
Getting Started
2.1
Connecting the USB-2401 Module
1. Turn on the computer.
2. Connect the USB-2401 module to one USB 2.0 port on
the computer using the included USB cable.
3. The first time the USB-2401 module is connected, a New
Hardware message appears. It will take around 6 sec-
onds to load the firmware. When loading is complete, the
LED indicator on the rear of the USB DAQ module
changes from amber to green and the New Hardware
message closes.
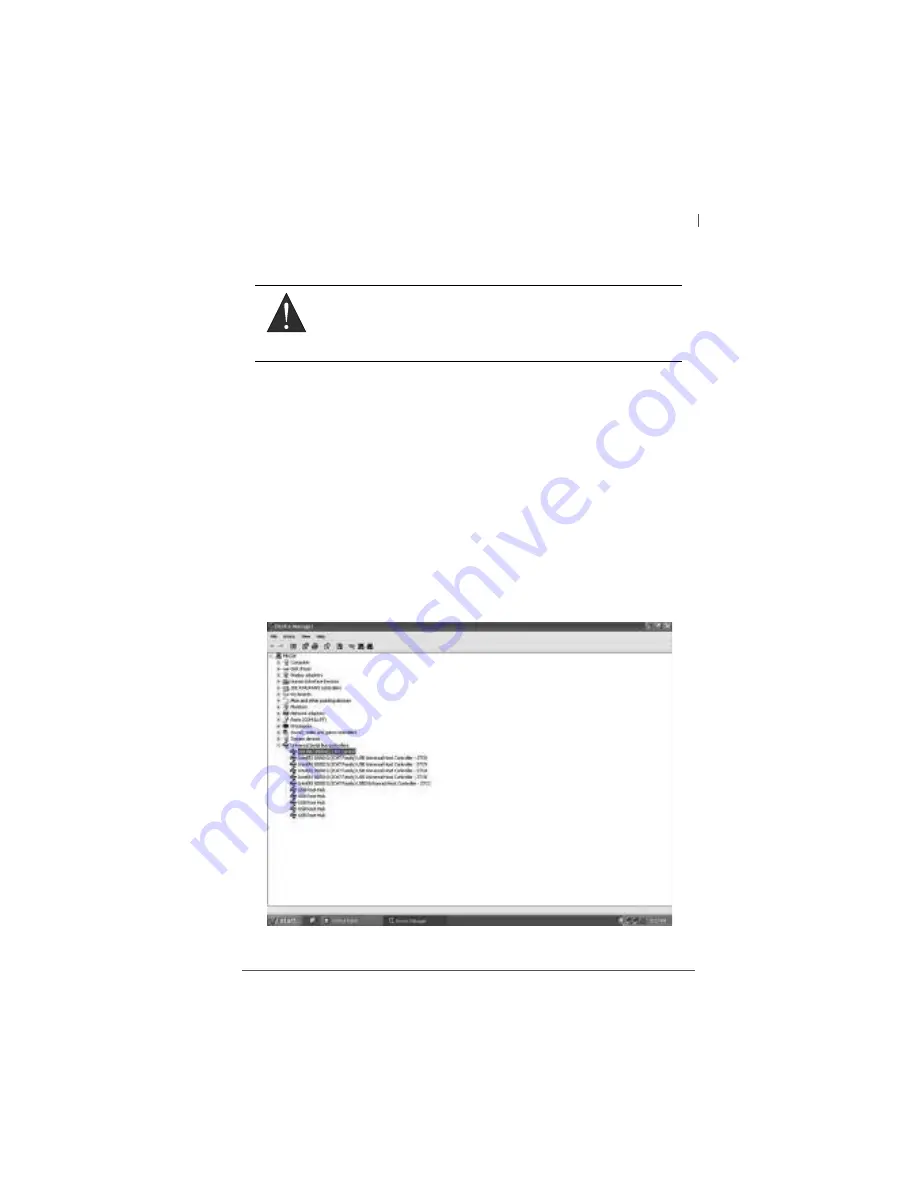
4. The USB-2401 module can now be located in the hard-
ware Device Manager, as shown.
Figure 2-1: USB-2401 Module in Windows Device Manager
WARNING:
The appropriate driver must be installed before you can con-
nect the USB DAQ to the computer system. Refer to
Section 1.6: Driver Support for Windows for driver support
information.
Содержание USB-2401
Страница 2: ...ii Revision History Revision Release Date Description of Change s 2 00 Apr 27 2012 Initial release...
Страница 8: ...viii List of Figures This page intentionally left blank...
Страница 10: ...x List of Tables This page intentionally left blank...
Страница 19: ...Introduction 9 USB 2401 Please note that only DAQPilot versions 2 3 0 712 and later can support the USB 2401...
Страница 22: ...12 Introduction Figure 1 3 USB 2401 Module Side View...
Страница 23: ...Introduction 13 USB 2401 Figure 1 4 USB 2401 Module Front View 41 3 114...
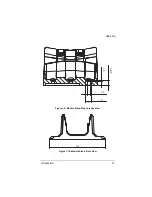
Страница 25: ...Introduction 15 USB 2401 Figure 1 7 Module In Stand Front View...
Страница 26: ...16 Introduction Figure 1 8 Module Stand Top View 20 4 20 4 B 26...
Страница 30: ...20 Introduction This page intentionally left blank...
Страница 34: ...24 Getting Started Figure 2 4 Module Pre Rail Mounting Figure 2 5 Module Rail Mounted...
Страница 36: ...26 Getting Started This page intentionally left blank...
Страница 56: ...46 Calibration This page intentionally left blank...


