18
•
Warranty
Warranty Policy
Thank you for choosing ADLINK. To understand your rights and enjoy all the
after-sales services we offer, please read the following carefully:
1. Before using ADLINK’s products please read the user manual and follow the
instructions exactly.
2.
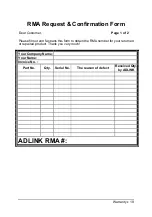
When sending in damaged products for repair, please attach an RMA application
form.
3.
All ADLINK products come with a two-year guarantee, repaired free of charge.
•
The warranty period starts from the product’s shipment date from ADLINK’s
factory.
•
Peripherals and third-party products not manufactured by ADLINK will be
covered by the original manufacturers’ warranty.
•
End users requiring maintenance services should contact their local dealers.
Local warranty conditions will depend on local dealers.
4.
This warranty will not cover repair costs due to:
•
Damage caused by not following instructions.
•
Damage caused by carelessness on the users’ part during product
transportation.
•
Damage caused by fire, earthquakes, floods, lightening, pollution, other acts
of God, and/or incorrect usage of voltage transformers.
•
Damage caused by unsuitable storage environments (i.e. high temperatures,
high humidity, or volatile chemicals.
•
Damage caused by leakage of battery fluid.
•
Damage from improper repair by unauthorized technicians.
•
Products with altered and/or damaged serial numbers.
•
Other categories not protected under our guarantees.
5. Customers are responsible for shipping costs to transport damaged products to our
company or sales office.
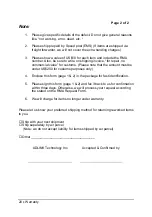
6. To ensure the speed and quality of product repair, please use the RMA form
attached in next page or you can download the form from our company website:
http://www.adlinktech.com/news/Company/RMA.doc
.
Damaged products with
attached RMA forms receive priority.
For further questions, please contact our FAE staff.
ADLINK: [email protected]
Содержание PCI-8570
Страница 2: ...PCI 8570 PXI 8570 PCI to PXI PXI to PXI Extension User s Manual Recycled Paper ...
Страница 3: ......
Страница 11: ......
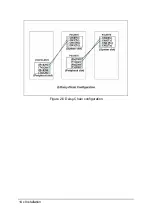
Страница 19: ...14 Installation Figure 2 6 Daisy Chain configuration ...


