


46
Installation
Guide
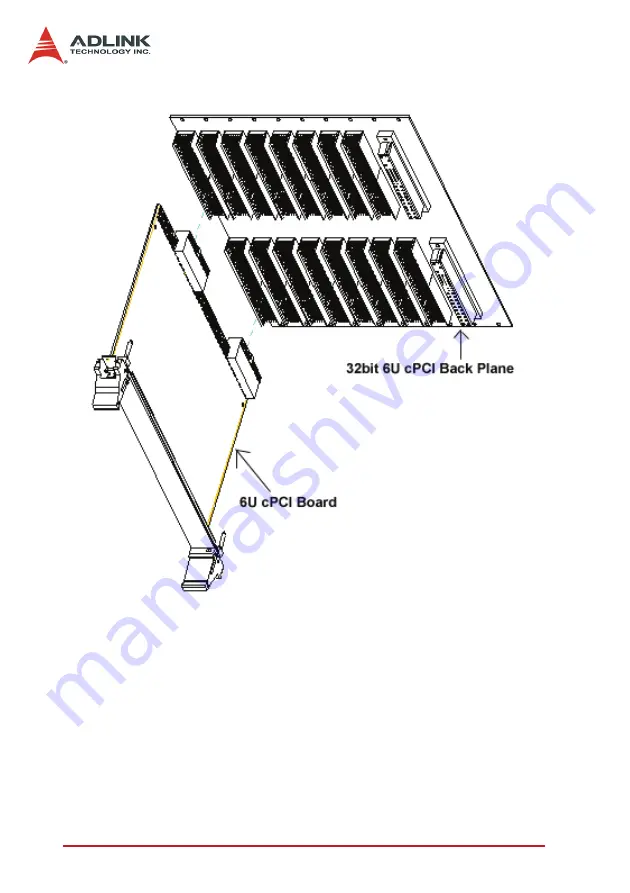
Figure 3-3: cRTV-44 (6U cPCI)
5. Carefully slide the cRTV-24 (3U)/cRTV-44 (6U) along the
guide of the chosen slot to the backplane and push the
board firmly but carefully into the connector, Lock the
board in place by pushing the release lever outwards.
6. 6.Anchor the board by replacing the screw.
7. 7.Connect the video sources for image acquisition tests.
For details, refer to the ‘ViewCreator Utility.”
Содержание cRTV-24
Страница 4: ......
Страница 8: ...List of Tables iv Table 5 2 C C Data Types 83 Table 5 3 Pixel Data 122 ...
Страница 10: ......
Страница 18: ...8 Introduction ...
Страница 34: ...24 Hardware Reference Figure 2 8 STRG Address Jumpers ...
Страница 55: ...Installation Guide 45 Figure 3 2 cRTV 24 3U cPCI ...
Страница 61: ...Installation Guide 51 ...
Страница 62: ...52 Installation Guide ...
Страница 64: ...54 Installation Guide The Device Manager should be as follows ...
Страница 67: ...Installation Guide 57 ...
Страница 68: ...58 Installation Guide 3 When the following window appears please click Con tinue Anyway ...
Страница 70: ...60 Installation Guide The Device Manager should be as follows ...
Страница 72: ...62 Installation Guide 3 Click the Finish button to finish the installation ...
Страница 76: ...66 Installation Guide ...
Страница 78: ...68 ViewCreatorPro Utility 4 2 Component Description Start the utility and the view should like below ...
Страница 144: ...134 Function Library ...
Страница 148: ...138 Programming Guide Video Proc Amp ADLink Bt878 Crossbar filter Select video input before or during video previewing ...
Страница 174: ...164 Programming Guide ...