


50
Lesson 2 How to Use the Web Controller
In this lesson, we will learn how to control the Raspberry Pi with the web. The
web controller is a web interface used to control the robot products to perform various
actions. It can be used on PCs, mobile phones, tablets, and any device that can run a
browser.
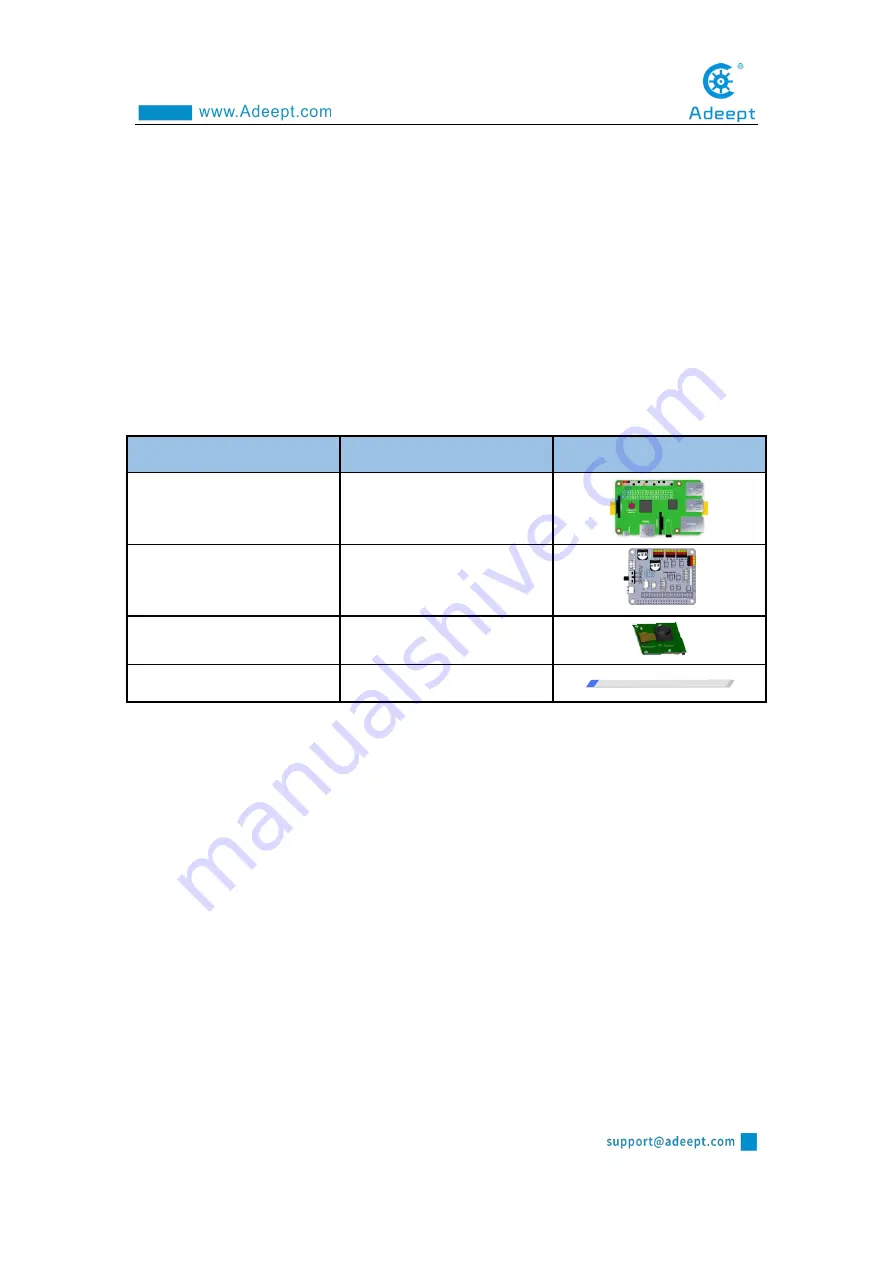
2.1 Components needed for this lesson
Components
Quantity
Picture
Raspberry Pi
1
Robot HAT
1
camera
1
Camera long cable(black)
1
2.2 Installing components and run web programs
Only by successfully running the webServer.py program on the Raspberry Pi, can
the Raspberry Pi be accessed with the IP on the browser.(After installing the
dependent libraries, the Raspberry Pi will automatically run webServer.py).
Prepare the components required for installation, and turn off the power of the
Raspberry Pi during installation.
Содержание PiCar-Pro
Страница 1: ......
Страница 13: ...10 2 Introduction of GPIO pins 1 GPIO pin comparison table...
Страница 16: ...13 Raspberry Pi through a computer or directly to control the Arduino...
Страница 26: ...23 3 Then click Finish 4 The software interface after opening is as shown below...
Страница 30: ...27 6 Click CHOOSE SD 7 Then select the SD card we need to burn...
Страница 41: ...38 Click CONTINUE WITHOUT PERMISSION...
Страница 62: ...59 Controlling the switches of Port1 Port2 Port3 on the development board...
Страница 67: ...64...
Страница 99: ...96 x1 x1 x1 x1 x1 A set of acrylic...
Страница 108: ...105 Prepare the acrylic panel and acrylic gasket as shown in the picture above...
Страница 112: ...109...
Страница 114: ...111 Use M2 5 12 screws and M1 7 6 6 self tapping screws to fix...
Страница 115: ...112 Use four M3X20 nylon posts and eight M3X10 screws to fix the left and right panels of the chuck together...
Страница 116: ...113...
Страница 117: ...114...
Страница 118: ...115...
Страница 119: ...116 Use three M3X10 screws to fix the acrylic washer and M3X40 nylon column to the side panel of the robot arm...
Страница 121: ...118...
Страница 123: ...120...
Страница 127: ...124 Use M3 4 screws to fix two L shaped aluminum alloys...
Страница 128: ...125 Use M3 4 screws to pass through the aluminum alloy and L aluminum alloy to fix the servo...
Страница 130: ...127...
Страница 135: ...132 shown below Use M3 10 screws to fix aluminum alloy and aluminum alloy sheet...
Страница 136: ...133 Install the tire and fix it with M4 locknut...
Страница 137: ...134 Install small LED lights...
Страница 139: ...136...
Страница 141: ...138...
Страница 142: ...139...
Страница 145: ...142...
Страница 147: ...144 Install the inner 4mm coupling and fix it with screws...
Страница 149: ...146 Use M3 4 screws to fix the M3 60 copper column with aluminum alloy and use M3 4 screws to fix the aluminum alloy...
Страница 153: ...150...
Страница 154: ...151 The installation is complete 9 5 Circuit Wiring Diagram Robot HAT board interface diagram...
Страница 168: ...165 Execution function 1 if __name__ __main__ 2 radar_scan 3 GPIO cleanup...
Страница 177: ...174 Adeept is the name of the WIFI hotspot 12345678 is the password of the WIFI hotspot...
Страница 178: ...175...