13
CONFIGURA
TION
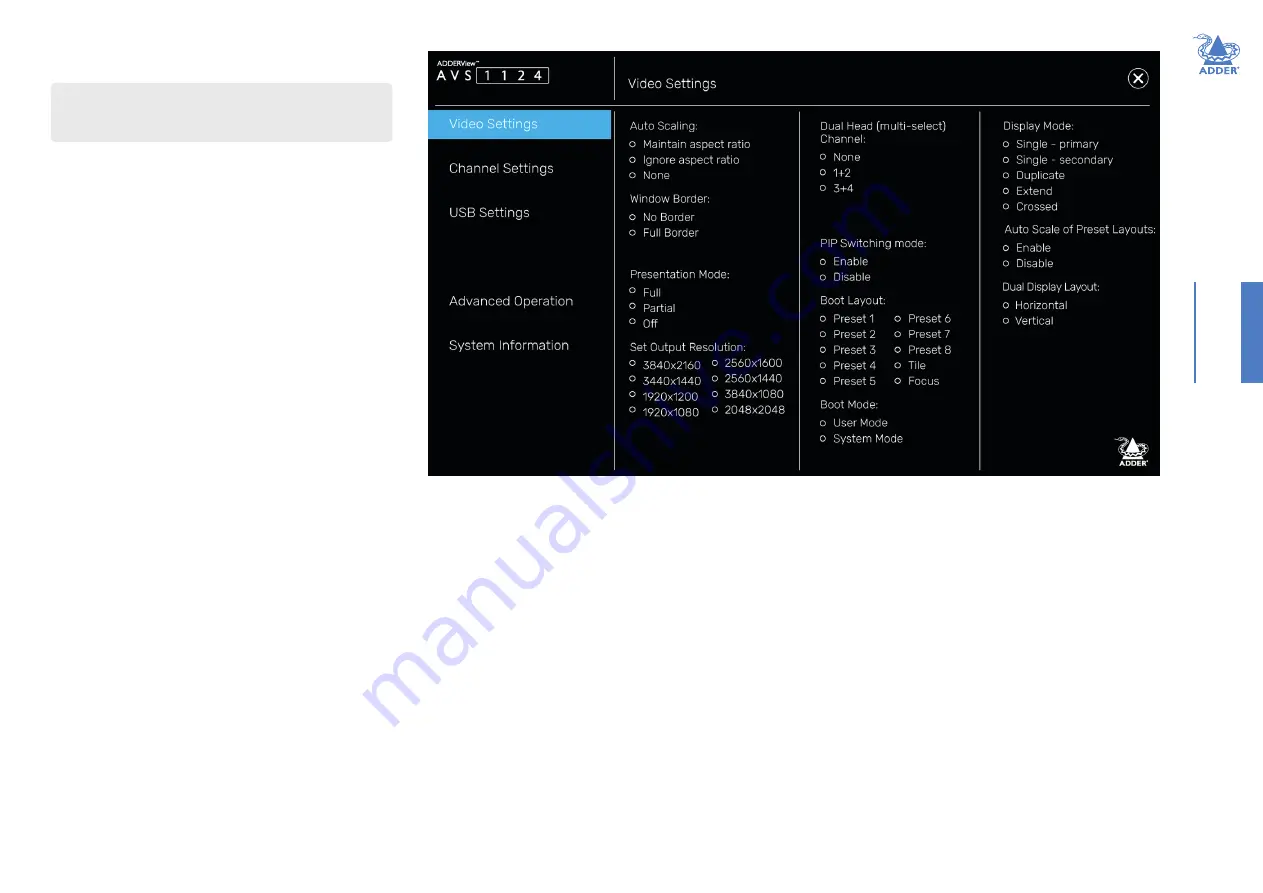
OSD - Video Settings
To get here
• On the console keyboard, enter the following in succession:
Left Ctrl
then
Left Ctrl
then
o
(upper or lower case accepted)
Auto Scaling
Maintain aspect ratio
- The channel video aspect ratio will be
maintained when the user resizes the window. This will result in a black
bar being displayed where the window aspect ratio differs.
Ignore aspect ratio
- The channel video will be resized to fit the
window and thus may become distorted.
None
- The channel video size and aspect ratio will remain the same
regardless of the window size.
Window Border
Defines whether a border is displayed for each channel window, or not.
If displayed then the color of the border is determined by the Channel
Color (see Channel Settings).
Presentation Mode
Full
- When switching to a new channel from the front panel, it will be
displayed in full screen.
Partial
- Tile Mode will be used when switching to a new channel.
Off
- When switching to a new channel, the currently selected method
of presentation will be retained.
Set Output Resolution
Choose the required output screen resolution. If two displays are
connected, then the same resolution will be used for both.
IMPORTANT: Ensure that the display(s) support the desired output
resolution. If not, the display will go blank. To resolve, change the output
resolution using a hotkey: “L Ctrl | R Ctrl | D | # ”, where # is 1 to 8.
Dual Head Channel
Allows you to specify connection to 1 or 2 dual head PCs, rather than
the default single head PCs. The default ‘None’ setting means that the
input channels are treated as single head, but the channels 1+2 and 3+4
may be designated as dual heads. Please refer to page 11
for dual head
connections.
PIP Switching Mode
Picture in Picture mode. When enabled, the mouse will pass behind any
smaller window displayed on top of the active one. Mouse switching will
only occur when moving outside the active window boundary.
Boot Layout
Determines which preset layout should be loaded at each power on
boot.
Boot Mode
In
User mode
you are interacting with the host computer, whereas in
System mode
you are interacting directly with the multi-viewer switch,
for tasks such as moving or resizing windows.
Display Mode
Single - primary
- Video is only output to video port #1. This option
should be used if only connecting a single display.
Single - secondary
- Video is only output on video port #2. This option
would be used if, say sharing a second display between 2 multi-viewers.
Duplicate
- The secondary display is a duplicate of the primary.
Extend
- The display extends across both the primary and secondary
displays. You can move windows between displays and define presets that
utilize the extended desktop.
Crossed
- Similar to Extend, except that the primary and secondary
displays are reversed. To uncross, select Extend mode.
Auto Scale of Preset layouts
When enabled, the preset layouts will fill the screen; if necessary,
overriding the aspect ratio. When disabled, the layout will respect the
Auto Scaling setting.
Dual Display Layout
Defines how your video displays are arranged:
Horizontal
- The displays positioned side by side.
Vertical
- The displays are arranged top and bottom.
Video Settings


