• Set the build priority to: High, Medium, or Low.
See
Fine-tuning Logical Drives
on page 54 for details about customizing the settings in the RAID
Attributes panel.
7. Click Next, then review the logical drive settings. To make changes, click Back.
8. Click Finish.
maxView Storage Manager builds the maxCache Container. Use the Event Log and Task Log to track
build progress.
Setting the maxCache Flush and Fetch Rate
Once the maxCache Container is built, you can set its Flush and Fetch rate to optimize the read cache
performance.
To set the maxCache Container Flush and Fetch rate:
1. In the Enterprise View, select a controller, then select the associated maxCache Container.
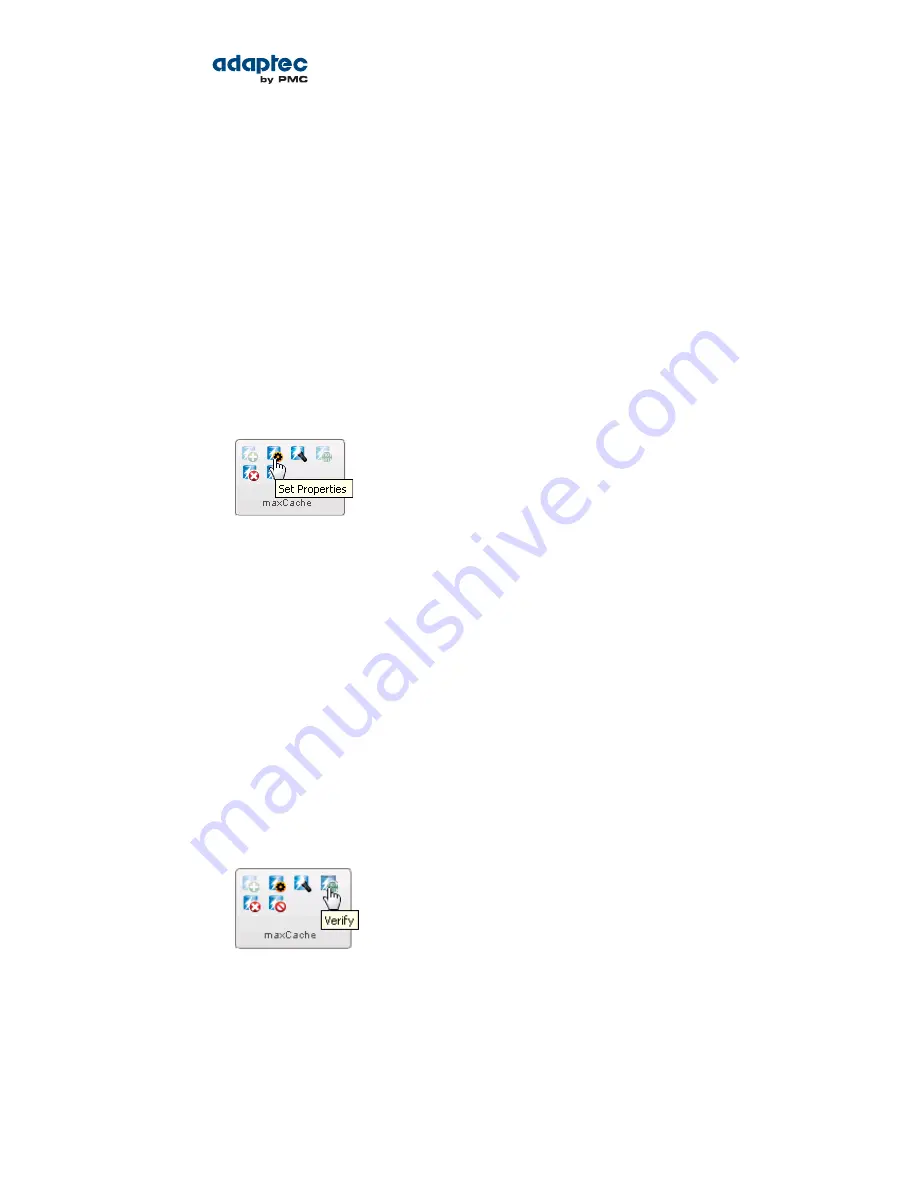
2. On the ribbon, in the maxCache group, click Set Properties.
The Set Properties window opens.
3. In the drop-down list, set the Flush and Fetch rate to: Slow, Medium, or High. The default is Medium.
Note: The lower the rate, the longer data is kept on the maxCache Container
before it's flushed from the cache.
4. Click OK.
Verifying and Fixing the maxCache Container
If maxCache is enabled for a controller, you cannot complete any other tasks on that controller while
maxView Storage Manager verifies and fixes the maxCache Container. Optionally, you can choose to
verify the maxCache Container without fixing inconsistent or bad data, or run a coherency check to
compare valid pages of the maxCache Container with their corresponding logical drive storage.
To verify and fix the maxCache Container:
1. Ensure that no activity is taking place on the controller for the maxCache Container.
2. In the Enterprise View, select the maxCache Container you want to verify and fix.
3. On the ribbon, in the maxCache group, click Verify.
The Verify maxCache window opens.
4. Choose a verification option:
Description
Options
...click Verify with fix.
To repair inconsistent or bad data during
verification
63
Proprietary and Confidential to PMC-Sierra, Inc.
Document No.: CDP-00278-01-A Rev. A, Issue:
maxView Storage Manager User's Guide


