Page 12
© 2015 Active Research Limited
3.
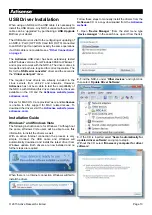
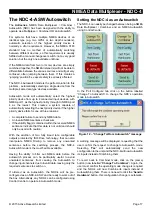
When using the drivers downloaded from the
Actisense
website, it is important to unzip them to an easy to find
location. Make sure the
‘Include this location in the
search’
option is ticked, and use the
‘Browse’
button and
select the folder where the drivers have been extracted
and click
‘Next’
.
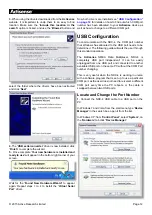
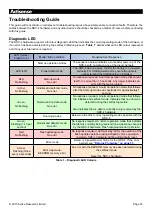
4.
The
‘USB serial converter’
driver is now installed, click
‘Finish’
to complete the wizard.
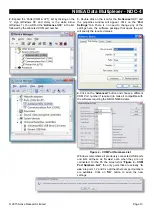
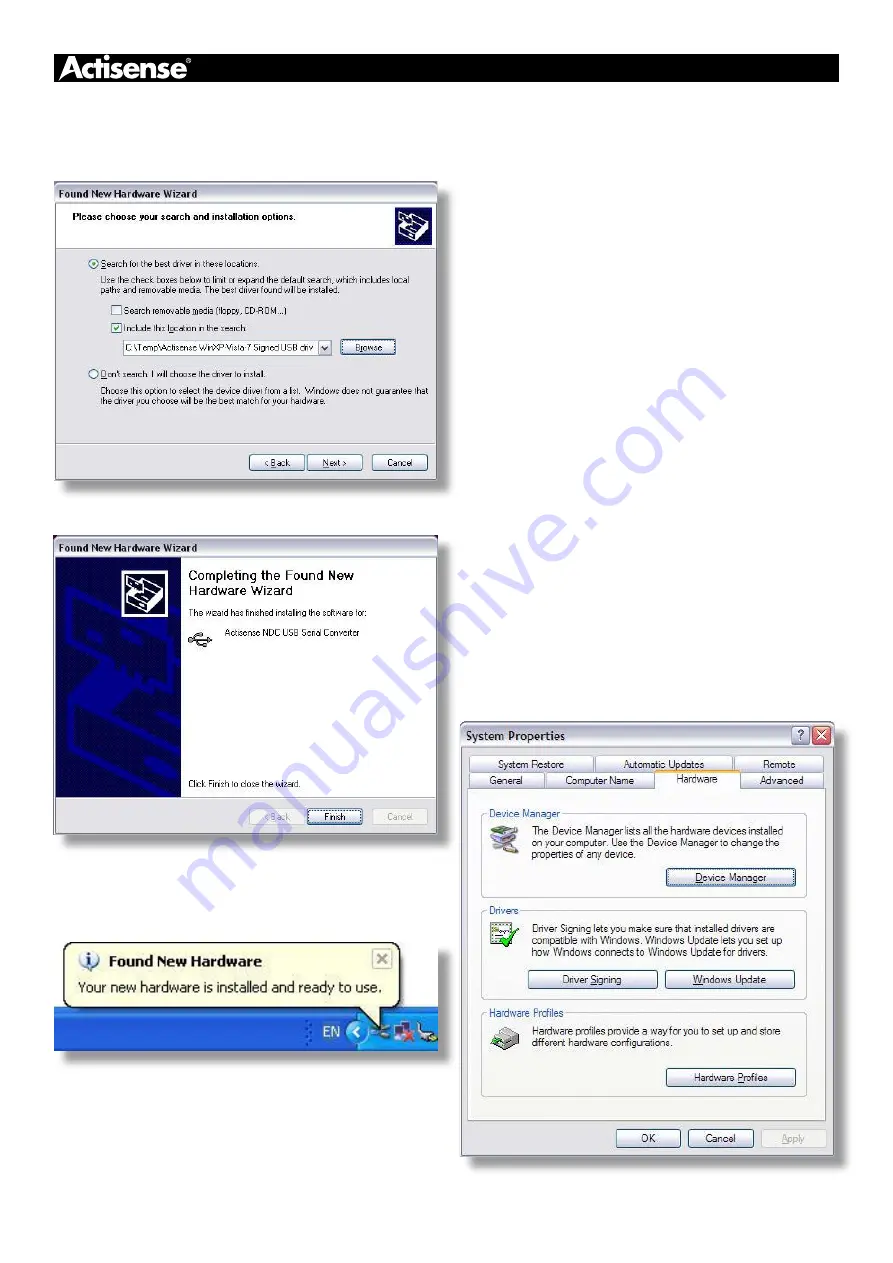
5.
Once complete
‘Your new hardware is installed and
ready to use’
will appear in the bottom right corner of your
screen.
Wait for the
‘Found New Hardware Wizard’
to appear
again. Repeat steps 1 to 4 to install the
‘Virtual Serial
Port’
driver.
Now both drivers are installed see
for details on how to find out which COM port
number has been allocated to your
Actisense
device as
well as how to change to a different COM port.
USB Configuration
To communicate with the NDC-4, the COM port number
that Windows has allocated to the USB port needs to be
determined. The following guide will walk the user through
this standard operation.
The
Actisense
NMEA Data Multiplexer, NDC-4 is
completely USB port independent: It can be easily
unplugged from one USB port and connected to another
available USB port on the same PC without the COM Port
number changing.
This is very useful when the NDC-4 is working in unison
with a software program that is set up to use a particular
COM port, as the user does not need to re-select a different
COM port every time the PC reboots, or the cable is
swapped between two USB ports.
Locate and Change the Port Number
1.
Connect the NDC-4 USB cable to a USB port on the
PC.
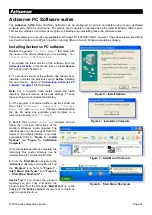
In Windows 7 and Vista; from the start menu type
‘Device
Manager’
in the search box, open it from the list.
In Windows XP; from
‘Control Panel’
, select
‘System’
, on
the
‘Hardware’
tab click
‘Device Manager’
.
Содержание NDC-4
Страница 2: ......


