


45
Chapter 4
Using Utilities
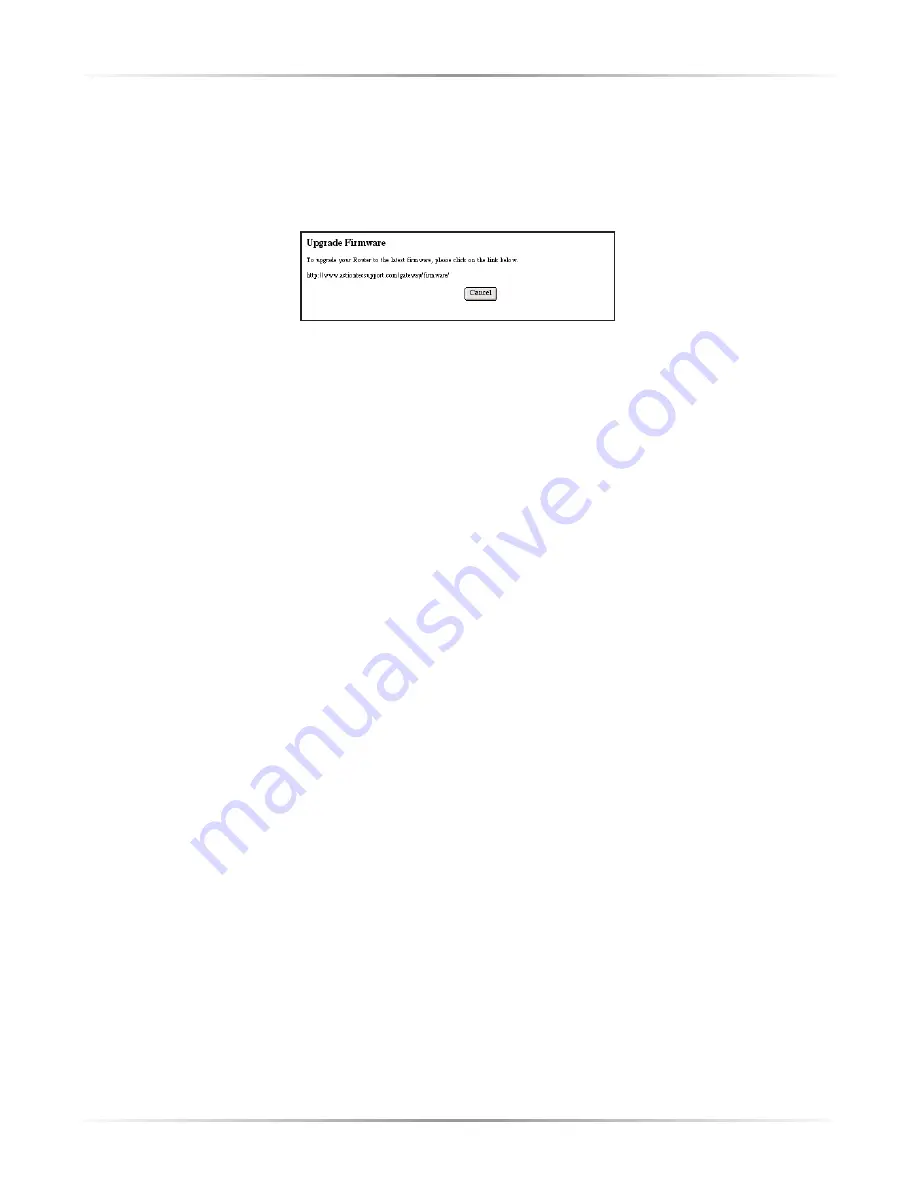
Upgrade Firmware
Selecting
Upgrade Firmware
in the “Utilities” screen generates the “Upgrade
Firmware” screen.
Action
tec periodically posts firmware upgrades to enhance the
Modem’s capabilities.
To upgrade the Modem’s firmware:
1.
Click the link in the “Upgrade Firmware” window and download the upgrade
files to the hard drive of the computer.
2.
Double-click on the upgrade file (upgrade.exe).
3.
Click
Start
. The upgrade process begins.
Warning
: Do not unplug the power cord from the Modem dur-
ing the Upgrade Firmware process. Doing so may result in per-
manent damage to the Modem.
4.
After the upgrade is complete, unplug the power cord from the Modem, then
plug it back in again.
5.
When the Power
LED
stops flashing and glows steadily green, the Modem is
fully operational.
6.
Reconfigure the Modem settings.
Содержание R4500U
Страница 1: ...User Manual USB Ethernet Home DSL Modem...
Страница 49: ...46 Actiontec USB Ethernet DSL Modem User Manual...
Страница 83: ...80 Actiontec USB Ethernet DSL Modem User Manual...
Страница 88: ...85 Program and Port List D...
Страница 89: ...86 Actiontec USB Ethernet DSL Modem User Manual...
Страница 93: ...90 Actiontec USB Ethernet DSL Modem User Manual...


