background image

64

65

Appendix B

Appendix B

XlV

XlV

and the buttons underneath should both say “Start”. If this is the case, file sharing
is disabled. Exit the File Sharing window. 

3. 

If “File Sharing Off” and “Program Linking Off” is selected and the buttons
underneath indicate “Stop”, click the 

Stop

button to disable sharing and linking.

Enter 

0

in the dialog box that prompts you to indicate how many minutes until file

sharing is turned off or how long before you want to disconnect other users con-
nected to your computer. 

4.

Click 

OK

5.

Exit the File Sharing window. 

If you need to enable file sharing on your computer, you can reduce your susceptibility
to hackers by setting a password for access to all of your shared files and directories.

To set a password:

1. 

Click the 

Apple

menu in the upper left corner. Select 

Control Panels

and then

select 

File Sharing

2. 

Under “Network Identity”, enter an owner name and owner password. To deter
potential hackers from being able to guess your password, we recommend that your
password contain a minimum of eight characters and a mix of upper- and lower-
case letters and numbers. 

3.

The two sections toward the bottom should say “File Sharing Off” and “Program
Linking Off”, and the buttons underneath should both say “Start”. Click 

Start

to

enable file sharing and/or program linking. 

4.

The indication above the Start button(s) will change from “Off” to “Starting Up”
to “On”. 

5.

Close the File Sharing window by clicking the small box in the upper left corner. 

6.

File sharing and/or program linking are now enabled. However, users will need to
know your Owner Name and Owner Password in order to access files or programs
on your Macintosh. 

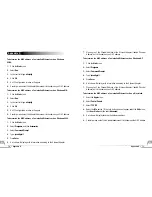
To allow others to use the printer attached to your computer:

1.

Click the 

Apple

menu in the upper left corner and scroll down to 

Control Panels

;

then scroll right and up to 

Appletalk

3.

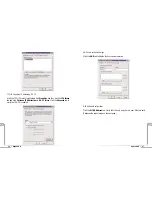
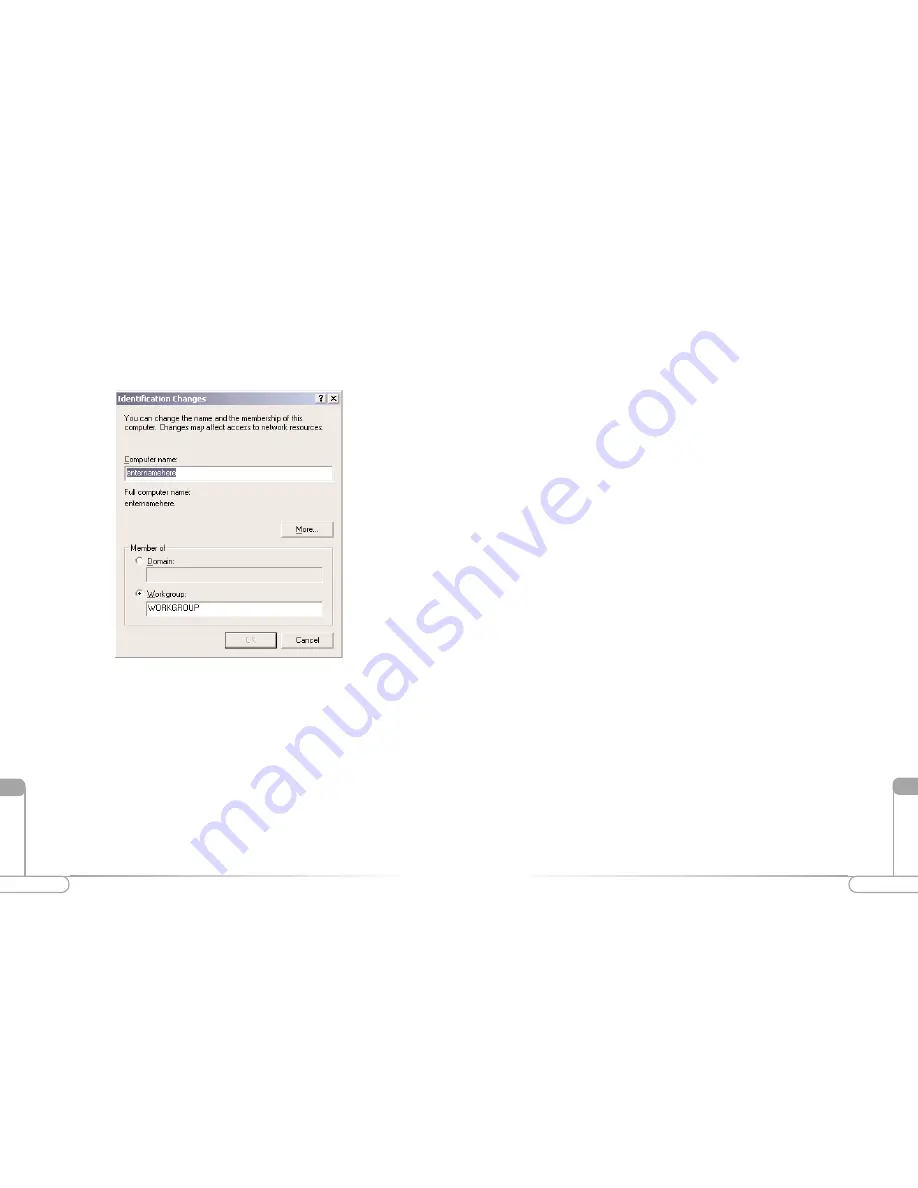
In the “Computer Name:” box type a name that is different from your other PC’s
on your network. Then, in the “Workgroup” box type the name that you are using
to identify your network. This will be the same on each computer on your network.
Click 

OK

and you will return to the “Network Properties” screen. Click 

OK

again

and even if you are not asked to do so, please restart your computer.

Configuring File and print sharing for MAC

There are other, much more secure ways to share your files with other Internet users. For
example, you can simply e-mail files you want to share with someone else directly to that
person or you can require a password to access your files.

Following are instructions for disabling and more securely enabling file and print shar-
ing.

To disable file sharing:

1. 

Click the 

Apple

menu in the upper left corner. Select 

Control Panels

and then

select 

File Sharing

2.

The default selections should be “File Sharing Off” and “Program Linking Off”,

Содержание R1020S(U)

Страница 1: ...Setup 18 Status Screen 21 VII Advanced Configuration of the Wireless Ready Home Gateway 24 WAN IP Address 26 Wireless Settings 28 LAN IP Address 30 DHCP Server 30 DHCP Server Configuration 31 Services...

Страница 2: ...small busi ness If you would like to take your computing to the next level then the Actiontec Wireless Ready Home Gateway is the key to your success Package Contents One Actiontec Wireless Ready Mult...

Страница 3: ...if it is on there is a link If it is flashing then there is data being transmitted or received Reset Switch If you would like to reset your Home Gateway hold down the switch for 1 to 2 seconds If you...

Страница 4: ...er address ______ ______ ______ ______ Click on the button to change the listing IP address __________________________ Example 24 253 117 45 Subnet Mask If assigned ______ ______ ______ ______ Example...

Страница 5: ...1 Turn on your computer Click Start then select Settings and then select Control Panel Mail and Web Server Information Some broadband providers use single words to direct the connection to their E mai...

Страница 6: ...e Home Gateway Before you Connect the Home Gateway lV 3 In the Network window under the configuration tab select TCP IP Click Properties If there is not a listing for TCP IP then refer to Appendix B f...

Страница 7: ...figuration tab Make sure that the Use DHCP for WINS Resolution circle is selected This is the default setting The Disable WINS Resolution circle may also be selected for proper functioning 8 Click OK...

Страница 8: ...ick LAN Settings Remove any checks from the 3 boxes and click OK 4 Click OK to close the Internet Properties window 5 Close the Control Panel window If Netscape Navigator is your default browser 1 Ope...

Страница 9: ...Gateway If applicable 5 Insert the Actiontec 802 11b wireless card into the top slot of the Home Gateway If you are setting up a wireless network 6 Ensure your Cable DSL modem is turned on and operat...

Страница 10: ...your broadband service then click Next If your have a T1 Line or Fixed Point Broadband click Cable 6a If you selected DSL enter your user name and password provided by your ISP Click Next Basic Setup...

Страница 11: ...n gerprint for the Internet Some ISP s use this information to validate the PC s identifi 6b If you selected Cable and your ISP requires a Host Name or Domain name to access their network enter it now...

Страница 12: ...ng to establish a connection with the ISP Disconnected A valid connection to the Cable DSL modem exists but there is no connection to the Internet Off A valid physical connection to the Cable DSL mode...

Страница 13: ...guration simply click on its name in the left menu bar Note You may click Save and Restart on the bottom left hand side of the screen when you have finished configuring any one or more of the advance...

Страница 14: ...ovided by your ISP Wan IP Address This screen allows you to manually set up your Home Gateway The following are three methods by which your ISP will assign an IP Address to your Home Gateway Note Some...

Страница 15: ...llows you to take advantage of the Home Gateway s wire less capabilities With your Actiontec 802 11b Wireless PC Card plugged in your Home Gateway will act as a wireless Access Point ESSID Default val...

Страница 16: ...that of the Home Gateway To be in the same subnet the IP address must begin with the same numbers for the first 3 fields Example 192 168 0 1 would mean your IP address would have to be 192 168 0 x wi...

Страница 17: ...ocking This feature enables you to block specific websites Simply enter the name of the web site into the appropriate field and click Add When the user tries to access a blocked website the website wi...

Страница 18: ...your network resources while in the DMZ It is recommended to place the computer in the DMZ mode only as long as it is necessary You will also be unable to access your network resources WARNING This c...

Страница 19: ...tings Restore Default Settings This allows you to restore your Home Gateway to its original default settings 1 Click on Utilities 2 Click on Restore Default Settings 3 Click the Restore Default Settin...

Страница 20: ...not sure let the PC get the IP address automatically by initiating the DHCP function Then verify that your PC is using an IP address within the default range of 192 168 1 2 to 198 168 1 XXX If your P...

Страница 21: ...Area Network This is a group of computers and other devices connected wirelessly in a small area A wireless network is referred to as LAN or WLAN ESSID Extended Service Set Identifier You must have t...

Страница 22: ...ort for Cable DSL Modem LAN Four 10 100 RJ 45 Switched Ports One Shared Uplink Port Speed WAN 10Mbps Switch 10 100Mbps Half Duplex 20 200 Full Duplex Wireless See Below Cabling Type 10BaseT UTP STP Ca...

Страница 23: ...NT Workstation 4 0 installation disks or CD ROM handy before beginning Windows NT Workstation 4 0 may need to copy some driver information during the configuration process If your Ethernet card was su...

Страница 24: ...k the WINS Address tab Verify that the only entry here is your Ethernet card Please see the screen image on the next page TCP IP Properties IP Addressing DHCP With the TCP IP Protocol highlighted clic...

Страница 25: ...The Bindings tab contains a drop down list box that allows you to display different views of your networking configuration Services Click the Bindings tab select All Services from the drop down list a...

Страница 26: ...ettings Click Start select Programs and then select Command Prompt At the command prompt type ipcon fig all to verify that you received an IP address You may close this window once you have verified y...

Страница 27: ...r users manual or the help files for detailed information Actiontec provides the information that follows as a guideline only Windows 2000 installs with the default TCP IP configuration If you have a...

Страница 28: ...s a guideline only Configuring Open Transport 2 5 2 To configure Open Transport 1 From the top toolbar click the Apple icon Select TCP IP from the Control Panels menu 2 Once the TCP IP control panel i...

Страница 29: ...ile and Print Sharing is not present then click the Add button Appendix B 3 In the Select Network Component Type screen click Service and then click the Add button 5 Make sure the Use 802 3 option is...

Страница 30: ...ocation name or main user s name is used in this field 7 Click on the Configuration tab This will take you back to the screen from step 2 In the Primary Network Logon box located just above the File a...

Страница 31: ...pend on the passwords you enter in the appropriate field When you are finished click Apply and then OK your computer restarts you will be asked to supply a User Name and Password Enter whatever you wo...

Страница 32: ...for your computer The only item that needs to be altered is your workgroup settings All the computers on your network must have the same workgroup name but different computer names To check or change...

Страница 33: ...nking 4 The indication above the Start button s will change from Off to Starting Up to On 5 Close the File Sharing window by clicking the small box in the upper left corner 6 File sharing and or progr...

Страница 34: ...ds in firewall setting None for Chat Default client IP 2 In the drop down menu after Connect via choose Ethernet or Ethernet Built In 3 Close the Appletalk window by clicking the small box in the uppe...

Страница 35: ...et 22 client IP 5631 5632 client IP RealPlayer RealPlayer G2 None Remote Anything 3996 4000 client IP Shiva VPN Need to set the mobile option to be your public IP address 2233 client IP 2233 client IP...

Страница 36: ...nced 5 A window will display showing the hardware address 6 Carefully make note of this Hardware address as it is the same as the MAC address To determine the MAC address of an installed Ethernet card...

Страница 37: ...72 Notes Notes...

Отзывы: