62
63
Appendix B
Appendix B
XlV
XlV
13.
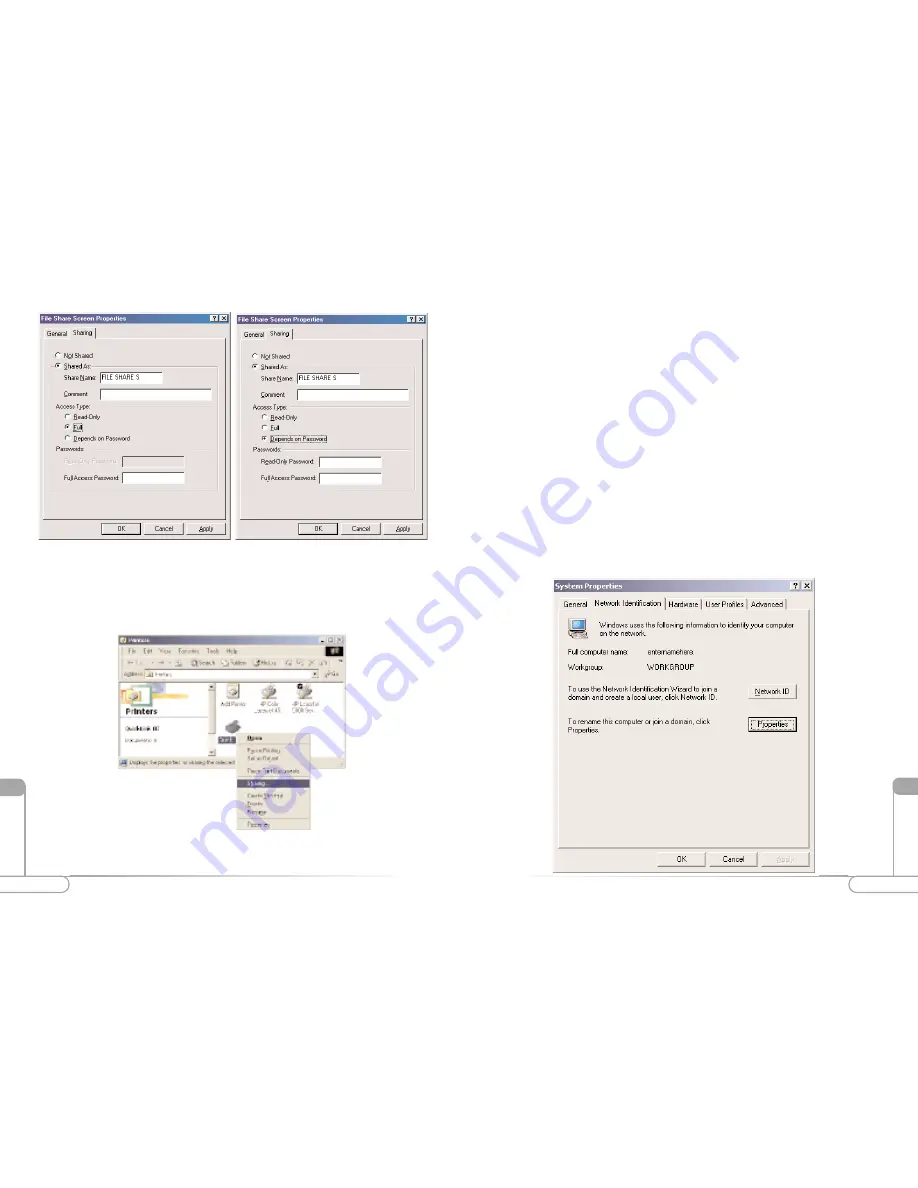
The next step will be to enable the sharing by selecting the “Share As” button. It
will automatically insert a default name for the Share Name. You may set a pass-
word for the printer at this time if you want to restrict who on the network can use
this resource. You may also set the default printer settings by modifying informa-
tion on the other tabs of this window.
For Windows 2000
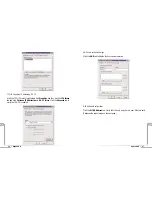
1.
After you have installed and configured your PC Card, Windows 2000 will auto-
matically enable file and print sharing for your computer. The only item that needs
to be altered is your workgroup settings. All the computers on your network must
have the same workgroup name but different computer names. To check or change
this locate the “My Computer” icon on your desktop. Right click on it and select
Properties
from the given list.
2.
In the “System Properties” click on the
Network Identification
tab. If the
“Workgroup” name is already the same as all the other computers on your network,
then you do not need to change it. Click
OK
. If it is not the same then click
Properties
.
11.
Next you need to share your printer. On your desktop, click
Start
, click
Settings
,
and then select
Printers
.
12.
Right click on the printer you want to share. Select “Sharing” from the given list.
Содержание R1020S(U)
Страница 37: ...72 Notes Notes...


