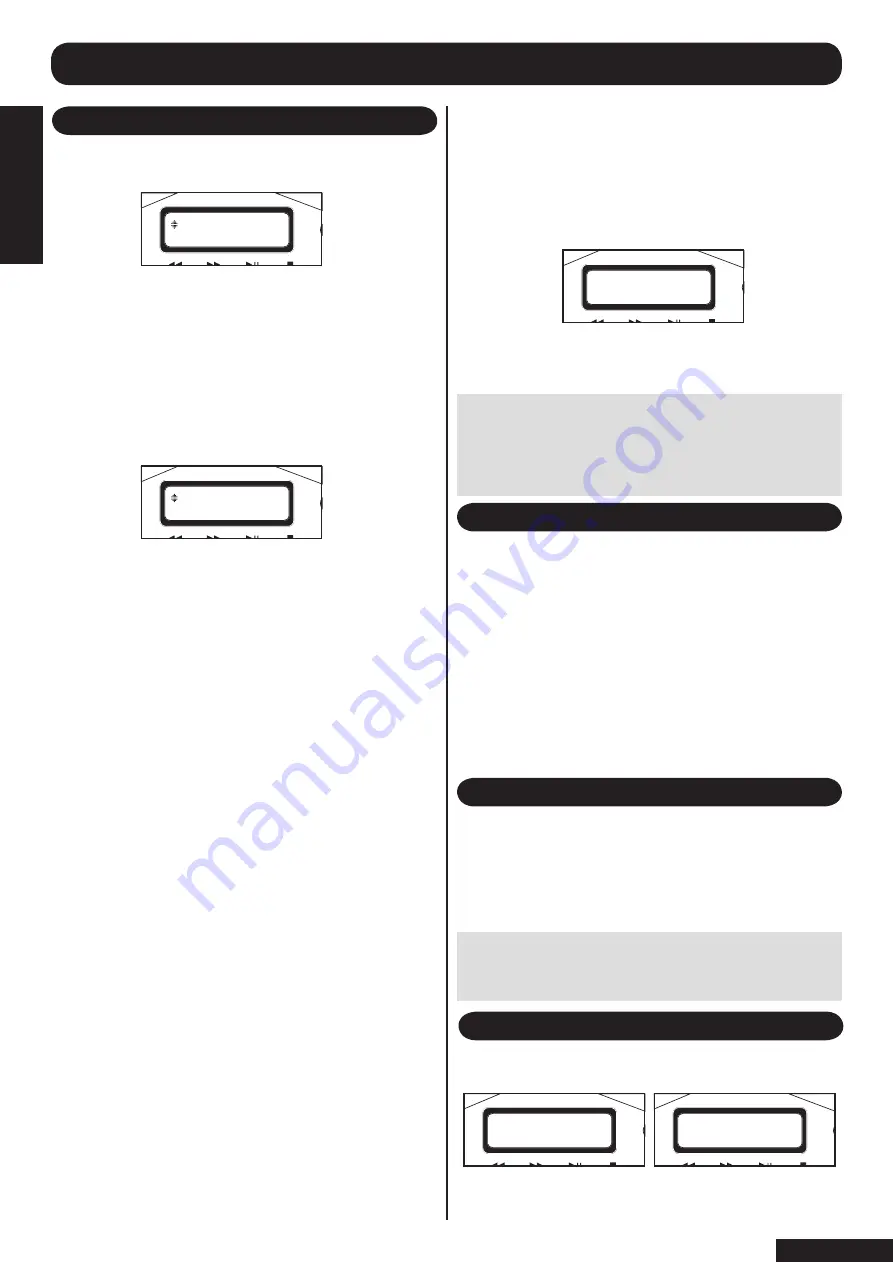
1. As described above when inserting a CD into the SP150
you will see the following screen:
2. Using the up/down keys on the remote control (12 and
14), select load and press OK on the remote control (15).
3. The SP150 has an automatic file compression system
which works in standby mode (see later section for an
explanation on compression on page 14). You are asked a
question ‘compress later?’
You will see this screen:
Using the yes/no command you can tell the SP150 to
either compress this music, “yes”, or do not “no”. The
reason for this is some music formats, such as classical
music for instance, are better reproduced when they
are not compressed. Therefore using this command
you can exclude certain CDs from being compressed
automatically.
4. Using the up/down keys on the remote control (12 and
14) toggle between yes and no as required, then press OK
on the remote control (15) to select.
5. You will be asked to select a CD name from the music
title data base stored on the SP150.
6. Use the up/down keys on the remote control to search
through the titles of the stored CD names to locate the
correct title.
10. If the correct CD title is not shown, this will be because
that CD is not stored in the database (see updating
database page 15). In this case choose ‘Other’ from this
menu and the SP150 will display the tracks as numbers.
The SP150 will automatically name the album, such as
“Album 1”, and will number subsequent unknown albums
in sequential order, such as “Album 2, 3, 4” etc.
11. When you have decided on the title of the CD then
press OK (15) to start the file transfer process.
12. If the CD has been previously copied to the hard drive
you will be asked if you wish to ‘overwrite’?. You may wish
to do this if the previous copied CD stored on the hard disc
drive was corrupt in any way.
TO LOAD A CD ONTO THE HARD DRIVE
Note: The file transfer process of the SP150 is one
of the fastest on the market. When the SP150 is
new this will be fastest, as the hard drive is empty,
and this transfer rate will slow as the hard drive
becomes fuller.
Using the up/down keys on the remote control (12 and 14)
toggle between yes and no then press OK.
13. The SP150 will overwrite the existing CD if you choose
yes, or return to the ready menu if you choose no.
You will see the following screen when file transfer is
underway:
14. You will see the progression of the file transfer process
by the percentage figure of each track, and the particular
track being copied on the second line of the LCD display
TO LOAD A CD TO THE HARD DRIVE
As the CD is being copied to the hard drive it is possible
to listen to a preview of each track as is is transferred.
This length of each preview is dependent on the speed of
transfer, but should be between 10-25 seconds of each
track.
1. To turn the preview mode ON, press the preview button
on the remote control (8).
2. Pressing this button repeatedly will toggle between
preview ON and preview OFF.
3. Choose either ON or OFF, and the SP150 will select
this setting after 2-3 seconds, and will then return to the
previous menu.
Ready indicates that the SP150 has finished this opera-
tion and awaits further instructions
PREVIEW MODE DURING FILE TRANSFER
Unlike many other hard drive systems, it is possible to
access tracks already stored on the hard drive whilst
recording a new CD to the hard drive.
Please refer to the section “playing music from the hard
drive” for information on these functions.
OTHER FUNCTIONS DURING FILE TRANSFER
When the tracks from the CD have been copied to the hard
drive you will LCD screen displays similar to these:
WHEN FILE TRANSFER IS COMPLETE
Note: the file transfer process will be slower if music
is played from the hard drive during the file transfer
process.
����
����������������
���
���������������
�����
��������������
������������
�����
page 7
TO LOAD
A CD
TO
THE
HARD DRIVE


