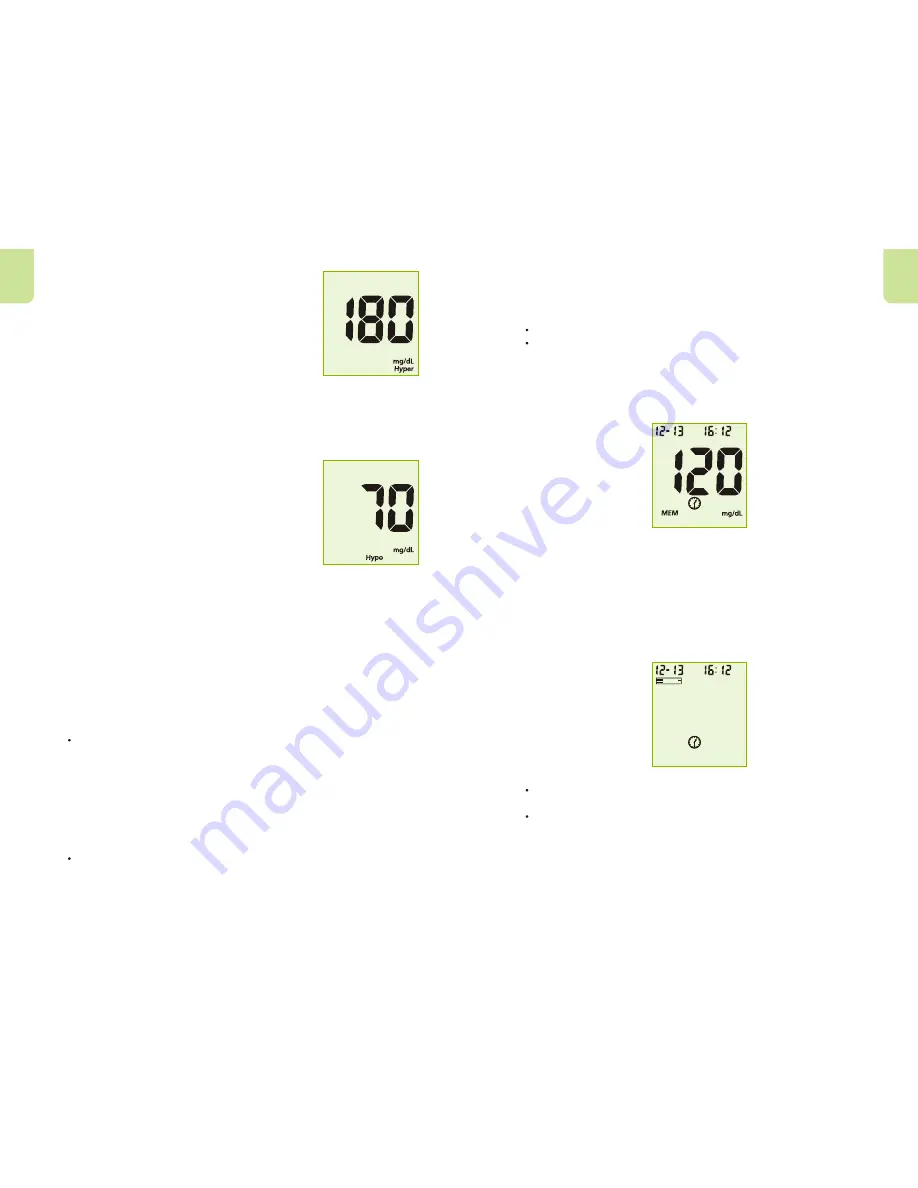
selection. When the Hyper indicator is "Off",
pressing the S button will go to the next Hypo
indicator set up. When the Hyper indicator is
"On", pressing the S button will go to the
Hyper indicator level set up. At the Hyper
level set up, press the M button to adjust the
Hyper level then press the S button to go to
the Hypo indicator set up.
Note: The meter allows the hyperglycemia level to be as low as 6.7
mmol/L (120 mg/dL) or higher. The hyperglycemia level should be
above the hypoglycemia level. Consult your healthcare professional
before determining what your hyper blood glucose level is.
9. Hypo Indicator: The meter comes with the
Hypo indicator feature disabled. Press the M
button to switch between turning the Hypo
indicator "On" and "Off". Press the S button to
confirm your selection. When the Hypo
indicator is "Off", pressing the S button will go
to the Test Reminder set up. When the Hypo
indicator is "On", pressing the S button will go
to the Hypo indicator level set up. At the Hypo
level set up, press the M button to adjust the Hypo level then press
the S button to go to the Test Reminder set up.
Note: The meter allows the hypoglycemia level to be as high as 5.6
mmol/L (100 mg/dL). The hyperglycemia level should be above the
hypoglycemia level. Consult your healthcare professional before
determining what your hypo blood glucose level is.
10. Test Reminder: Test reminders are a useful way to remind you when
to test. You can set 1 to 5 reminders per day. Your meter is preset
with the test reminder disabled. You must turn it on to use this
feature.
Press the M button to switch between turning the first Test
Reminder "On" and "Off". Press the S button to confirm your
selection. When the Test Reminder is "Off", pressing the S
button will go to the set up of the second Test Reminder. When
the Test Reminder is "On", pressing the S button will go to the
set up of the time for the first Test Reminder. Press the M button
to adjust the first Test Reminder time. (Time is adjusted by every
15 minutes.) Press the S button to confirm the first Test
Reminder time and then go to the second Test Reminder set up.
When the Test Reminder is "Off" during the second Test
Reminder set up, pressing the S button will go to the set up of
the third Test Reminder. When the Test Reminder is "On",
pressing the S button will go to the set up of the time for the
En
En
second Test Reminder. Press the M button to adjust the second
Test Reminder time. (Time is adjusted by every 15 minutes.)
Press the S button to confirm the second Test Reminder time
and then go to the third Test Reminder set up.
Repeat the same set up procedure for Test Reminder 3, 4 and 5.
After finishing the fifth Test Reminder set up, it will then end the
setup mode and power off the meter.
If one or more test reminders have been set, the reminder symbol
will always appear on LCD screen when the meter is turn on. The
display sample is shown in below.
The meter beeps 5 times at the time you set, again five minutes
later, and five minutes after that unless you insert a test strip or
press any button. This function can still work with Audio feature
turned off.
When the meter beeps at the time set by the Test Reminder feature,
the date, time and strip symbol will be displayed. And the Test
Reminder symbol will be flashed. The display sample is shown
below.
NOTE:
For any step of the set up, if the M button is pressed and held, it
will allow a faster adjustment.
The user can press and hold the S button for 2 seconds to stop
the set up and turn off the meter during any step of the set up
process, except when setting up the year, date and time for the
first time after installing a new battery.
15
16


